4/30/22

Sending Fairy Hugs

   Hi everyone, I have another Fairy Stamper project to share.  


I created a clean and simple card using the Bleeding Hearts stamp as the focal element, stamping it in two different colors.  The Ladybugs were a last minute addition as I thought they looked adorable!  Then the sentiment was added across the top of the card.

Thanks for stopping by.


4/29/22

PPCF - All Dressed Up

Hi everyone, how about a sweet summer card?  All Dressed Up is this week's sponsor at Passionate Paper Creations & Friends FB Group.  


I've used the Spring has Sprung digital image and she is adorable! 
She was colored with Copic Markers then added to a ribbon adorned card.


Thanks for stopping by.

Steph

4/25/22

TLC Designs New Release

Hi everyone, pop by the TLC Designs Store and check out the new stamps being released today. 


I've used the new Hopping Hares stamp set and created an interactive card using the Double Dial Die 2
 die set as well as the ribbon die from the Cherry On Top Die,


The images were stamped and colored with Copic markers. 


For depth, I used foam tape so the interactive elements would be free to move.


I placed the bunnies as the interactive elements, then placed the radishes and carrots in the lower corner.
Using the ribbon slider from the Cherry on top Die, I added ribbon and tied it in place


Thanks for stopping by.

Steph

4/23/22

Thank you with Fairy Hugs

  Hi everyone, I have another Fairy Stamper project to share.  


I've used the Fairy Hugs Thank You Stamp Set.  This set includes 9 stamps can be used in many ways.


Thanks for stopping by.


4/22/22

Stenciled Hi with TLC Designs

 Hi  everyone, I'm on the TLC Designs Blog  sharing a sweet mini card.


I used the Happy Bloom Day Stencil, inking it with pink ink.
Next I die cut the stenciled panel as well as pink cardstock with the Loving Petals Square Dies.


To create the card, I cut pink cardstock slightly smaller than the die cut panel, then placed the die cut panel on top.  I die cut the stenciled panel and placed it atop the card. 


Using the girl from the Troll Cricket Fun stamp set, I stamped and colored her, then fussy cut her, adding her to the card with foam adhesives for dimension.  "Hi" was die cut from the Apple A Day Die set.

To finish, I added Robin's Nest Dew Drops around the card.

Thanks for stopping by.

Steph

Write Your Own Story

  Hi everyone, I'm using some amazing new papers and embellishments from Blank Page Muse.


Papers: Pam Bray Designs - Masquerade
Embellishments:  Pam Bray Designs - Masquerade Ephemera


Create card from white cardstock then cut one of the papers to fit.
Die cut another paper and mat with cardstock before adding to the card.
Select the die cuts to use on the card


Assemble die cuts on the card, adding the phrase with foam adhesives for dimension.

Thanks for stopping by.

Steph


Looking for more Inspiration? Click the links below!
The Blank Page Muse Shop https://blankpagemuse.com/

Save 15% of your Blank Page Muse orders with discount code:  BPMSteph

4/21/22

PPCF - Stampendous

Hi everyone, how about a sweet summer card?  Stampendous is a sponsor of the Passionate Paper Creations& Friends  FB Group this week.   


I used the House Mouse stamp - Rose Play and aren't they adorable!


The images were colored with Copic Markers.


I die cut the panel, then created an easel card.


Thinking of you was used to keep the card upright.

Thanks for stopping by.

Steph

PPCF - Stampendous

Hi everyone, sending a floral hello today.  Stampendous is a sponsor of the Passionate Paper Creations& Friends  FB Group this week.


I used Geranium Pitcher, coloring it with Copic Markers.


The panel was die cut then matted with a coordinating panel.


Stickles were added to the centers of the flowers and hello was added to the corner.


Thanks for stopping by.

Steph


4/20/22

PPCF - Cats Pajamas

Hi everyone, how about a sweet summer card?  The Cat's Pajamas is this week's sponsor of the Passionate Paper Creations & Friends  FB Group.


Using a die from TLC Designs - Apple a Day - I created the card.  Die cutting another panel, I added it on top to create the full card.


I wanted a pink elephant and she is adorable!!!  I added some Robin's Nest dew drops as the flower centers.


I used another TLC Designs die to create the grass (Land and Seas Dies) which was then die cut to the shape of the card.  The phrase was also die cut, ribbon was threaded through the tag (Cherry On Top Die) and it was added to the card.


Thanks for stopping by.

Steph

4/16/22

Happy Birthday Wishes

  Hi everyone, I have another Fairy Stamper project to share.  


Fairy Hugs Stamps:  Flying Owl, Fawn & Doe, Grass, Bridge, Birthday Wishes,

Thanks for stopping by.


4/14/22

PPCF - Girls Just Wanna Have Sun

Hi everyone, how about a sweet summer card?  Artful Angels is a sponsor of the Passionate Paper Creations& Friends FB Group this week.


This store has an assortment of wonderful stamps, dies, Copic Markers and more.  I've used Newton's Nook Summer Moments.


I stamped a background panel with assorted shells.


Stamping the image on a white panel, I colored her with Copic Markers.  Adding some sand beneath her feet, I stamped a few more sea shells.

The panel was die cut then 2 additional layers were die cut and added to the card.


The phrase was stamped and added to the card with foam adhesives for dimension.

Thanks for stopping by.

Steph

4/9/22

Fairy Wishing Well

 Hi everyone, I have another Fairy Stamper project to share.  


Using watercolor inks, I created the background.  
Next, I used the Fairy Hugs Party Streamers Stencil, adding gold embossing powder to create a windy-type effect.


I used the following Fairy Hugs stamps:  Wishing Well, Fairy Dictionary, Ania's Tree

Thanks for stopping by.


4/8/22

Happy Birthday with TLC Designs

Hi everyone, I'm on the TLC Designs Blog sharing a birthday card. Do you need a birthday card in a hurry because you forgot a birthday?  Welk let me show you know easily and quickly you can create a birthday card with the TLC Designs Cherry on Top Die.   


Using the Watercolor Naturals paper pack, I embossed it with a birthday embossing folder then lightly inked it to help the words stand out.  The panel was then placed on the card.  4 U, which are part of this die set were die cut and added to the right side.


The cupcake was die cut from white cardstock, then the frosting was die cut from pattern paper and the cupcake holder from corrugated cardstock.


The cupcake was assembled then added to the card.  Next, the cherry and stem were added.


Stickles were added to the cherry for a shiny effect.   Finally, I added some "sprinkles" to the frosting.


Thanks for stopping by.

Steph

4/3/22

Floral Tag

 Hi everyone, I'm using some amazing stamps from Blank Page Muse.


Starting with a large tag, I used assorted Distress Oxide Inks to create the background.


Next, I added some clouds using the Clouds and Drops Stencil.


Then I stamped and embossed the sunflowers, using a masking technique to add additional sunflowers and leaves.  Butterflies were then added amongst the design and the images were colored with  Copic Markers.


A phrase was stamped amongst the clouds.  
Finally, several Robin's Nest Dew Drops were scattered around the tag.
.

Thanks for stopping by.

Steph


Looking for more Inspiration? Click the links below!
The Blank Page Muse Shop https://blankpagemuse.com/

Save 15% of your Blank Page Muse orders with discount code:  BPMSteph

4/2/22

Make A Wish

 Hi everyone, I have another Fairy Stamper project to share.  


Creating the background using acrylic paints and a Gel Press, I added the Fairy Hugs Galaxy Stencil.

Fairy Hugs Stamps: Starla, Make a Wish, Flower Vines.


4/1/22

Happy Easter Gift Bags

Hi everyone, it's a new month and the challenge on the Scor-Pal blog is to create anything you want, just be sure it includes more than one score.

With Easter in a few weeks, I've begun creating Easter Gift Bags.  I love to create little treats for friends and family.  Not only are these bags fun to create, they also go together quickly and easily.


Cut designer paper into 2 pieces, each 6" x 6".
Using the Scor-Buddy, score at 1/2", 1 1/2" and 2 1/2".
Rotate and score at 1 1/2"


Cut off the small rectangle.
Cut up the 2 1/2" strip to the 1 1/2" line.


Fold along the score lines as shown.
Use the Stacker to hold Scor-Tapes.
Add a strip of Scor-Tape along the 1/2" edge.


Assemble the 2 panels to create the bag.
Fold up the bottom edges and adhere with Scor-Tape.


Punch holes in the top edges and thread ribbon as handles.


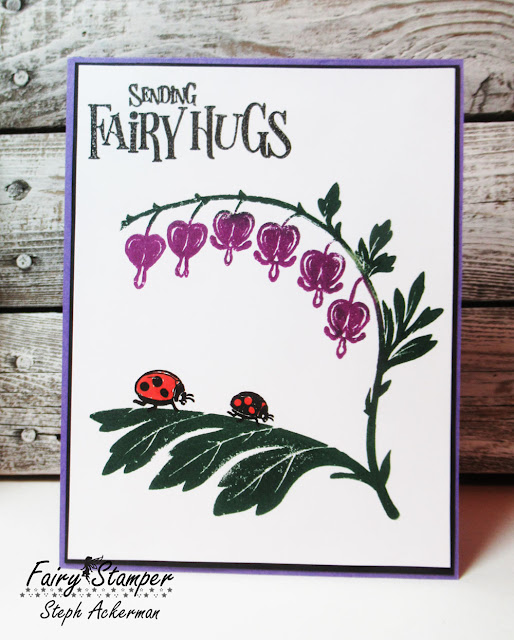
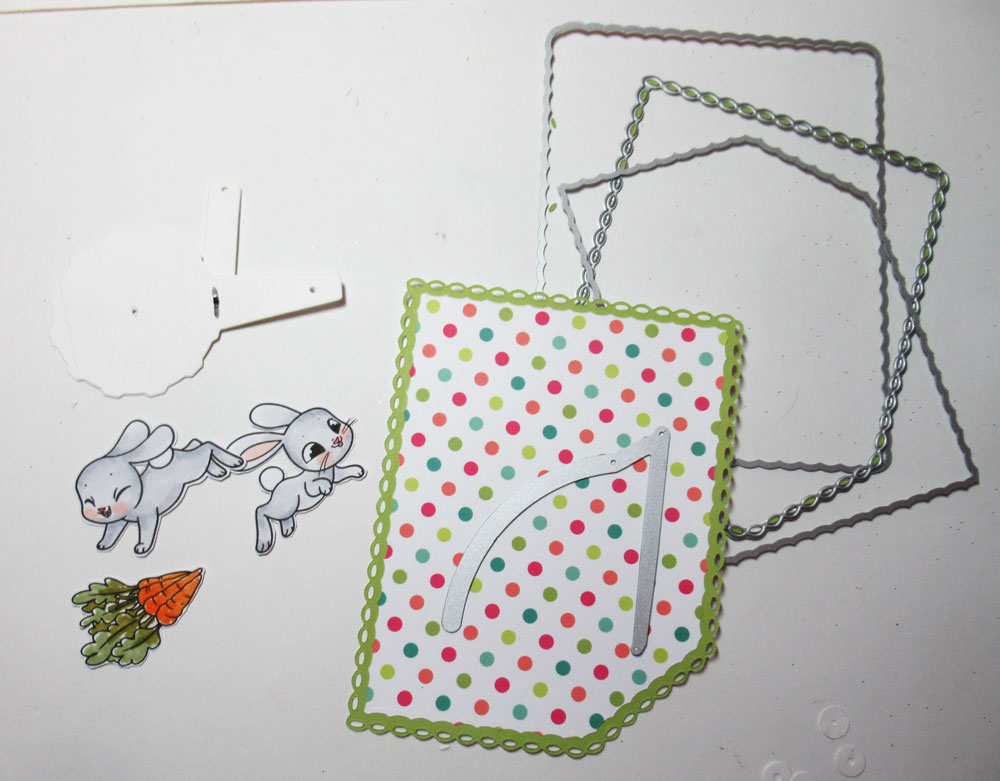
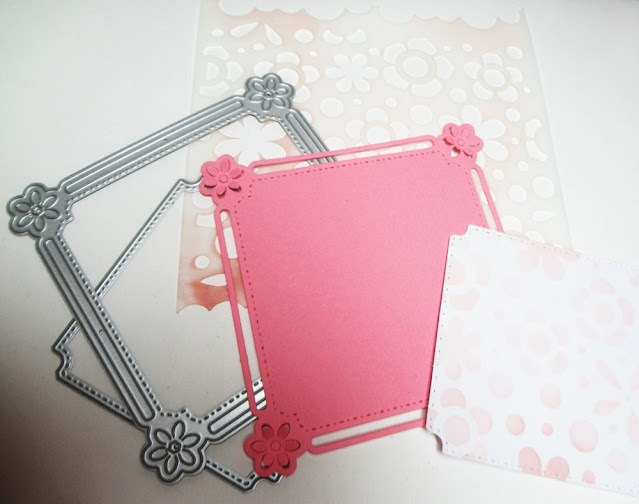
Decorate as desired.
I used Sizzix stamps and dies.

Thanks for stopping by.

Steph