4/27/19

Enjoy Your Retirement

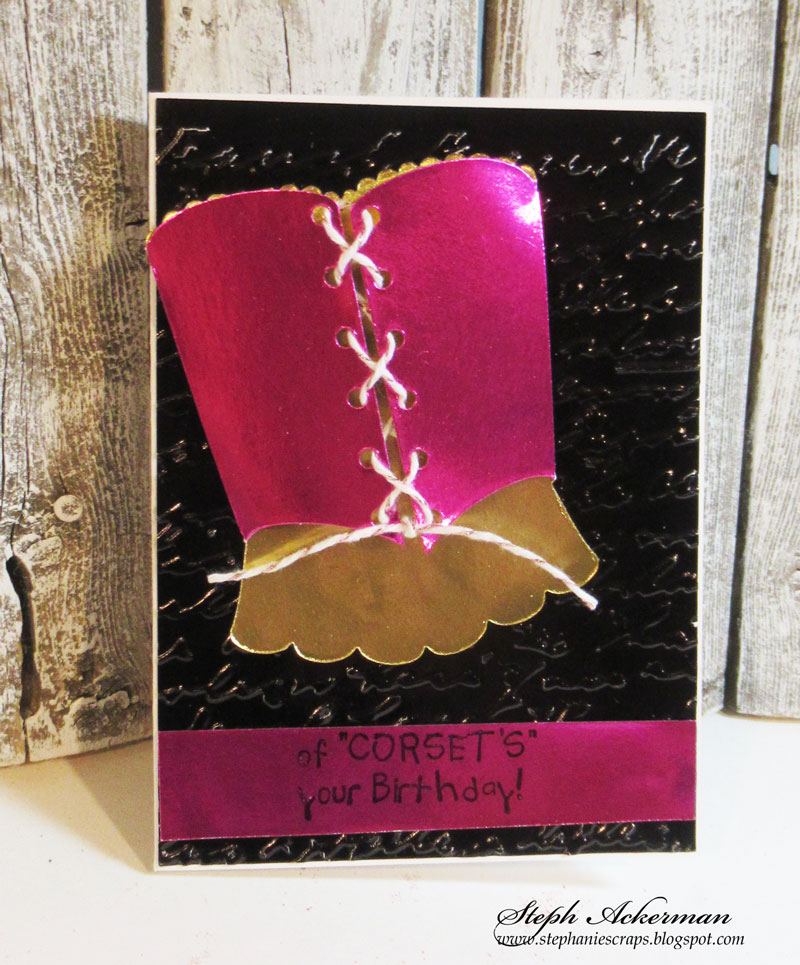
Hi everyone, I've go ta new post to share for Dies R Us.  For those heading towards retirement, wouldn't it be great to send them this card?


Start by embossing the card front.  Spritz the card front with Antique Linen Distress Spray Stain and allow the card to dry.  Alternatively, you could emboss and spritz a separate cardstock panel and adhere it to the card. 


Stamp image with Memento Tuxedo Black Ink on white cardstock.  I used assorted Memento Markers to color the image, but I could easily have used Ranger Distress Markers.


Create a mask by restamping the image.  Cut around the Pelican and sand and placing the mask on the main image.  Add color to the sky and water.  Cut around the leaves so they will be free when the image is die cut.


Wrap card with white Baker's Twine.  Place the image atop a larger oval and place on the card with 3D adhesives.  Stamp phrase with black ink, mat with cardstock and add to the right corner.


Stop by the blog for the supplies I've used.


Thanks for stopping by.

Steph


4/24/19

Thanks Background with Just For Fun Rubber Stamps

Hi everyone I'm on the Just For Fun Rubber Stamps Blog sharing a new card using some great stamps available from the store to create my card.  


I created a background using assorted colors of Fireworks! Shimmery Sprays from Imagine.


Using various Thank You stamps from Sentiments 1 and Sentiments 3, I aligned them on an acrylic block and stamped them on the panel with Memento Tuxedo Black Ink.


I continued until the panel was fully stamped.


Next, I matted the panel with kraft cardstock and wrapped it with ribbon.  Twine was then tied around the ribbon.  


After adhering the panel to a blue card, I added another die cut phrase in the lower corner.


Thanks for stopping by.

Steph


4/22/19

Mixed Media Altered Jar

Hi everyone, I've got a new altered jar to share using lots of  fun products from the Rubber Buggy store.  Please visit the store for all the fun products I've used today.


I chose to alter a bell jar, but any size or shape of jar can be altered.  See what you have in your stash and let your creativity shine!


Use a spackle knife to cover the Stamperia Mould - Butterfly and Manuscripts, with Prima Marketing Old Silver Icing Paste.  Place a light even layer to cover the entire mould.


Allow the Icing Paste to dry and gently pull away from the Stamperia Mould.  I let it dry overnight, but simply test the mould to see when it's dry enough to remove from the mold.


Paint the jar with Prima Marketing Art Alchemy in Royal Blue and Ice Queen.


Allow the jar to dry then use Beacon 3-in-1 Advanced Craft Glue to adhere the mould around the jar.  Depending on the size of your jar, the mould may not fit it completely, but I was fine with that.


Allow to dry completely, then add color using assorted Prima Marketing Art Alchemy Metallique Paints.  I used Gold Amber, Golden Moss, Fairy Wings, Dragon's Eye, painting the jar randomly.


Next, I used some of the same paints to paint some clay elements.  Then I used Prima Marketing Art Alchemy Magic Wax to add color to  Tim Holtz Ideaology mini gears and the clay elements.


Next, I assembled all items on the jar with Beacon 3-in-1Adhesive.  Then, I added some  Prima Marketing Art Stones about the jar.


Finally, I wrapped twine around the top of the jar and added  a Tim Holtz Ideaology Metal Quote Token.


Thank you for visiting.

Steph

4/21/19

Just Because I Love You Card

Hi everyone, have you tried the Bowdabra yet?  Not only can you create a bow for a wreath, you can also create bows for cards.  The Bowdabra creates assorted sized bows.


 I created this sweet Valentine's Day card, but it could easily be used for an anniversary card.


Shades of pink make for a beautiful card.


Use the Bowdabra to create a bow with 2 different ribbon.  Stop by the Bowdabra blog for details.

Thanks for stopping by.

Steph

4/20/19

Happy Easter Mug

Hi everyone and Happy Easter!!!  I've got a new etched mug  using etchallⓇ etching crème.


 For a simple sweet Easter mug, I die cut letters and eggs and placed them around the mug.


Using etchallⓇ etching crème, I covered the mug completely and let it sit for 15-20 minutes.  15 minutes is the minimum, but if you get distracted (as I do), leaving the etching crème on for longer than 15 minutes does not impact it's etching ability.  As you can see, my etching crème is very dark and  that does not affect it's etching ability either.


Since etchall is reusable, I simply scraped the crème back into it's original container.  I can now use the etching crème for upcoming projects.  Rinse the mug thoroughly and dry off.


Then fill with Easter grass and assorted goodies.

Who wouldn't love to open this mug on Easter?

Thanks for stopping by.

Steph


Happy Spring Card

Hi everyone, I've got my first post up for Dies R Us.   I am so excited to be joining the team!

Spring is finally on it's way and I wanted to create a bright and cheerful card.


I die cut the lovely Tutti Designs Die - Birdhouse Garden - from white cardstock, then added color with Memento Dew Drop Ink pads.  The unique shape of the ink pads allows you to ink the tiniest of areas with minimal cross contamination.  If you inadvertently over-inked, just go over that area with a darker ink.


I used a 4.25 x 5.5 size card, cut blue cardstock to fit and placed it on the card.  I adhered the die cut birdhouses on the card with the Best Glue Ever.


Lastly, I placed brads in the flowers.  I did not add a sentiment as I haven't yet decided who will be getting this card.  


Thanks for stopping by.

Steph

4/19/19

Clear Scraps Tortola Layout

Hi everyone, I'm on the Clear Scraps blog with a Magical layout.


Using a 12" x 12" XL Clear Shape, I removed the film from one side of the acrylic panel.  Use molding paste with the Shiplap and Pumpkin Swirl stencils.


Once dry, spritz several colors of Fireworks! shimmery craft sprays on the panel.  I selected colors that would coordinate with my photos.


Determine the placement of the chipboard letters and adhere to the layout.  Since this is a beach theme, I used Mod Podge Spray Glue across the layout and poured on mini art stones as they resembled grains of sand.


Then I placed the photos.


Next I spritzed the Magical word and placed it atop the photos.


 Finally, I added a sailboat created from Rinea Foiled Papers and a Spellbinders die.


Thanks for stopping by.

Steph


4/18/19

Happy BIrthday with Rinea Foiled Papers


Hi everyone,  I'm participating with the Designer Craft Connection blog hop this month and we are working with Rinea Foiled Papers.


Using this fun corset die, I die cut Fuchsia/Gold Glossy Foiled Paper.


Using Whisker Graphics twine, I threaded the twine through the corset to close it.


The background of the card is Ebony/Gold Glossy Foiled Paper that was embossed.  The corset was added on top and a phrase was stamped on a strip of Fuchsia and added across the bottom.


Since this is a birthday, I wanted to create a coordinating gift bag so I embossed Fuchsia/Gold Glossy Foiled Paper with a floral embossing folder.


These foiled papers emboss beautifully.  To keep the same color scheme, I matted the embossed panel with Ebony/Gold Glossy Foiled Paper and adhered the panel to a gift bag.


Using an intricate Crafter's Companion Happy Birthday die, I easily cut  Fuchsia/Gold Glossy Foiled Paper.


I added Happy Birthday to an oval of Ebony/Gold Glossy Foiled Paper  and adhered it to the center of the bag.  A banner was die cut from Gold/Gold Glossy Foiled Paper and place along the top edge.


I added a few Robin's Nest dew drops to the flowers on the gift bag.


A complete list of designers using Rinea Foils are on the Designer Crafts Connection blog.   Please be sure to stop by all the designers blogs to see what they have created.

Thanks for stopping by.

Steph


4/17/19

Upcycled Sign

Hi everyone, I've got a new Spring sign to share today.  With Spring finally on it's way, it's time to start thinking about Spring decorating.


I chose to upcycle a older sign then used the Delta Sander to sand it.  After painting with white gesso, I then painted with  Plaid Paint.  I chose a lovely lavendar, which lightened when mixed with the gesso.  Once painted, I used the Delta Sander again to lightly re-sand the panel letting some of the wood texture show.


Die cut a rabbit from cardstock.  Add her to the left side of the sign, adding a wiggly eye and a cottonball tail.   Die cut several butterflies and punch some Easter Eggs from assorted Rinea Foiled Papers.


Die cut SPRING from Rinea Foiled Papers.  Mat each letter with cardstock and place on the panel.  Used the Kapro Measure Mate to line up the letters on the panel.


 Create some grass and add over the Easter Eggs.


Finish by adding some tiny eggs amongst the strands of grass.


Thanks for stopping by.

Steph