3/30/21

Congrats with TLC Designs

Hi everyone, my latest post for TLC Designs is this sweet fairy.


Blessings, a digital image, was printed onto white cardstock, then colored with Copic Markers. She was then fussy cut and placed aside while I created my card.

Using dies from the Land and Seas Dies, I created the grass, the mushroom layer and clouds.  As the grass die die cuts 2 pieces, I used both for the different grass layers, then placed the mushroom layer behind it.


The clouds were created by die cutting the cloud die and fussy cutting the bottom edge.


Using blue cardstock to simulate the sky, I placed the grass on top, placed Blessings amongst the mushrooms and added the clouds above her.  To finish, I added liquid pearls to the mushrooms and the flowers about the fairies.  Congrats is from the Celebrate Sentiments stamp set.


Thanks for stopping by.

Steph

3/29/21

Happy Easter Gift Bags with Clear Scraps

 Hi everyone, I'm on the Clear Scraps blog with a set of Easter Gift Bags.


I inked the background with Oxide Inks is blue and green.  Placing the 4" x 6" Grass stencil on the bags, ink with a darker shade of green ink.


Remove the Bunny Chipboard Embellishments from their frame.  Paint one bunny with pink paint and paint the other with blue paint.


Stamp Happy Easter to the right of each bunny.


Using a small Spellbinders die, die cut Rinea Foiled Papers, creating an assortment of Easter eggs.


Fold over the tops of the bags and punch holes in the flaps.  Fill the bags with Easter candies.  Run ribbon through the holes and tie the bags closed.


Thanks for stopping by.

Steph

3/28/21

Spring Candle Holders with Etchall

 Hi everyone, Spring is almost here - I can feel it.  To celebrate, I've etched some glass candle holders.


Place the glass candle holder in a plastic container and add  etchall dip 'n etch.  Let the candle holder sit for approximately 15 minutes.


Remove the candle holder.  Rinse and dry off.  Since dip 'n etch is reusable, pour the liquid back in it's original container to be used on other projects.  Add a light layer of paint and wipe off the excess.  Dip 'n etch provides the "teeth" to which the paint adheres.


While these are candle holders, they also look pretty with flowers.


Thanks for stopping by.

Steph

3/27/21

Vintage Sewing Gift Bag

 Hi everyone I'm on the Blank Page Muse Blog with a vintage inspired gift bag.


Supplies:
Blank Page Muse Stamps: Vintage Sewing Art Rubber Stamps
Stencil:  Zig Zag Stitches
Cardstock
Ink
Die Cuts
Gift Bag


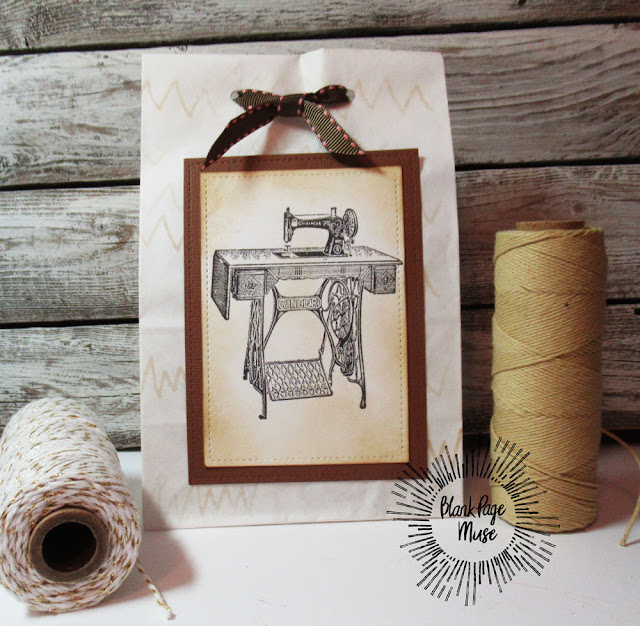
Place the stencil on a gift bag.  Using a stamping tool with brown ink, ink over the stencil creating a design on the gift bag.  


Stamp the vintage sewing machine in black ink on white cardstock.  Die cut the image then ink around the image with brown ink.


Mat the image with brown cardstock, then adhere to the gift bag.


If someone in your circle is an avid sewer, fill the gift bag with threads and buttons and anything else she will love, plus a gift bag always needs some chocolate.  


Punch holes in the top and thread in some pretty ribbon to tie the gift bag closed.

Thanks for stopping by.

Steph


3/25/21

Spread Kindness Birdhouse Card

HI everyone, I'm on the Dies R Us blog spreading happiness with a spring slim line card.  


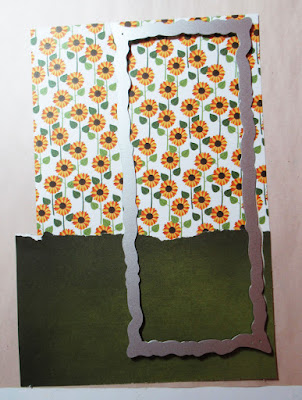
I wanted a spring card and since I have lots of 6x6 paper pads, I decided to combined 2 panels.  I tore the edge of the green panel and placed it on top of the floral paper.  


Using the largest Torn Edged Die, I die cut the panel and then also die cut a white panel to create the frame.


Inking the panels with brown ink, I placed the panels on an orange card.


Next, I die cut the birch tress and also die cut and assembled the bird house.


I also die cut the flowers and leaves that come with the bird house set.  As you can see, I left my pieces intact as they are small.  This way I don't lose them!


 I used the Birch Tree dies to use as the stake for the bird house, then I placed the bird house on top and added all the embellishments.  Then I added a phrase across the stake.

Please stop by the Dies R Us Store for all the supplies I've used today.

Thanks for stopping by.

Steph


Fairy Stamper Stream Scene

 Hi everyone, it's Thursday and my day to share another Fairy Stamper project. 


I fell in love with the Fairy Hugs Stream Scene when I saw it - it's magical.  I created the background using Brusho Color Crystals.  You never know what you'll be creating and you only need a couple of taps to release the color crystals.

Once the background was dry, I stamped the Stream Scene using VersaFine Clair Nocturne Ink.


For a fun effect, I die cut the center of the panel and matted in on cardstock then added it back to the card.  It really helps focus your eyes on the water, doesn't it?


I typed out the phrase I wanted, then scattered it about the panel.

Thanks for stopping by.


3/24/21

Treasure your Friendship

Hi everyone, now that Spring is trying to show itself, I thought I'd help it along with a sweet card.


Using a Memory Box die, I die cut the flower from white cardstock and the layer from black cardstock.  After inking the flower and leaves, I adhered the 2 layers together.


Wanting a bit more dimension in the background, I embossed gold cardstock and adhered it to a black card for a dramatic effect.  Next, I die cut 2 layers for the flower and adhered them to the card.  Finally the flower was added to the oval.


I found a sweet phrase which I stamped on the same gold cardstock and matted with black cardstock.


Thanks for stopping by.

Steph


3/23/21

Brighten My Day with Rinea Foiled Papers

 Hi everyone, I'm on the Rinea blog with a set of floral cards using Sizzix dies.


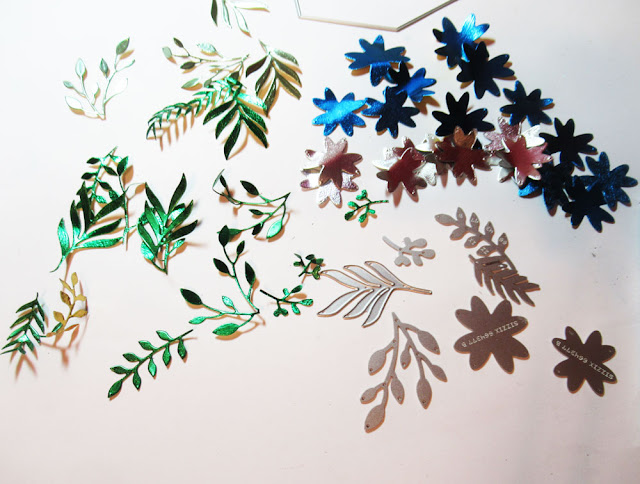
Die cut Silver/Gold Glossy Foiled Paper and separate the 2 pieces.


Die cut the flowers using Sapphire/Gold Glossy Foiled Paper, Sapphire Starstruck Foiled Paper, and Silver/Gold Glossy Foiled Paper.  Die cut the leaves using Emerald/Gold Glossy Foiled Paper, Emerald/Emerald Starstruck and Jade/Gold Glossy Foiled Paper.


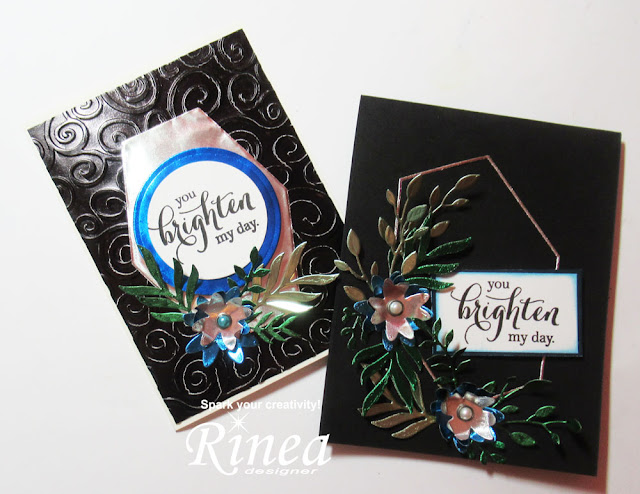
Create cards from black cardstock.  Adhere the die cut frame to the card.  Create 2 three layer flowers and arrange on the card with assorted die cut leaves.  Place brads in the flower centers.  Stamp a phrase, mat with Sapphire/Gold Glossy Foiled Paper and add to the card with foam adhesives for dimension.


 To create a second card cut Ebony/Gold Glossy Foiled paper to fit card front.  Emboss with a Sizzix Embossing Folder and adhere to the card.  Using the remaining die cut as the focal element.  Arrange a 3 layer flower and assorted leaves on the panel.


Stamp a phrase, mat with Sapphire/Gold Glossy Foiled Paper and add to the card with foam adhesives for dimension.  Arrange the leaves so they flow over the phrase.


Thanks for stopping by.

Steph


3/22/21

Happy Easter Gift Bag

Hi everyone and Happy Easter.  I'm on the Clear Scraps blog sharing a sweet East gift bag using the Clear Scraps Chipboard Basket Embellishment.


I used several spray inks from Lindy's Stamp Gang to color the basket.  If  you want a more softer color, think of painting it first with gesso.  Once dry, the gesso will allow the softer colors to show.


While waiting for the basket to dry, I die cut some grass using Rinea Emerald Starstruck Foiled Paper using one of the dies from the Rinea 3D Hyacinth Flower Die.  I also stamped and die cut the sweet peeps in their cracked eggs.


I wanted the basket to have additional color, so I adhered it to Rinea Turquoise/Gold Glossy Foiled Paper.   Because a basket needs grass, I adhered some die cut grass to the reverse side of the basket.  To decorate the gift bag, I die cut Rinea Lavender Starstruck Foiled Paper and adhered it to the gift bag as the background element.  


The peeps were lightly colored then placed behind the basket so they appear to be popping out of the basket.


Additional grass was adhered at the top of the gift bag to finish the effect.  Finally Happy Easter was stamped and placed behind the handle of  the basket.

Sweet, don't you think?  Who would you give this gift bag  to this Easter?

Thanks for stopping by.

Steph
3/20/21

Friendship Blooms Bunny

Hi everyone, I'm on the Dies R Us blog with a sweet friendship card.


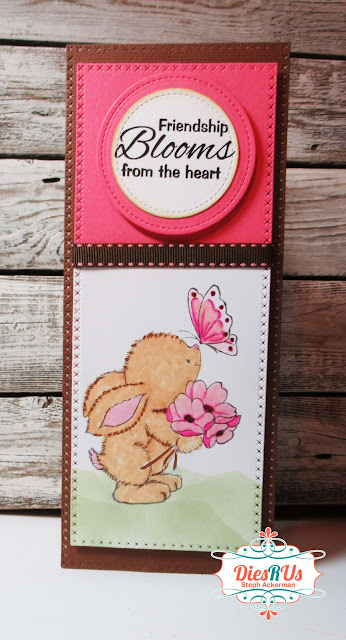
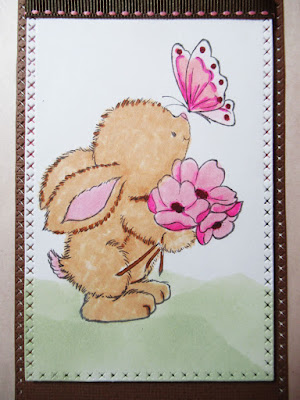
I began by stamping the rabbit on white cardstock.  After coloring with Copic Markers, I added some grass using Peeled Paint Oxide Ink.  


Realizing I wanted to create a slim line card, I adhered pink cardstock to the panel, then die cut the panel with the 2nd largest die.  Using the Best Glue Ever, I adhered ribbon at the seam.


The card was created using the largest of the dies and the panel was added to the card with foam adhesives for dimension.


I added a phrase that was stamped with black ink, die cut and matted with a larger die.  It was also added to the card with foam adhesives for dimension.

Please stop by the Dies R Us Store for all the supplies I've used today.

Thanks for stopping by.

Steph


3/17/21

Oh Happy Day

 Hi everyone, today's post is a sweet card created from elements on my craft table.


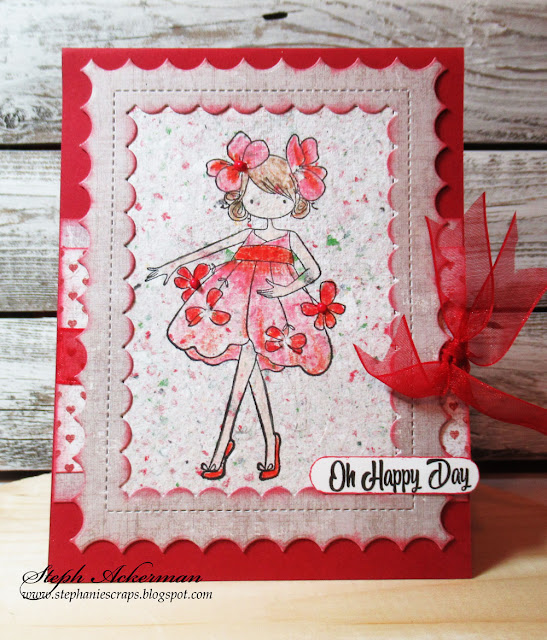
I had paper remaining from a project I created using the Arnold Grummer Papermaking kit.  The paper was perfect for my image.  I colored her with markers.


Using Lawn Fawn dies, I cut the image, adding it to assorted papers placed atop a red card.  Ribbon was tied between the layers.

A sweet phrase was stamped, punched and added to the right corner.

Thanks for stopping by.

Steph