Hi everyone, I have another Fairy Stamper project to share.

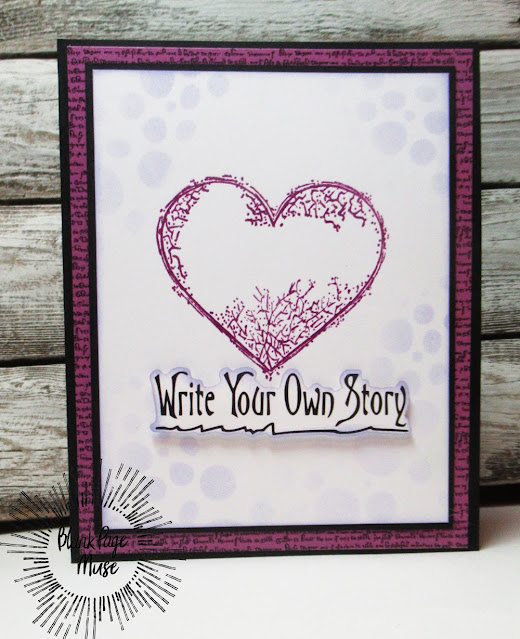
Stamps: Ania's Tree, Mini Bears, Ruffled Mushrooms, Woodland Florals, Forest Flowers, Fairy Dwellers, Willow Vines, Fairy Poem
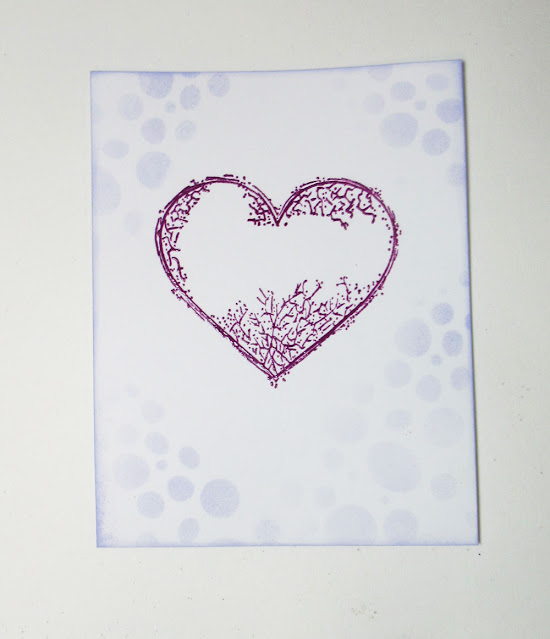
I started with a gelli print circle in the center of the panel and surrounded it with Willow Vines. Then I proceeded to use many of the newest stamps I could.
Thanks for stopping by.


.png)


.png)