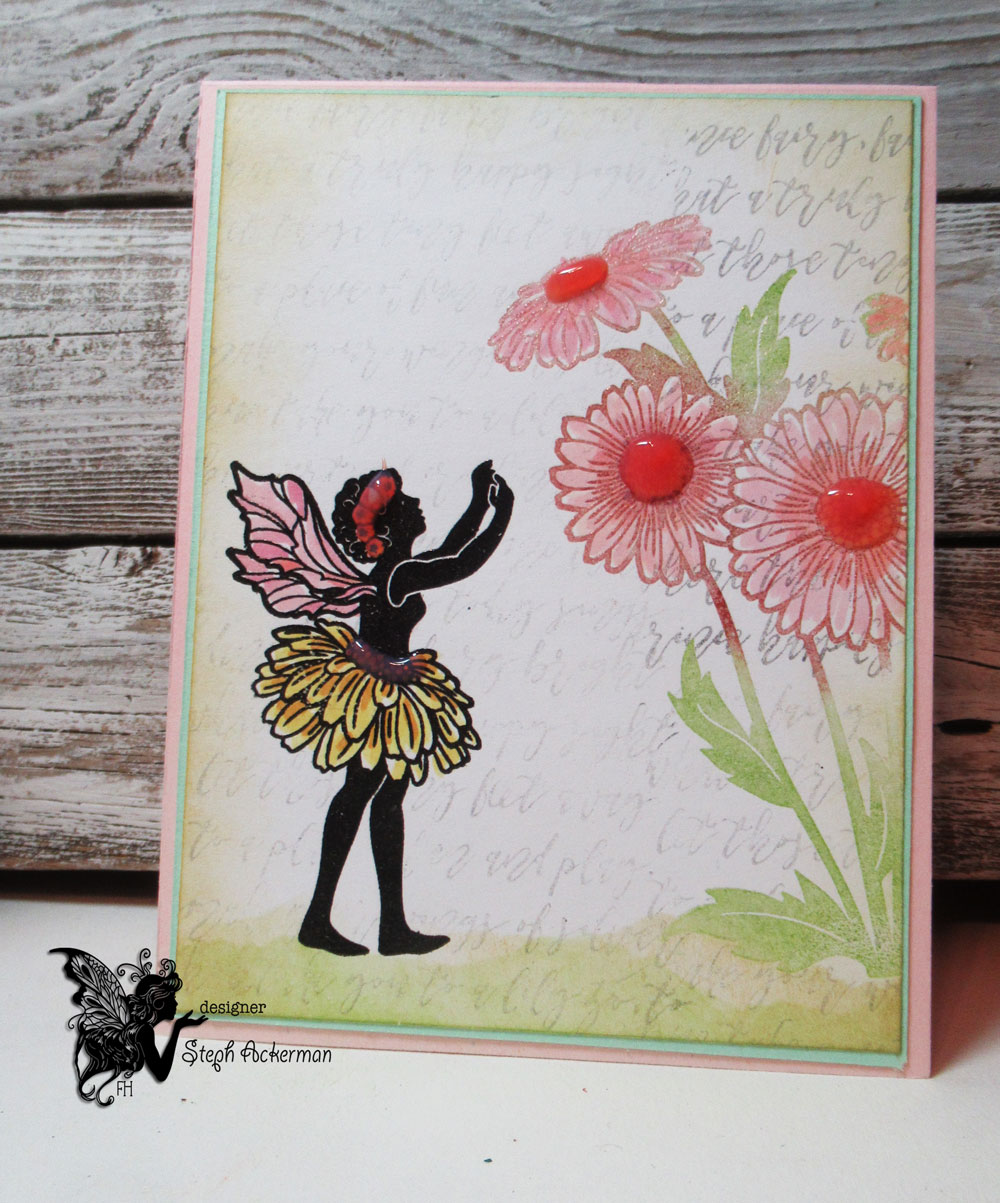
Sharing a card using Fairy Hugs stamps available at Fairy Stamper.

Fairy Hugs stamps: Juniper, Friendship Sunshine
Tutti Designs: Cross Stitched Oval Die

Stamping Juniper in the center of the oval, I stamped the included flower slightly to the right.
Using distress ink, I colored the area under Juniper.
Next, I inked and off-stamped the flower repeatedly under Juniper (I just left of the flower) using green ink. This left the one flower to stand out.

Add Juniper to a card and place the phrase in the upper corner.

Add color with Copic Markers.
Thanks for stopping by.
Steph