9/28/19

Happy Fall Card

Hi everyone and Happy Fall.  I've got a quick card today using whatever I had on my craft desk.


I love this time of year, don't you?  The changing colors of the leaves and the cool, crisp air.


Using left over clays from Makin'sⓇ Clay, I mixed them together to create the changing colors of the season.  I placed the clay in the Leaves Push Mold and removed this wonderful leaf.


Using the Joy Clair Fall Leaves stamp set, I stamped it on an oval, then placed the leaf above.  

Thanks for stopping by.

Steph


9/27/19

Halloween Wreath with Bowdabra

Hi everyone, I've got a new wreath on the Bowdabra blog.


I had this lovely grapevine wreath that needed a bow.  Using the Bowdabra, I created a green bow and incorporated a scarecrow and raffia.

Please stop by the Bowdabra blog for details.

Thanks for stopping by.

Steph

9/26/19

Lavinia World Challenge #10

Hi everyone, it's time for the next challenge at Lavinia World Challenges.  Please check it out and join in the fun.


Start by stamping See a Fairy Make a Wish stamp with VersaFine Clair Black Ink and embossing with Clear embossing powder on the Spellbound 2 paper.  Die cut the phrase.


Mat phrase with cream cardstock and ink edges with brown ink.  Create a card from green cardstock and wrap with ribbon.  Add the phrase to the card with foam adhesives for dimension.


Would love to see what you create for Challenge #10.  The winner of the challenge will receive a $15 gift certificate to Lavinia World to shop for more goodies.   Remember there is a new challenge every other Thursday.  Can't wait to see what you create.

Thanks for stopping by.


9/24/19

Whiskey Barrel DIY Pallet

Hi everyone, I'm on the Clear Scraps blog with the Whiskey Barrel DIY Pallet Shape and the Grateful XL Script Wood Quote.


This is a fun wood pallet which I first painted with 2 shades of brown paint.


Once dry, I realized I wanted it darker so I repainted it with a darker brown paint.  Once dry, I painted a layer of crackle paint across the horizontal boards.


The wood word was painted with red paint then spritzed with yellow ink for contrast and sparkle.


It was then added to the Whiskey Barrel.
 
 
This Whiskey Barrel is perfect to decorate with your favorite silk flowers.


I've hung it on my fence, but you can also consider placing it in your garden and let the flowers mingle with the barrel.


Thanks for stopping by.

Steph

9/23/19

Gift Bags with Rinea Foiled Papers

Hi everyone, I'm on the Rinea blog and this month we are teaming with Joy Clair stamps.


Die cut Mocha/Mocha Starstruck Foiled Paper, Marigold/Gold Glossy Foiled Paper and Emerald/Emerald Starstruck Foiled Paper.  The foils cut beautifully even with the most intricate of dies.


Adhere all pieces to the gift bags.


Stamp and color the car from the Joy Clair Friends and Family Stamp set.  Fussy each car and add to the gift bags.


Fold gift bags and punch holes in the tops.  Thread through twine and tie off.  Stamp one of the phrases with Staz On Piano Black Ink on Gold/Gold Glossy Foiled Paper and tie to twine.  Stamp GR8 on a scrap of foil and add to the license plates.


Finish by adding dew drops to the flower centers.

Fill the gift bags with goodies and give to those special friends.

Thanks for stoping by.

Steph

9/21/19

Blog Hopping with Arnold Grummer and Club Scraps


Welcome to my stop on the Falling for Handmade Paper blog hop! Today we have a dozen talented bloggers sharing projects featuring handmade paper using Arnold Grummer's Papermaking kits paired with Club Scrap's Falling Leaves collection. I created a mini purse that comes with a surprise inside!

Create the purse from red cardstock.   Instructions for the purse can be found hereCut a selection of leaf papers to fit the panels, both inside and out.  Once you create and assemble the pockets, the purse comes alive.


Make paper using one of the Arnold Grummer Papermaking Kits.  Using portions of some of the papers from the Club Scraps Falling Leaves Page Kit, I created my pulp, mixing in some Brilliants for Paper, then used the Garden Press and blotters to dry the papers I created.  

Once the papers dried, I stamped assorted leaves and sentiments using Club Scraps Falling Leaves Stamps.


I fussy cut some of the leaves, and die cut several phrases.  Handmade papers stamps and die cuts as easily as regular paper.


I created 4 cards using assorted papers, ribbons and stamps.


And the surprise is that the four cards (as well as the envelopes) fit inside the pockets of the purse.  


Add a Velcro dot to the closure tab to close the purse.  Wouldn't this make a fun gift?


WENDY BELLINO is your next stop. As you explore the hop today, we encourage you to leave each blogger a few kind words in the form of a comment. Those who leave a comment on every participating blog will be entered into a random drawing for a prize. Good luck.

A full list of participants can be found on both the Arnold Grummer blog and Club Scraps blog.

Thanks for stopping by.

Steph


9/19/19

Styletech blog hop

Image may contain: text
Hi everyone,  I'm participating with the Designer Craft Connection blog hop and this month we are working with Styletech Craft.  They have a wide variety of craft vinyl in a variety of styles and colors.

Halloween is coming.  Are you ready?  See how I used Styletech vinyls to create an assortment of Halloween party themed decorations.


I found this spider frame last year and thought it needed some altering.   I used etchallⓇ etching crème on the glass (etching directions can be found here), then I painted the frame with Prima Marketing paints.


To decorate the frame, I die cut Purple vinyl for the graveyard scene.


I placed Silver vinyl on black cardstock then die cut it with a pennant banner.


Next, I die cut letters from Copper vinyl and placed them atop the banner.


All pieces were added to the spider frame along with a trio of ghosts.


Next, I die cut letters from the Copper Vinyl.


And added them around a large goblet.


Finish by wrapping Purple vinyl around the stem and adding ghosts along the base.  Add clothes pins to the goblet's edge to hold tulle, then fill the goblet with candy.


Finally, no party is complete without candy gift bags, right?


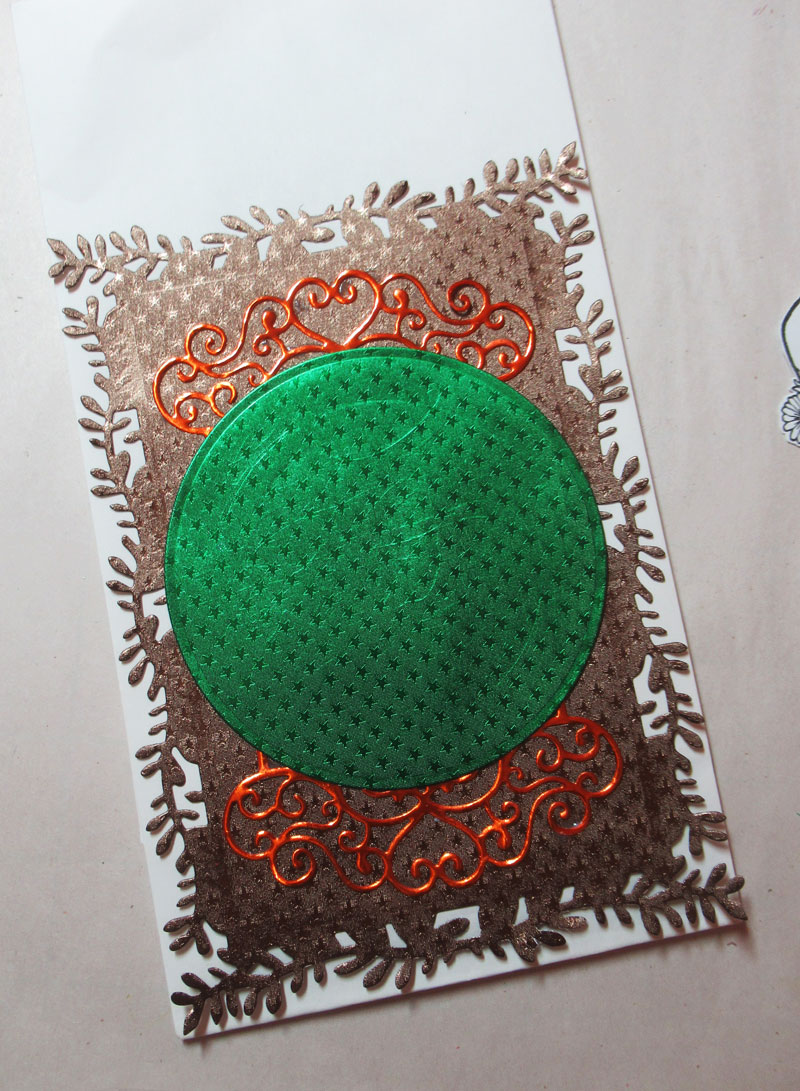
Using Spellbinders dies, I die cut Purple, Copper and Olive vinyls.


Cutting orange cardstock 4" x 4".  Each was scored in half to create the candy bag toppers.  Silver vinyl was adhered to each topper and the die cut elements added to the corners.  Phrases were stamped on Olive vinyl with StazOn Piano Black Ink - no smearing!!  Each phrase was then die cut and added to the bag toppers.


Candy was added to bags and the toppers were then attached.


Please stop by the Designer Craft Connection blog for a list of designers participating in this blog hop.

Thanks for stopping by.

Steph


9/18/19

Etched Spider Frame

Hi everyone, I've got a new project using etchallⓇ etching crème.


The frame was perfect for Halloween as it already had a spider on the glass.  On the reverse side, I placed masking tape along the edges of the frame (please forgive the glare).


I applied a layer of etching crème over the glass and allowed it to sit for 15 minutes.


After 15 minutes, I removed the etching crème and placed it back in it's original container since it is reusable.  Then I rinsed the glass and buffed it dry.  etchallⓇ etching crème created a frosted appearance behind the spider.


Next, I painted the frame with assorted colors of Prima Marketing paints.  Once dry, I decorated with assorted die cuts using Styletech Crafts vinyl.


Enjoy your Halloween.

Thanks for stopping by.

Steph