9/26/22

TLC Designs - Hello Matchbook Cards

Hi everyone, I'm on the TLC Designs blog with a set of matchbook cards today.


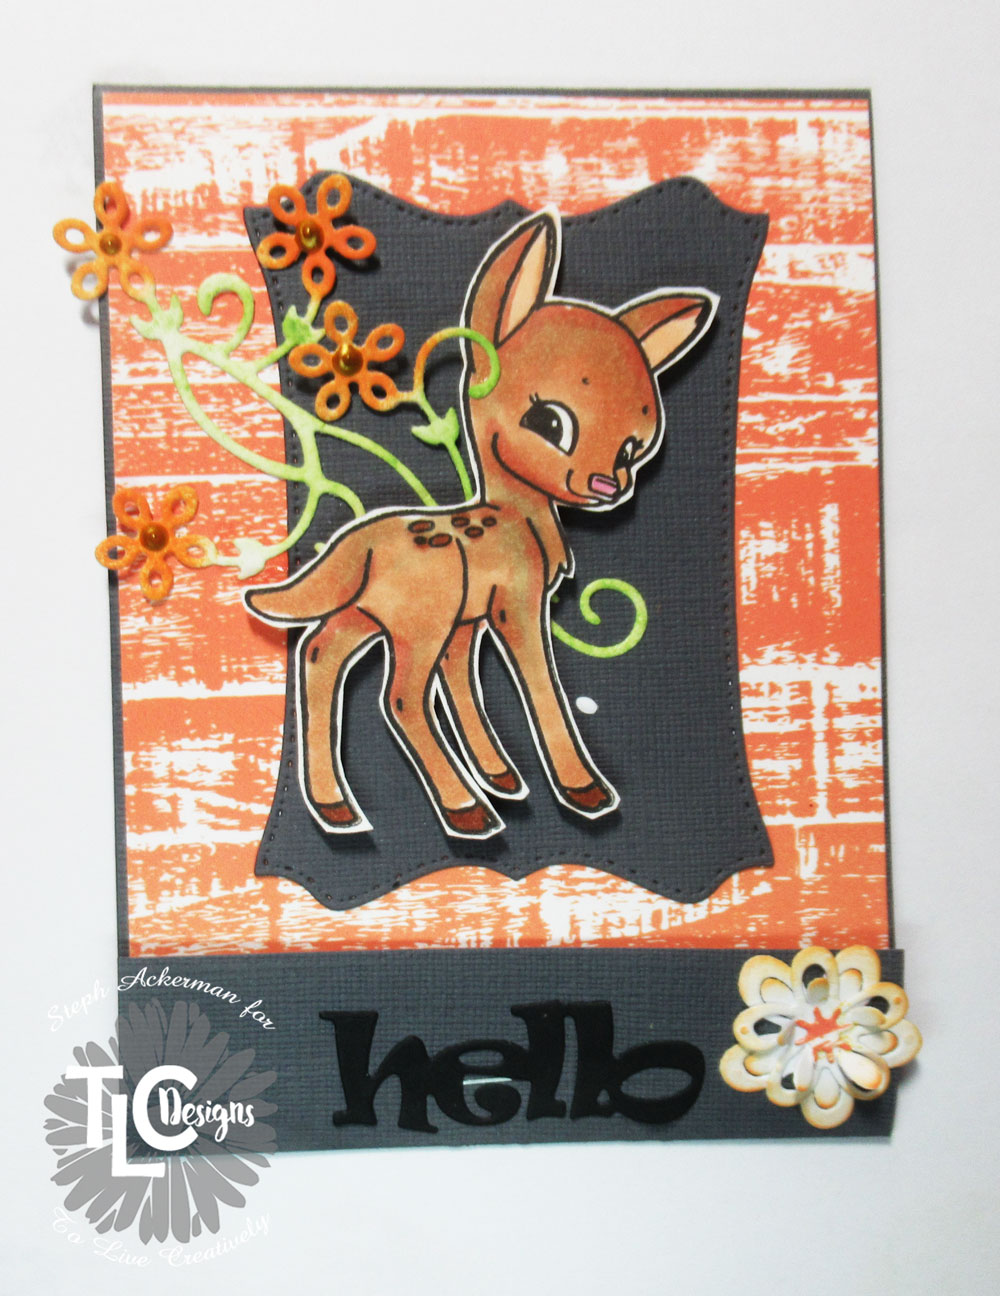
Creating the cards from gray cardstock, I cut pattern paper to fit the front, then die cut the smallest of the Daisy Frame Die for the center.
Die cutting white cardstock with the floral spray from the Tiny Vine Oval, I colored with distress inks and placed on the card.
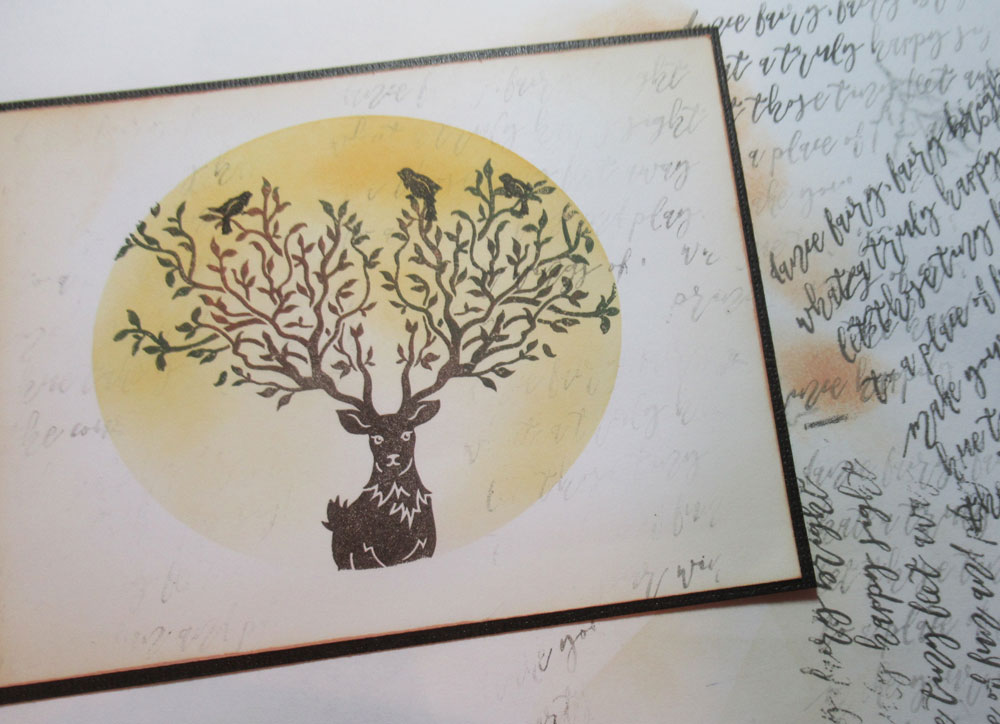
Printing the deer, I colored it with Copic Markers and fussy cut, then added to the card with foam adhesives for dimension.


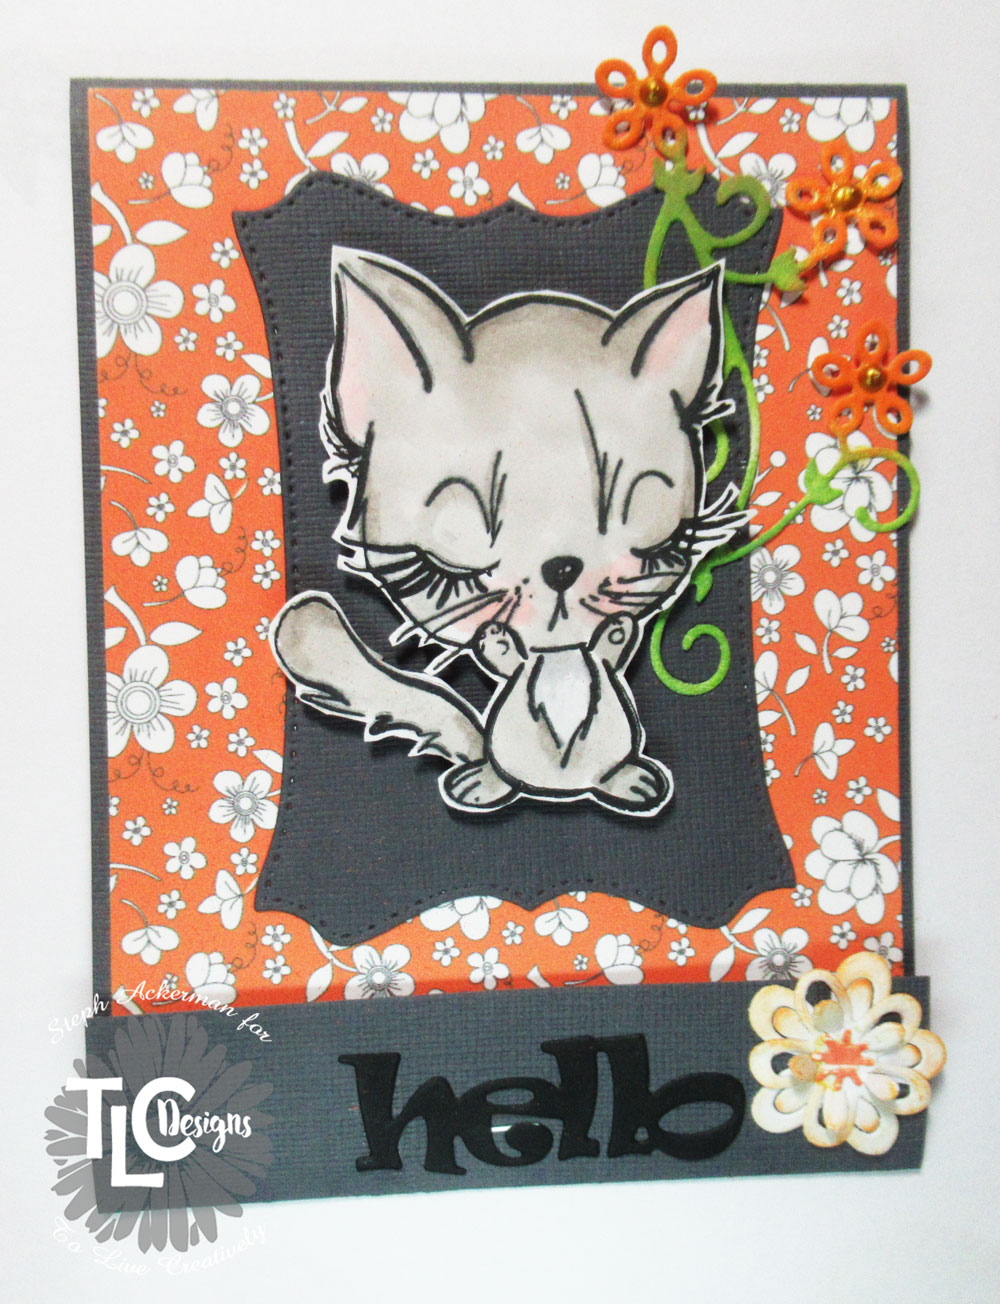
Creating a 2nd matchbook card, I added another pattern paper to the front cover.
Add a 2nd floral spray from the Tiny Vine Oval.
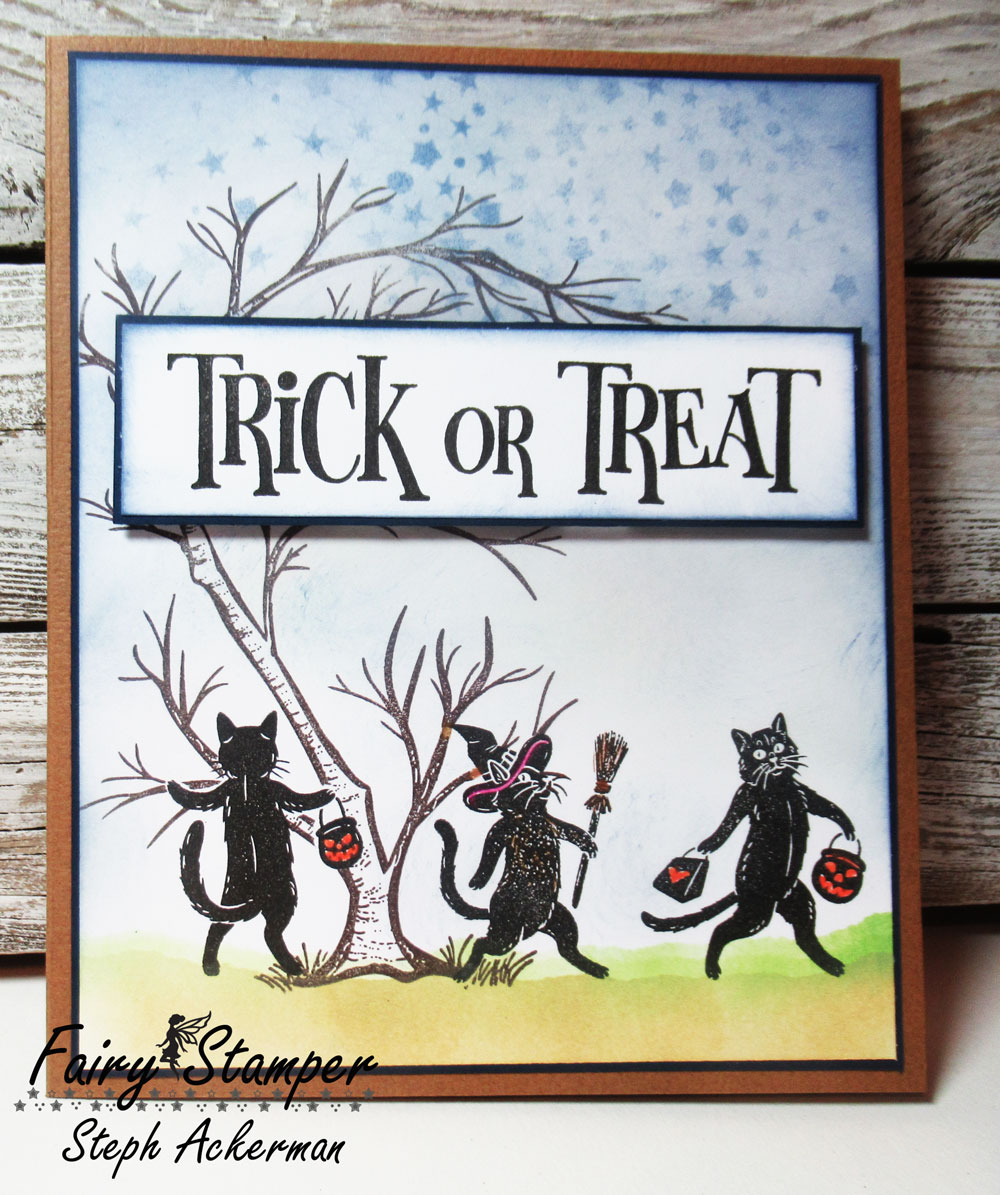
Using the Kittens Gem stamp set, I stamped and colored one of the cats with Copic Markers before fussy cutting.


Add white cardstock inside the cards.
Stamp flowers and sentiment from both stamp sets and color.
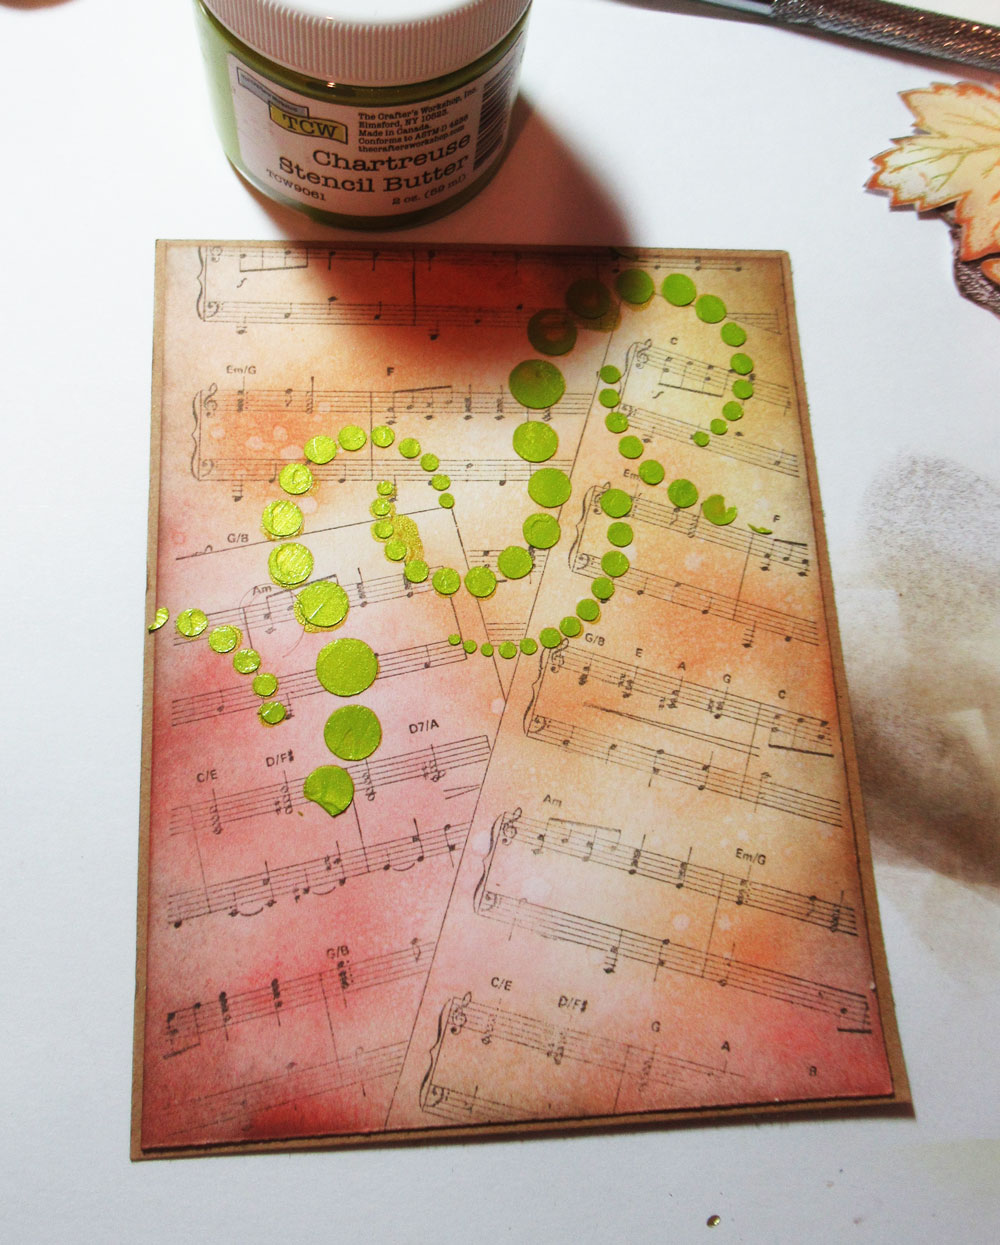
Add a portion of the stencil along the left side of the deer's panel.

Hello was die cut from the Rosie Sentiment Die.
The small flowers added to both cards were die cut from the Oval Lily Die.

Thanks for stopping by.

Steph

9/24/22

TLC Designs - Alicorn Happiness

 Hi everyone, I'm on the TLC blog sharing a slider card.


Create a card from red cardstock.
Use the stencil with pink ink to create the background directly on the card.


Die cut pattern paper with rectangle die.
Use one of the slider dies to create the channel across the panel.


Stamp and color the unicorn and butterfly in shades of pink.  Fussy cut each.
Add foam tape to the panel, place a penny in the slot and adhere to the pink panel.


Check out this quick video I created.


Add foam tape to the pink panel and place on the card.
Stamp and adhere the phrase to the corner.
Finish with stickles.

Thanks for stopping by.

Steph

Fairy Stamper - Daisy Hello

 Hi everyone, I have another Fairy Stamper project to share.  


Fairy Hugs Stamps: Zara's Daisy, Fairy Words


Stamp the daisies and color with Copic Markers.  
Die cut with the 2nd largest die.


Create the card from brown cardstock using the largest die.
Fold the cardstock and place the die slightly over the edge so the panel stays intact.
Die cut another panel and place on top to achieve the full effect of the die.


Add the stamped panel on top.
Stamp Hello and add to the card with foam adhesives for dimension.

Thanks for stopping by.

Steph

9/22/22

BPM - Oh Bountiful Season!

 Hi everyone, I'm using some amazing stamps from Blank Page Muse and I Brake for Stamps.


Stencil Butter: Lime Green


Stamp the Music Sheets Background in brown ink.  Color with a variety of inks.
Add drops of water around the panel and dry.
Place the stencil and use Stencil Butter to create dimension.


Stamp and fussy cut the leaves and acorns.  
Stamp phrase and die cut, adding ribbons to the ends.
Place acorns on top.


Thanks for stopping by.

Steph


Looking for more Inspiration? Click the links below!
The Blank Page Muse Shop https://blankpagemuse.com/

Save 15% of your Blank Page Muse orders with discount code:  BPMSteph

9/21/22

Happy Birthday Deer

 Hi everyone, we are celebrating Fairy Hugs' 2nd Anniversary.  


Supplies: Fairy Hugs Majestic Deer, Woodland Flight, Fairy Poem, Fairy Words


Die cut an oval from the center of one of the panels.
Tape the panels to the craft table.
Stamp the Deer in the center of the oval.  Add some birds.
Ink around the image with yellow ink. 


Remove the top panel and mat the panel with brown ink.
Lightly stamp the Fairy Poem randomly about the panel.


Add the panel to a yellow card.
Stamp Happy Birthday and add to the card with foam adhesives for dimension.

Thanks for stopping by.

Steph

9/20/22

Witches' Dance

 Hi everyone, Halloween is just around the corner, and it doesn't have to be spooky does it?


I love this Magnolia Witch stamp so I colored her with assorted Copic Markers before fussy cutting her.


I had an assortment of elements I wanted to use for a card.
Creating a card from black cardstock, I cut striped cardstock and matted it with orange cardstock before adding it to the card.
I matted assorted elements with the same orange cardstock and assembled the card.
A burlap oval was added to a die cut trellis.


I finished by adding leaves about the card.

Thanks for stopping by.

Steph

9/17/22

Fairy Stamper - Trick or Treat

 Hi everyone, I have another Fairy Stamper project to share.  


Fairy Hugs stamps:  Ania's Tree, Trick or Treet, Shadow, Ziggy, Milo
Fairy Hugs Stencil: Galaxy Stencil

Start by creating the ground and adding the 3 cats.
Ink the background.
Masking the cats then stamp Ania's Tree.
Place the stencil along the top and ink with dark blue ink.
Stamp and mat the phrase, adding it to the card with foam adhesives for dimension.

Thanks for stopping by.

Steph

9/15/22

TLC Designs Celebrate Card

Hi everyone, did you know that TLC Designs is celebrating this month with an Instagram Hop.


Cupcake Digital Image
Sprinkles


Die cut the panels from the Celebrated Times Paper Pack.
Print the cupcake and color with Copic Markers


Assemble the card layers, inking the center frame to coordinate with the colors in the papers.  
Adhere the cupcake to the frame, then add assorted Sprinkles about the card.


Thanks for stopping by.

Steph

Never Lose Hope with Gina K Designs

Hi everyone, I'm participating in the Designer Crafts Connection blog hop, and this month we are partnering with Gina K Designs.


I received the Never Lose Hope stamp set and decided to create 2 different cards.


For the first card, I created a background with spray inks.
I stamped one of the butterflies randomly about the panel.


After matting the panel with cardstock, I wrapped it with ribbon, tying it off with twine.
The sentiment is from the same stamp set.
I punched it and added it to the card with foam adhesives for dimension.


My second card uses the other butterfly which I chose to color with Copic Markers.
The sentiment is also from this stamp set.

Thanks for stopping by.

Steph

9/13/22

PPCF - Connie Fong Designs

 Hi everyone, I've used the amazing Connie Fong image - Tori the Dragon.


Tori is adorable and I immediately thought I'd create a birthday card.
Tori was colored with Copic Markers then fussy cut.


Using a birthday embossing folder, I embossed a left over panel of cardstock.
Matting it with cardstock, I wrapped the panel with ribbon before adding it to the card.
Placing an oval on the card, I added Tori with foam adhesives for dimension.


Thanks for stopping by.

Steph


9/12/22

TLC Designs - Have a Witch of a Time

Hi everyone, I'm on the TLC Designs blow today creating with the Stay Boo and Scary On digital stamps.  With 11 digital images, these stamps are so cute and perfect for Halloween creations.


Who wouldn't enjoy creating with these cuties?


I printed the images and fussy cut them before coloring with Copic Markers.


Using the 
Butterfly Rectangle Frame Die, I created a card from back cardstock.  Placing the largest die over the edge of the folded cardstock allows you to create the card.  The next layers were die cut from the Delicious Slimline Paper Pack.


Assembling the card, the elements were added with foam adhesives for dimension.


Thanks for stopping by.

Steph

9/11/22

Etchall - Hostess Gift

Hi everyone, I love decorating jars - with so many sitting on my shelves, I love to see how each can be decorated differently.  With the holidays approaching, hostess gifts are always needed so I used  etchallⓇ to create the perfect gift.


Place the jars in etchallⓇ dip 'n etch and allow to sit for 15 minutes.


Remove the jars and pour the dip 'n etch back into the original container since it is reusable.
Rinse off the jars and dry them.


Decorate the jars to fit the occasion.
I chose to go with a fall them and wrapped ribbon around the tops of the jars.


Add some flowers and put the jars in a caddy.


Thanks for stopping by.

Steph

9/10/22

So Special with Fairy Hugs

 Hi everyone, I have another Fairy Stamper project to share.  


I've used Fairy Hugs Taylor's Tiger Lily and Some People


After stamping the images, I placed the Fairy Spirals Stencil and lightly inked with yellow ink.


I love the background this stencil created.


The sentiment was stamped in the corner.

Thanks for stopping by.

Steph