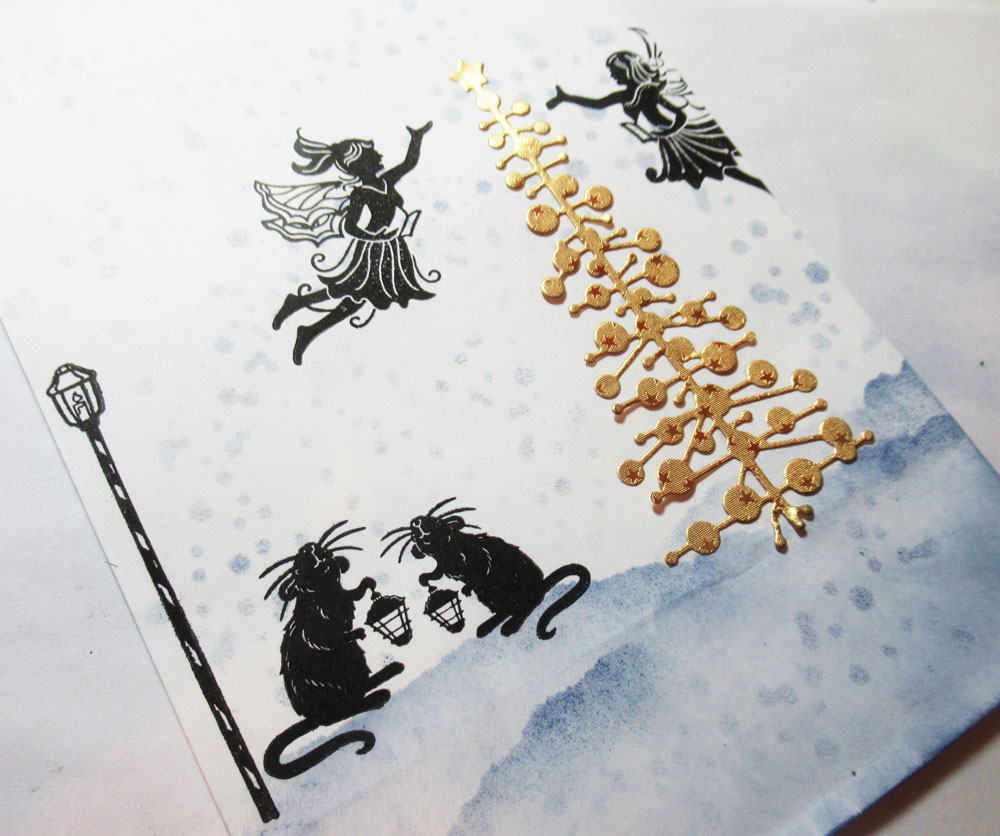
Hi everyone, I have another Fairy Stamper project to share.

Fairy Hugs: Stream Scene
Let's put the cold of winter behind us by dreaming of staying in the Little Mushroom House by the Stream. I've used Oxide Inks for the background and Copic Markers for the House.
Die cut with Tutti Designs Slimline Dies and assemble.
Thanks for stopping by.
Steph