Showing posts with label lawn fawn. Show all posts

2/1/24

Scor-Pal - Heart Gift Boxes

Happy February.  Valentine's Day will be here shortly and what better way to show the love than by creating these sweet gift boxes.


Supplies:  Scor-Buddy
Spellbinders Dies
Lawn Fawn Dies
Ribbon


To create the box shape, cut cardstock 3 1/2" x 7".
With the 7" length at the top, score at 3 1/2".


Rotate the paper and score at 1" and 2 1/2".


Fold along the scored lines.
At the center line, cut as shown for ease of assembly.


Place Scor-Tape along the edges.


Pulling up the Scor-Tape, fold into shape.
Leave the remaining tape in place while preparing the hearts.


Die cut 2 large scalloped hearts from white cardstock to be used as the base.
Die cut 2 smaller hearts from pattern paper and adhere to each base.
Remove the Scor-Tape and adhere the hearts to each side of the box.
Add die cut hearts inside the box.


Punch holes and thread ribbon through the holes.
Place Scor-Tape on the ends of the ribbon and adhere to the inside of the box.


Die cut phrases or words and adhere to each box.

Thanks for stopping by.
Steph

1/24/24

Fairy Hugs Friend

  Sharing a card using Fairy Hugs stamps available at Fairy Stamper.


Fairy Hugs stamps:  You AreLantana


Stamp Lantana and color with Copic Markers.
Fussy cut her.


Die cut cream cardstock and stamp the phrase.
Mat with brown and pink cardstock before adding to pattern paper and pink cardstock.
Create a card from brown cardstock and assemble the card.
Add Lantana to the card with foam adhesives for dimension.
Add several pearls.

Thanks for stopping by.

Steph

12/4/23

Hello Winter with Joy Clair Stamps

 Hi everyone, let's say hello to winter.


Supplies:  Spellbinders Impressabilities
Joy Clair Stamps
Ranger Distress Oxide Inks
Copic Markers


Using a Spellbinders Impressabilities, emboss pattern paper.
I chose paper I had in my stash forever.
Add color with Oxide Inks in Blue Jeans, Hickory Smoke and Speckled Egg.


Stamp and color the snowmen with Copic Markers.
Fussy cut and add to a die cut circle.


Mat the panel with blue cardstock and wrap with ribbon.
Adhere to a card.
Place circle on card with foam adhesives for dimension.
Add Stickles around the card.

Thanks for stopping by.

Steph

12/2/23

Fairy Hugs Lou Lou

   Sharing a card using Fairy Hugs stamps available at Fairy Stamper.


Fairy Hugs stamps:  Lou Lou


Color Lou Lou with assorted Copic Markers.
Fussy cut Lou Lou.


I created a card using left over die cuts on my desk.
Lou Lou was added to the corner with foam adhesives and arrange some foliage behind her.


Inside card add the Holiday Sparkle sentiment.


Thanks for stopping by.

Steph

10/23/23

Happy Halloween Witch

 Hi everyone, sharing a sweet non traditionally colored Halloween card.


Supplies:  Magnolia Stamp
Joy Clair Stamp
Copic Markers
Lawn Fawn Dies


I love this Magnolia witch.  It's always been a favorite.
I chose to color her in shades of blue.
She was die cut with Lawn Fawn dies.
Happy Halloween is from Joy Clair.

Thanks for stopping by.

Steph

10/14/23

Fairy Hugs Joy Wings

  Sharing a card using Fairy Hugs stamps available at Fairy Stamper.


Fairy Hugs Stamps:  Joy Wings


These new smaller stamps are perfect for this slim line card.
I simply stamped the hydrangea to show through two of the hearts and joy in the center using a variety of inks.


These stamps are perfect for this type of card.

Thanks for stopping by.

Steph

10/3/23

BPM - Flower Fairy Fantasyland

 Hi everyone, I'm using some amazing stamps from Blank Page Muse and I Brake for Stamps.

Blank Page Muse Stamps: Fairy Sitting in Flowers Fantasy
I Brake for Stamps:  Old Friends


Stamp and emboss the fairy.
Color with Copic Markers, then die cut her.


Create a card from green cardstock.
Cut a sheet of pattern paper to fit.
Mat the fairy with green cardstock.
Stamp and die cut the sentiment, mat with cardstock.


Add all the elements to the card, using foam adhesives for dimension.

Thanks for stopping by.

Steph


Looking for more Inspiration? Click the links below!
The Blank Page Muse Shop https://blankpagemuse.com/

Save 15% of your Blank Page Muse orders with discount code:  BPMSteph

12/16/22

Quick and Easy Christmas Projects - Day 2

 Hi everyone.  Christmas will be here before we know it.  The last eight years I've blogged about last minute Christmas ideas you could make in under 60 minutes.  Well, it's that time again and I've got some new projects to share.

Today I'm sharing a set of cards using the same stamps, but with different results.


These cuties from Lawn Fawn make a lovely card.


Die cut the back rectangle.
Die cut mountains and assemble the card.


Determine the placement of the stamped and die cut elements.
Stamp the snowflakes on the background.
Stamp and die cut santa and his sleigh.


Add a sentiment inside along with one of the stamped and die cut images.


Use the same stamps and mix with a Spellbinders die to get a totally different effect.

Thanks for stopping by.

Steph

If you missed my previous posts, you can find them here:

Day 1: Gift Bag

11/1/22

Scor Pal Candy Pouches

Hi everyone, it's a new month and the challenge on the Scor-Pal blog is to create anything you want, just be sure it includes more than one score.


I have lots of 6"x6" pads of papers, so I thought I'd create some Thanksgiving candy pouches.


Add the Scor-Envie to the Scor-Pal.
Score at 4 1/4", 4 1/2", 7 1/2", 7 3/4".
Rotate and score at 3 1/2", 8 1/4" x 8 1/2".


Cut and remove the small triangles created with the intersecting score lines.
Fold on each score line.


Add Scor-Tape to the center panel and add pattern paper.


Alternatively, you could use double sided pattern paper to achieve the same results.


Add Scor-Tape as shown to create the envelope.
Place a candy bar inside so the envelope can be sealed.


I needed 5 envelopes, so I used assorted 6"x6" papers to make them.
They are the perfectly sized for a regular sized Kit Kat bar and Reeses bar.


Using a leaf die, I die cut assorted colors of Rinea Foiled Papers.
Placing strips of burlap across the envelope, I scrunched the leaf and added it on top.
Grateful was stamped and die cut from Lawn Fawn stamps and dies.


Thanks for stopping by.

Steph

8/26/22

PPCF - Lawn Farm Winter Skies

Hi everyone, big thanks to Lawn Fawn for supplying this wonderful stamp and die set called Winter Skies.  I absolutely adore this stamp and die set.


Supplies:

Lawn Fawn Woodgrain Cardstock - Dark Brown
Lawn Fawn Winter Skies Stamps 
Lawn Fawn Winter Skies Die Set
Lawn Fawn Stitched Mountain Border
Lawn Fawn Large Stitched Stacked Circles
Lawn Fawn Outside In Stitched Rectangles
Lawn Fawn Small Stitched 4 Bar Rectangles


Die cut 2 layers of mountains and layer together on blue cardstock.
Use the large rectangle die to die cut the background.


Stamp assorted snowflakes on the background with white ink.
Stamp and die cut all images and place them about the card.
Color each with Copic markers.


Create a card from the woodgrain paper.
Die cut blue cardstock for the base.
Die cut a circle for the card base and stamp the sentiment.
Add one of the colored images.


Assemble the card, adding an off-cut circle as the moon.
Place the sleigh across the moon.

Thanks for stopping by.

Steph

6/3/22

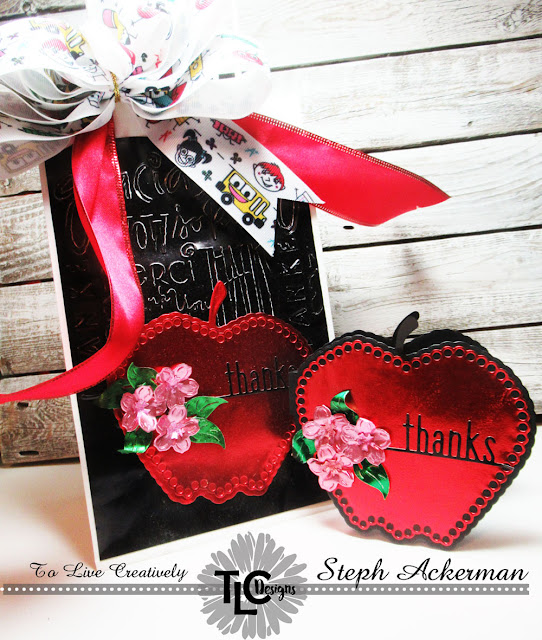
Teacher's Gift Ensemble with TLC Designs

Hi everyone, I'm on the TLC Designs Blog sharing an ensemble for a special teacher.


The Apple A Day Die Set is perfect for creating teacher cards and gifts.


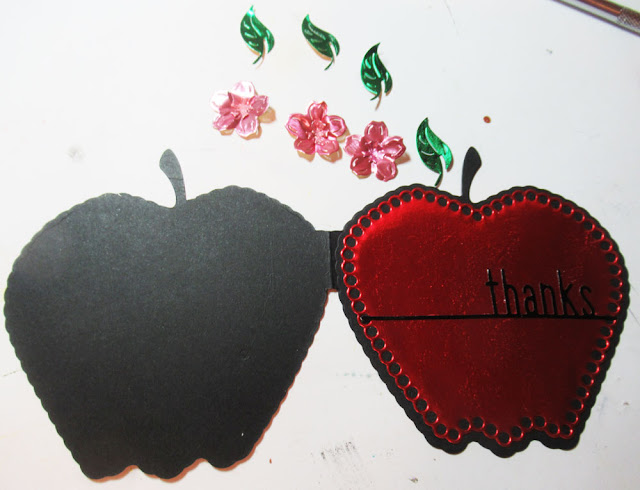
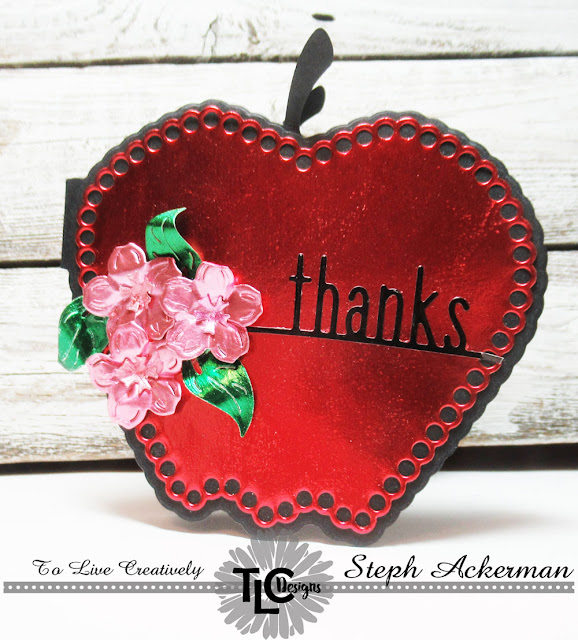
Die cut both apple dies from Rinea Ruby/Gold Foiled Paper.


Create the card from black cardstock and add the smaller apple die on top.  Die cut flowers and leaves from the same set using Blush/Gold Glossy Foiled Paper and Jade/Gold Glossy Foiled Paper and place them atop the die cut thanks.


Assemble all elements.

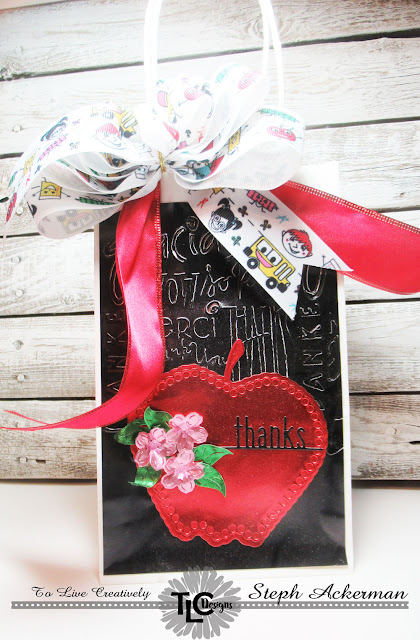
To create the gift bag, emboss a panel of Ebony/Gold Glossy Foiled Paper and adhere the panel to a gift bag.

Die cut apples again and adhere them together as above.


Place on the gift bag.


Add assorted ribbons to complete the gift bag.

Thanks for stopping by.

Steph