1/7/23

Fairy Hugs Magical Hollow

 Hi everyone, I have another Fairy Stamper card to share.


Fairy Hugs Supplies:  Little Mushroom House
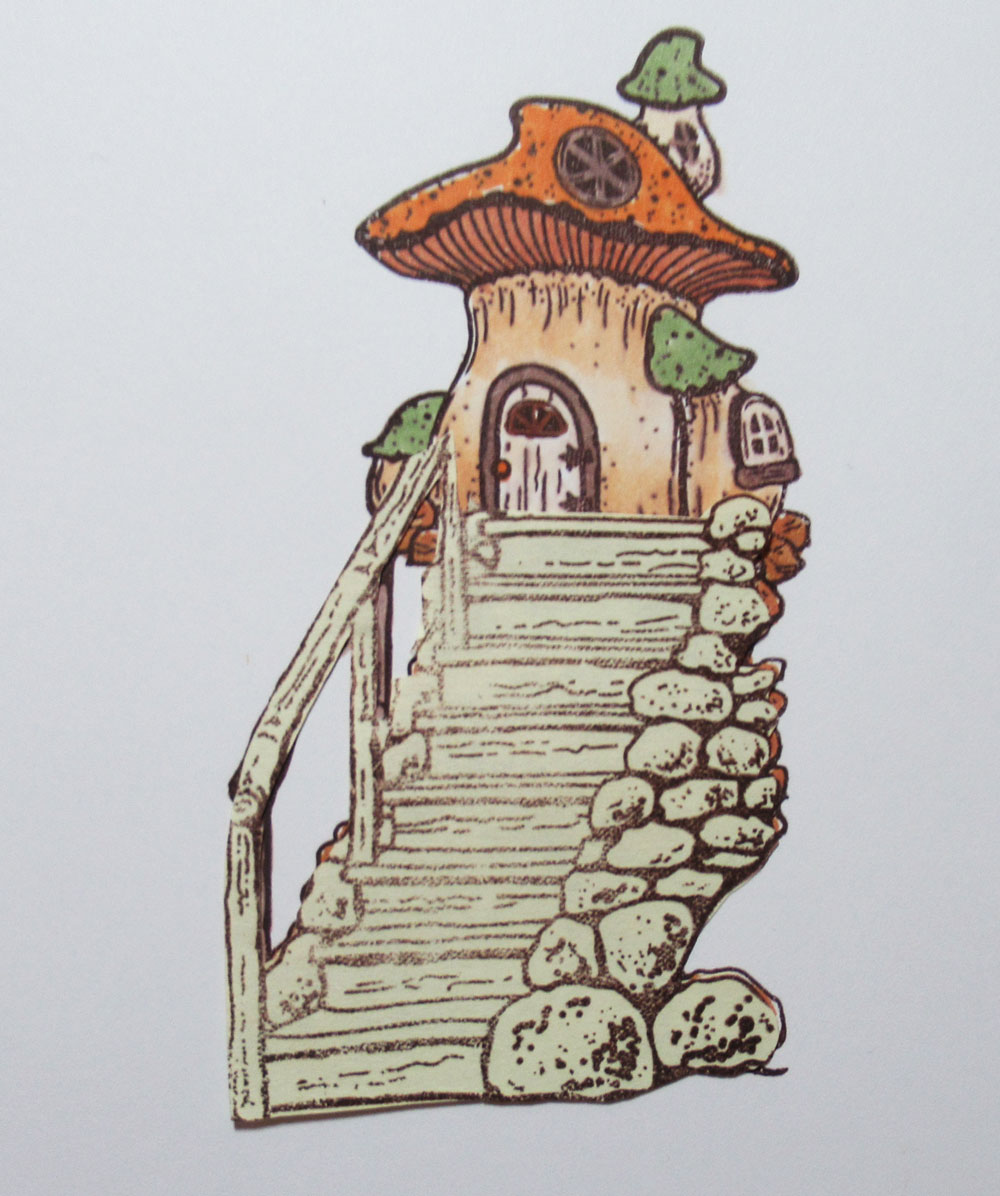


Stamp the Little Mushroom House and color with Copic Markers.
Mask the house and stamp the Forest Steps.


Mask both images and use Distress Oxide Inks to add color to the background.


Create the hillside background and add some greenery from the Forest Flowers set.
Place the Magical Hollow Die around the image.

Thanks for stopping by.

Steph

1/3/23

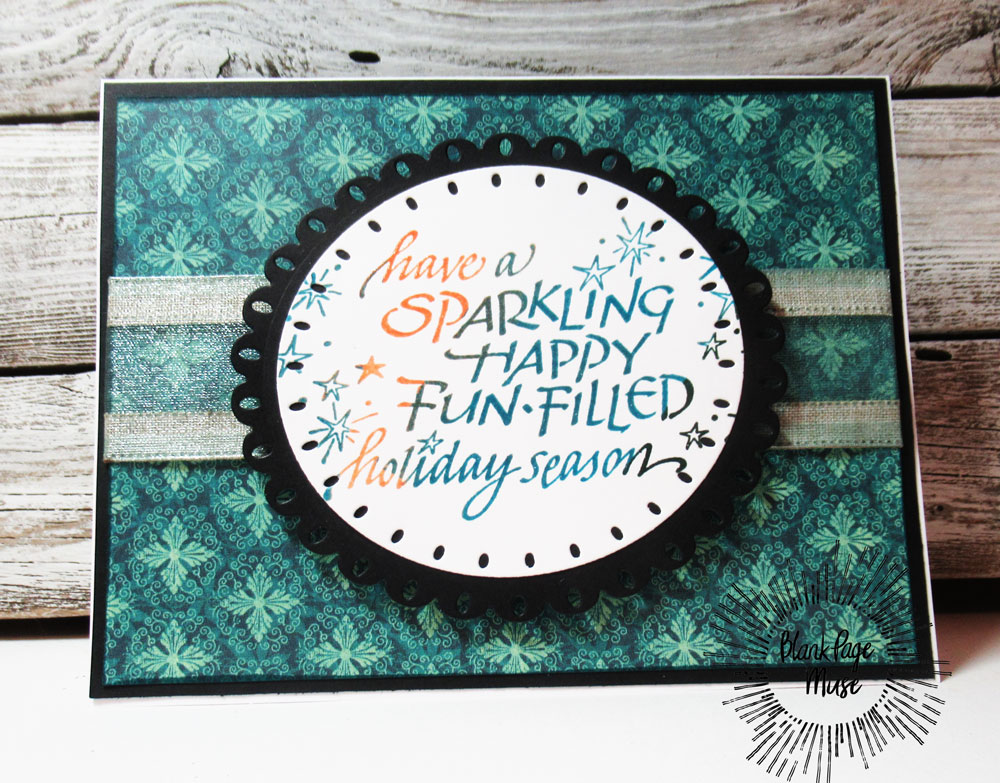
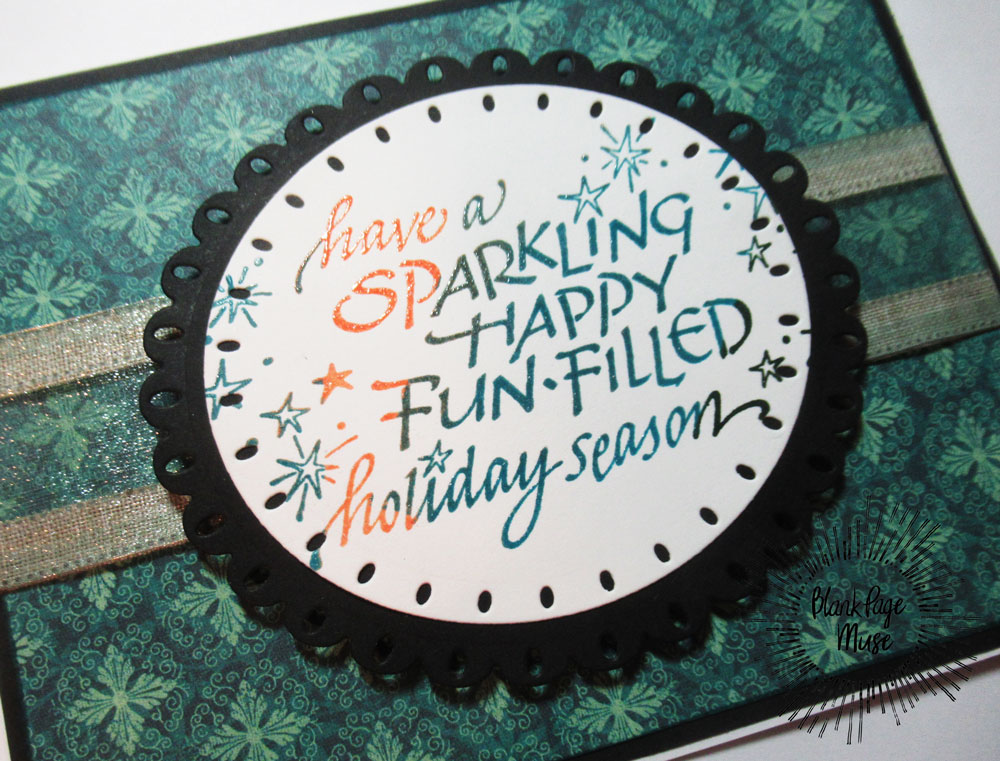
BPM - Have a sparkling holiday season

 Hi everyone, I'm using some amazing stamps from Blank Page Muse.


I inked the stamp in several colors of inks and heat embossed.
The phrase was then die cut with TLC Designs Tiny Vine Oval.


The phrase was then matted with a black panel.


Using a white card, I cut Graphic 45 paper to fit.
Wrapping the panel with ribbon, I matted added it to black cardstock then added it to the card.
The phrase was added with foam adhesives for dimension.

Thanks for stopping by.

Steph


Looking for more Inspiration? Click the links below!
The Blank Page Muse Shop https://blankpagemuse.com/

Save 15% of your Blank Page Muse orders with discount code:  BPMSteph

12/31/22

Fairy Hugs - Dreaming by the Stream

 Hi everyone, I have another Fairy Stamper project to share.


Fairy Hugs:  Stream Scene

Let's put the cold of winter behind us by dreaming of staying in the Little Mushroom House by the Stream.  I've used Oxide Inks for the background and Copic Markers for the House.

Die cut with Tutti Designs Slimline Dies and assemble.

Thanks for stopping by.

Steph

12/30/22

Fairy Hugs Brave

 Hi everyone, I have another Fairy Stamper project to share. 


Fairy Hugs Stamps:  Paloma
Fairy Hugs Stencil: Galaxy


Stamp Paloma, then mask her and stamp the Pine Tree Cluster around her.
Create snow mounds.


Using yellow ink to create a sunset.
Use the Galaxy Stencil with blue ink to add some stars around her.


Add color to her wings with Copic Markers.
Stamp several floral images amongst the snow mounds.
Add dew drops for dimension.
Stamp, die cut and adhere the sentiment to the corner.

Thanks for stopping by.

Steph

12/26/22

Santa Cookie Box

Hi everyone, I'm on the TLC Designs blog today sharing a last minute Christmas gift for those who gather with friends or family after the holidays.


I love to recycle containers and these TLC Designs papers and stamps were a perfect choice to decorate this box.


I began by wrapping ribbon around the box then added the sentiment. 
Paper from the Classic Santa Paper Pad was cut to fit the top.


The largest Star Spangled Confetti die was added to the top. 
The Jingle Time Santa was stamped and colored with Copic Markers, then die cut with the Happy Dragonfly Circle and added to the star.  A mini star was then added to Santa's hands.


Thanks for stopping by.

Steph

Fairy Hugs - Magical Hollow Surprise

 Hi everyone, Merry Christmas.


Fairy Hugs Stamps:  Fairy Couple
Fairy Hugs Stencil:  Galaxy
Fairy Hugs Die:  Magical Hollow
Fairy Hugs Paper:  Shimmergust


Using a large die cut circle, add assorted colors using distress oxide inks.
Stamp the mushrooms on the left side.
Stamp Forest Flowers around the circle.
Ink the Galaxy stencil.
Stamp, emboss and fussy cut the Fairy Couple.


Using one of the Shimmergust papers, place the circle and surround it with the Magical Hollow.
Add the Fairy Couple with foam adhesives for dimension.


Mat the panel with yellow cardstock before adding it to the card.

Thanks for stopping by.

Steph

12/25/22

Fairy Hugs - With Love at Christmas

 Hi everyone, I have another Fairy Stamper project to share.


Fairy Hugs Stamps:  Love at Christmas


I had this lovely Christmas die from Amy Designs which I die cut from white cardstock.


I stamped the phrase on a separate panel of white, then adhered the die cut panel.
Several little fairies were stamped about the houses.


Add the panel to the card with foam adhesives for dimension.

Thanks for stopping by.

Steph

12/24/22

Quick and Easy Christmas Projects - Day 10

Hi everyone.  Christmas will be here before we know it.  The last eight years I've blogged about last minute Christmas ideas you could make in under 60 minutes.  Well, it's that time again and I've got some new projects to share.

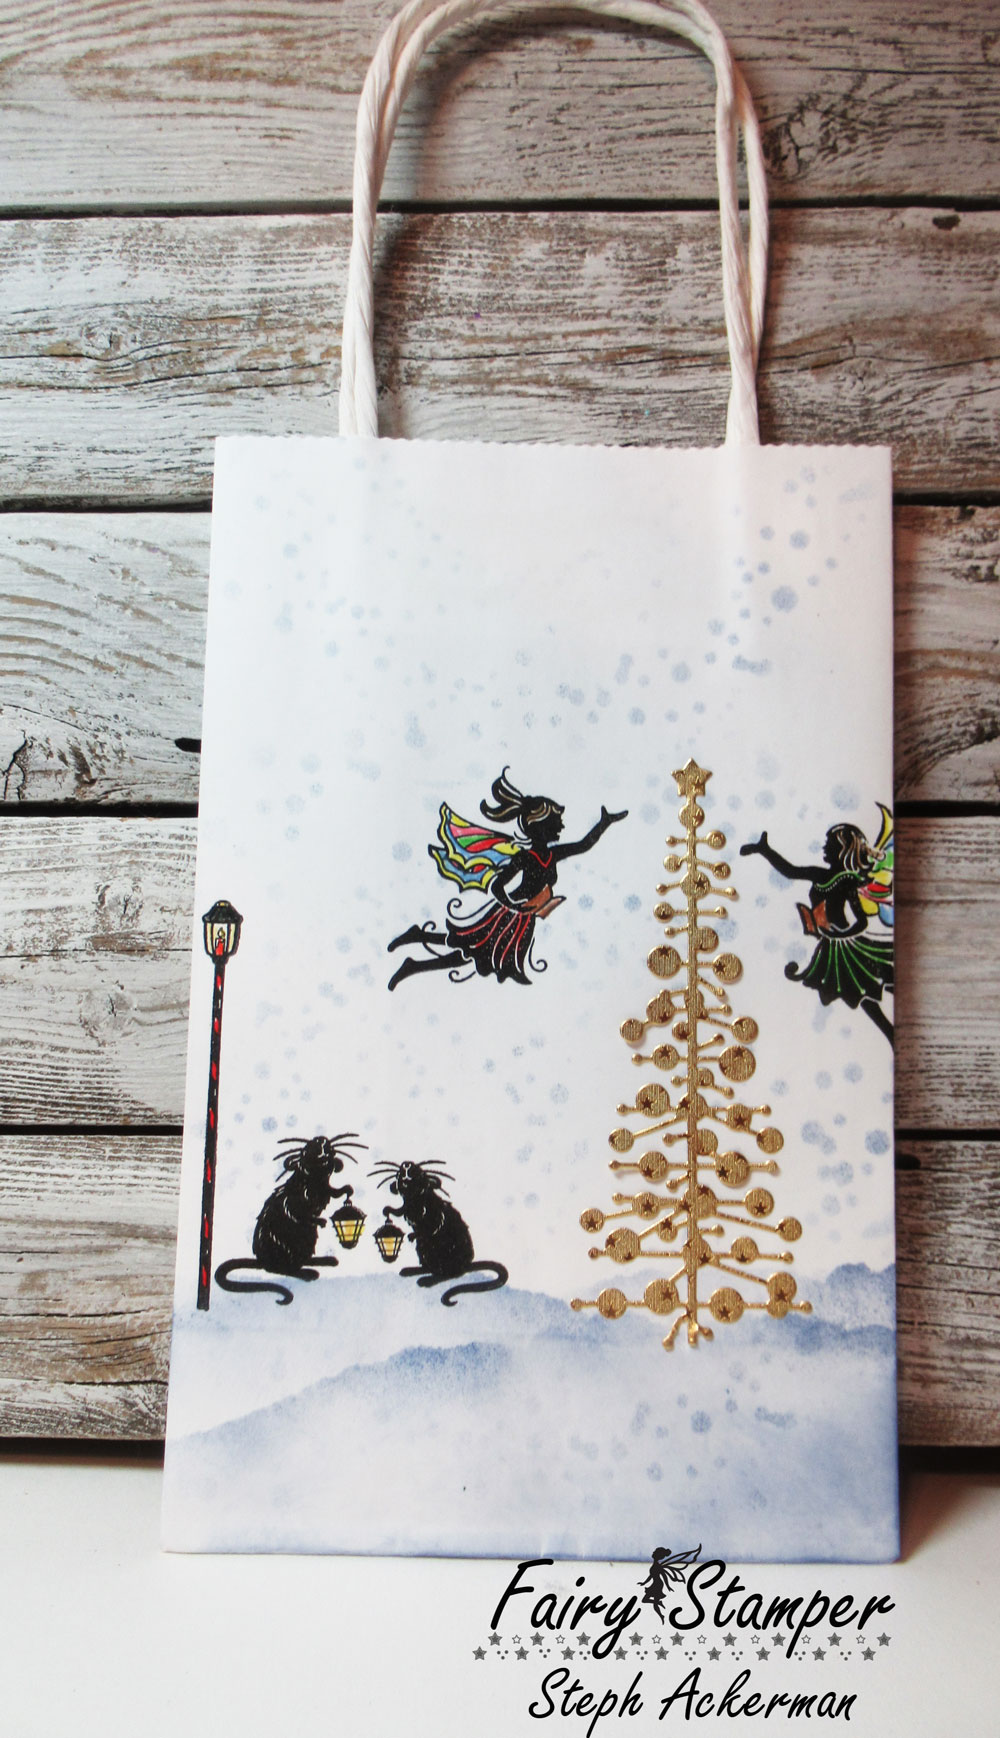
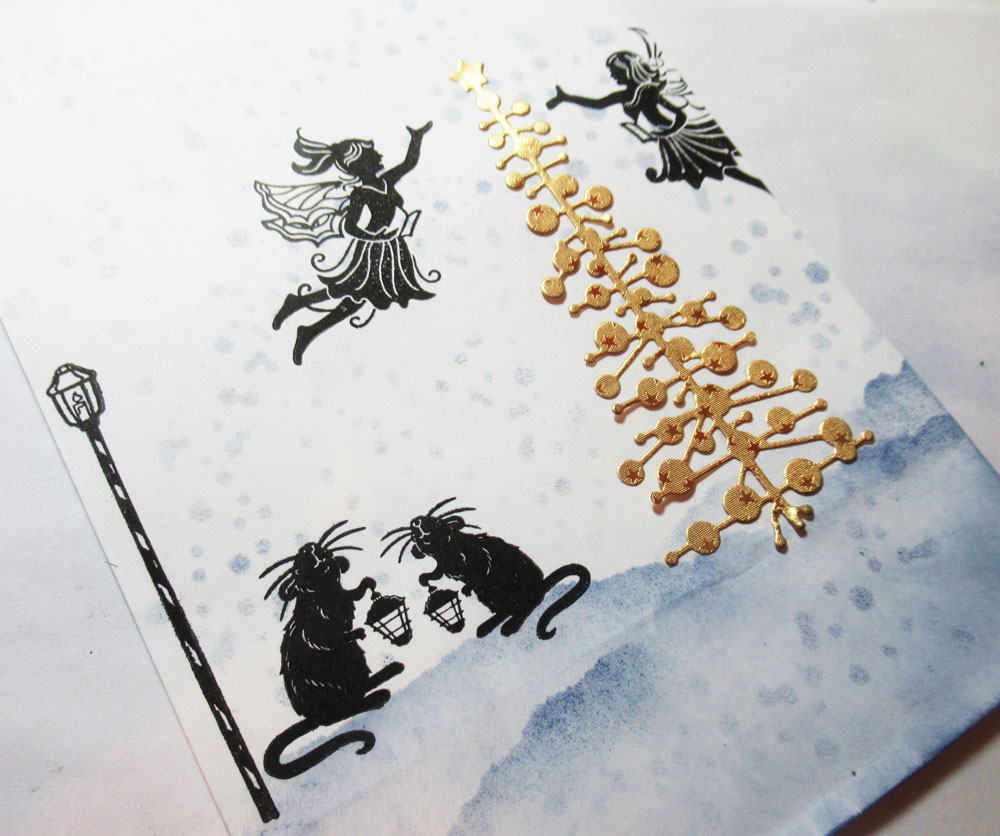
Today I'm sharing a sweet gift bag using Fairy Hug stamps with a Tutti Designs die cut tree.


Supplies:  Fairy Hugs stamps:  Mice
Fairy Hugs Stencil:  Swirling Snow
Tutti Designs Die


Start by inking the Swirling Snow Stencil with blue ink.


Die cut the tree from Rina Foiled Papers - Gold Starstruck.
Stamp the mice to the left of the tree.
Create snow banks to ground the tree and mice.
Stamp the lamp post by the mice and then the fairies around the tree.


Add additional snow flurries as necessary.
Ink the edges of the bag with blue ink.

Thanks for stopping by.

Steph

If you missed my previous posts, you can find them here:

Day 1: Gift Bag
Day 2: Cards
Day 3: Tags
Day 4: Easel Card


12/23/22

Quick and Easy Christmas Projects - Day 9

Hi everyone.  Christmas will be here before we know it.  The last eight years I've blogged about last minute Christmas ideas you could make in under 60 minutes.  Well, it's that time again and I've got some new projects to share.

Today I'm sharing a decorated box that can be used for candies, cookies, small treats of even a gift card.  If you are like me, you have tons of assorted boxes/tins available to upcycle.

Supplies:
Tutti Designs Die


Wrap the base with ribbon and add the sentiment.


Cut a circle in paper, place atop cardstock to use as a template.
Stamp the Mice in the center and the hanging snowflake at the top.  
Surround them with the Wreath Builder.
Remove the top paper and die cut.
Mat with a larger die and adhere to the top of the tin.


Then simply fill with cookies (or even candies) or maybe a gift card and give to someone special.

Thanks for stopping by.

Steph

If you missed my previous posts, you can find them here:

Day 1: Gift Bag
Day 2: Cards
Day 3: Tags
Day 4: Easel Card

12/22/22

Quick and Easy Christmas Projects - Day 8

Hi everyone.  Christmas will be here before we know it.  The last eight years I've blogged about last minute Christmas ideas you could make in under 60 minutes.  Well, it's that time again and I've got some new projects to share.

Today I'm sharing an easy gift card holder.  Unfortunately, I find I am giving more gift cards these days and I find them so impersonal.  So I like to dress them up.


This is a perfect way to use up paper scraps and create something fun for family and friends.

Directions can be found here.

Thanks for stopping by.

Steph

If you missed my previous posts, you can find them here:

Day 1: Gift Bag
Day 2: Cards
Day 3: Tags
Day 4: Easel Card
Day 5: Candy Boxes

BPM - Musical Merry Christmas

 Hi everyone, I'm using some amazing stamps from Blank Page Muse and I Brake for Stamps.


I inked the music background with red ink and placed it on white cardstock.


Merry Christmas was stamped in black ink in the center of the card and then embossed with gold embossing powder.  Next, the panel was then matted with black cardstock.


I die cut a poinsettia and attached it to the card with a large brad.
The panel was added to a red card using foam adhesives for dimension.

Thanks for stopping by.

Steph


Looking for more Inspiration? Click the links below!
The Blank Page Muse Shop https://blankpagemuse.com/

Save 15% of your Blank Page Muse orders with discount code:  BPMSteph

12/21/22

Fairy Hugs Home Sweet Home

 Hi everyone, I've created a sweet card, perfect for a new home owner.


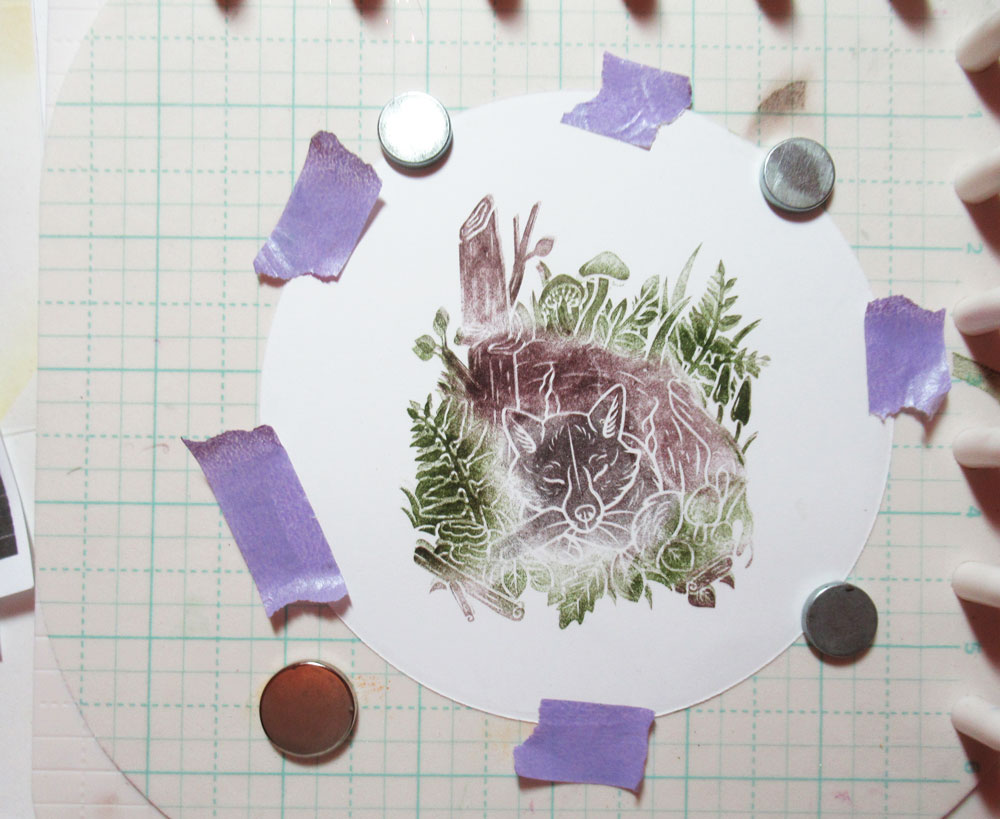
Supplies:  Fairy Hugs Stamps:  Fox Den
Fern Leaves
Magical Placed


Using several colors, stamp the Fox Den on a large die cut circle.


Create a 6" x 6" brown card, adding pattern paper to the base.
Lightly ink over the circle and place in in the center of the base.


Add striped paper to the card front, then die cut a circle from the front of the card.


Stamp and fussy cut the fern leaves, adding them around the opening.
Stamp and punch the phrase, adding it to the ferns.

Thanks for stopping by.

Steph

Quick and Easy Christmas Projects - Day 7

Hi everyone.  Christmas will be here before we know it.  The last eight years I've blogged about last minute Christmas ideas you could make in under 60 minutes.  Well, it's that time again and I've got some new projects to share.

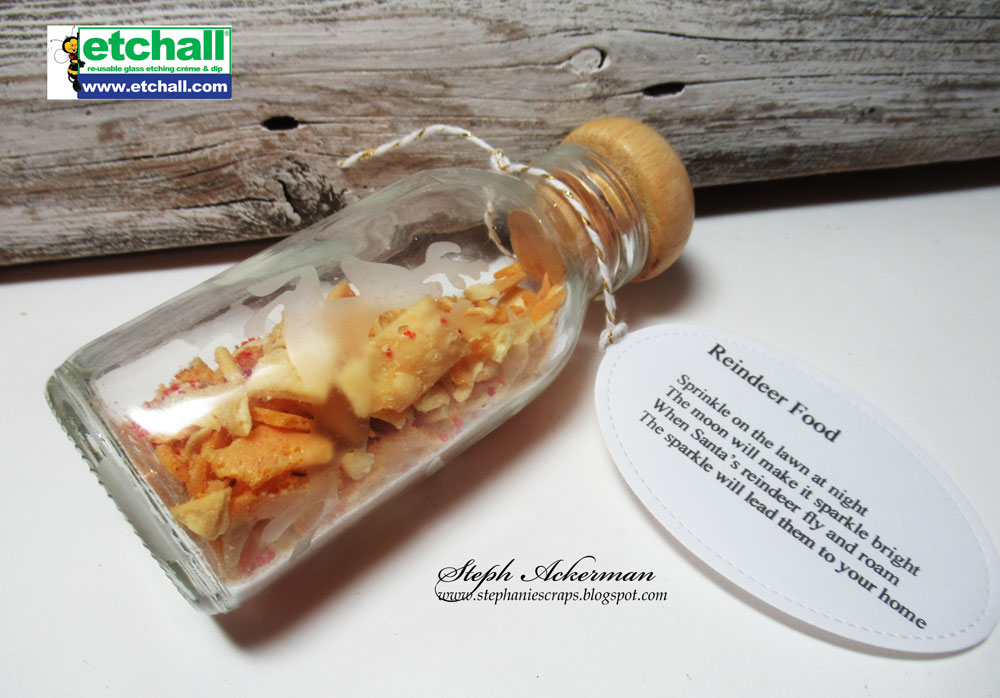
Today I'm sharing quick and easy etched jar containing Reindeer Food.


I started by die cutting reindeer from adhesive paper and then wrapped it around the jar.


Using etchallⓇ etching creme, I covered the reindeer and let it sit for approximately 15 minutes.


After 15 minutes, I scraped off the etching creme and placed it back in its original container.
Etchall is reusable, so there is no waste.
Rinsing and drying off the jar, place it aside to completely dry.


Print out the tag and die cut, then tie it to the jar.

Remember to scatter the Reindeer Food on Christmas Eve.

Thanks for stopping by.


Steph

If you missed my previous posts, you can find them here:

Day 1: Gift Bag
Day 2: Cards
Day 3: Tags
Day 4: Easel Card

12/20/22

Quick and Easy Christmas Projects - Day 6

Hi everyone.  Christmas will be here before we know it.  The last eight years I've blogged about last minute Christmas ideas you could make in under 60 minutes.  Well, it's that time again and I've got some new projects to share.

Today I'm sharing a Christmas Hanger.


The tin ornament from the Dollar Store is the perfect base for creating a Christmas Hanger.
Ink Joy to the World and emboss it.
This gives the wood word a fun, shiny appearance.


Using a Tutti Designs Die, die cut assorted foiled papers from Rinea Foiled Papers.
Add Navy foil to the background and place the image on top.

Thanks for stopping by.

Steph

If you missed my previous posts, you can find them here:

Day 1: Gift Bag
Day 2: Cards
Day 3: Tags
Day 4: Easel Card

12/19/22

Quick and Easy Christmas Projects - Day 5

Hi everyone.  Christmas will be here before we know it.  The last eight years I've blogged about last minute Christmas ideas you could make in under 60 minutes.  Well, it's that time again and I've got some new projects to share.

Today I'm sharing some quick and easy candy boxes.


These boxes are approximately 6" tall and 1 1/2" wide.
Cut paper 7 1/2" x 6 1/2".
Score at 1 1/2", 3", 4 1/2", 6".
Rotate and score at 1 1/2".
Fold on the score lines and assemble.


Create tags using the TLC Designs Happy Dragonfly Circle Die.


Stamp and color images from TLC Designs:


Punch holes in the boxes and tie the tags.

Thanks for stopping by.

Steph

If you missed my previous posts, you can find them here:

Day 1: Gift Bag
Day 2: Cards
Day 3:Tags
Day 4: Easel Card