4/27/24

Fairy Hugs Bluebell

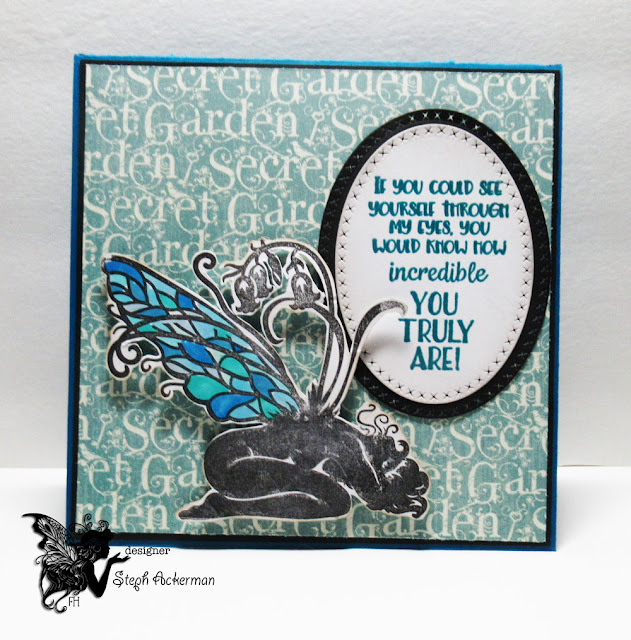
  Sharing a card using Fairy Hugs stamps available at Fairy Stamper.


Fairy Hugs stamps:  Incredible, Bluebell


Creating a blue card, I added pattern paper matted with black cardstock.
Bluebell was stamped in black ink and then fussy cut.
Color was added to her wings with Copic Markers.
She was added to the card with foam adhesives for dimension.
Incredible was stamped and die cut then matted and added to the card.

Thanks for stopping by.

Steph

4/24/24

Fairy Hugs Fairy Forest

Sharing a card using Fairy Hugs stamps available at Fairy Stamper.

I've been seeing this technique a lot lately, so I wanted to give it a try.


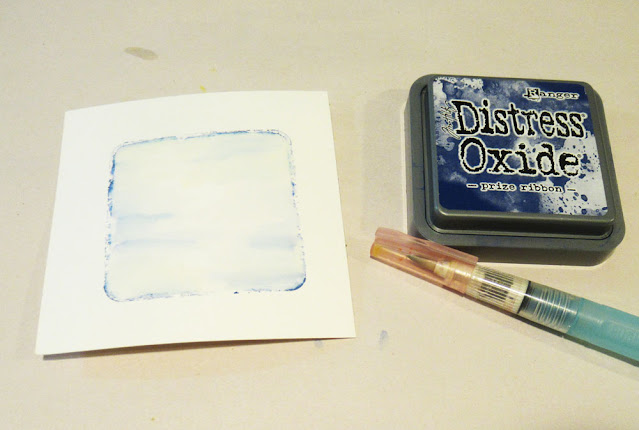
Distress Oxide Inks:  Vintage Photo, Mowed Lawn, Prize Ribbon


Using the top of the ink pad, ink it up and stamp onto watercolor paper.
Using a water brush, move the color from the edges to the center of the panel.
Pick up additional ink from the inkpad as needed.
Heat set before continuing.


Stamp the sign post in brown ink and the words in black ink.
Stamp the fox and dragonfly in the corners.
Fill in some color around the sign post.

Corner round the panel, mat with black cardstock and add to a white card.

Thanks for stopping by.

Steph

4/23/24

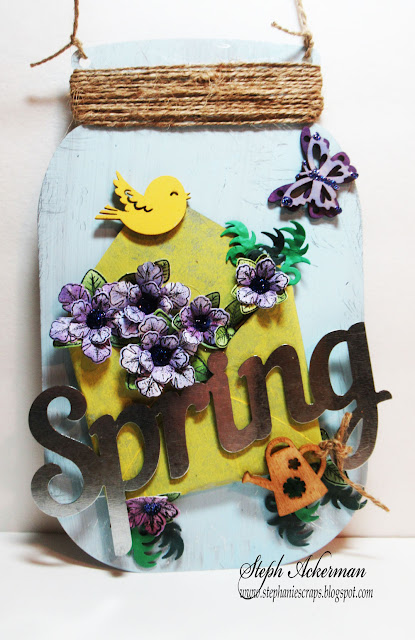
Happy Spring Decor

 Hello everyone and happy Spring.


Supplies:  Paint:  Plaid Folk Art Paints
Stamps and Dies:  Heartfelt Creations
Ink:  Ranger Distress Ink
Metal Embellishments from Dollar Tree
Wood Embellishments from Hobby Lobby


Lightly sand the metal shaped jar.
Paint with blue.
Once dry, lightly re-sand to let some of the silver show through the paint.


Paint a metal envelope with yellow paint.
While still wet, lightly blot with a paper towel.
Also paint the wood bird.


Wrap twine around the top of the jar using hot glue to hold it in place.
Hot glue the envelope to the jar on an angle.
Stamp, die cut and ink the flowers and leaves, then place them in and about the envelope.
Tie a watering can to the metal word, then add the word using hot glue.


Add additional flowers and leaves as needed.
Ink the butterflies and adhere, along with the bird.


Finally, add Stickles to the flower centers as well as the butterflies.

Thanks for stopping by.

Steph

4/22/24

BPM - Sorry for your loss

 Hi everyone, I'm using some amazing stamps from Blank Page Muse.


Blank Page Muse Stamps: Sympathy Flowers & Sentiments


Using the flower stamp, repeatedly stamp it on a panel of white.
Fill in some of the white space with flourishes.


Color the flowers with Copic Markers.
Mat with black cardstock and add to a yellow card.
Stamp the sentiment, tearing it and placing it on a black panel.

Finish the card.


Thanks for stopping by.

Steph


Looking for more Inspiration? Click the links below!
The Blank Page Muse Shop https://blankpagemuse.com/

Save 15% of your Blank Page Muse orders with discount code:  BPMSteph

4/20/24

Fairy Hugs Listen

   Sharing a card using Fairy Hugs stamps available at Fairy Stamper.


Fairy Hugs Stamp: Listen


Using an assortment of Tim Holtz products, I started by die cutting the planks.
Next I embossed 3 of the largest planks and glued them together for dimension.
Once dried, I used brown ink on the planks and wrapped twine around them.


Die cutting an assortment of leaves in varying colors, I assembled them and placed them around the twine, some above and some below.  For a pop of color, I die cut a red flower.


Creating a cream card, I added a striped panel then a layer of burlap.
The planks were then adhered on a slight angle and the phrase added to the corner.

Change up the sentiment and this would be a great masculine card.

Thanks for stopping by.

Steph

4/17/24

Fairy Hugs Hello Raphael

  Sharing a card using Fairy Hugs stamps available at Fairy Stamper.


Fairy Hugs Stamps:  Raphael, Sea Quote, Wiggles


Ink the edges of a card with blue ink.
Using the Sea Quote, off stamp it then lightly stamp repeatedly on the card.


Die cut white and blue cardstocks in 2 graduated sizes.
Stamp Raphael in green ink on the white panel.
Repeatedly stamp Wiggles in navy ink on the blue panel.


Ink the Raphael panel with blue and purple inks.
Adhere the panels together and add to the card.
Die cut hello and add to the card.

Thanks for stopping by.

Steph

4/13/24

Fairy Hugs Happy Bear Set

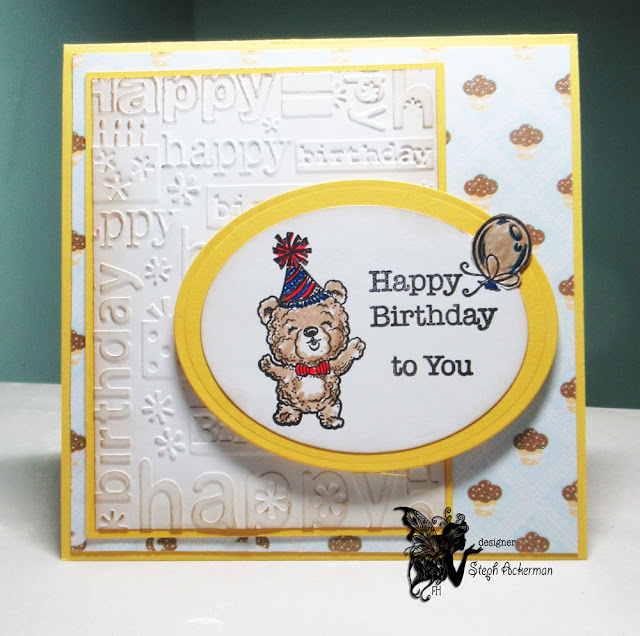
    Sharing a card using Fairy Hugs stamps available at Fairy Stamper.


Fairy Hugs stamps: Birthday Bear Set
Cuttlebug Embossing Folder


Stamp by stamping the bear and adding the words to the right.
I added a balloon to the edge.
To die cut the image (and not lose the balloon), I fussy cut around the balloon and slipped the die cut behind it so it cuts the design but not the balloon.


I used some cupcake paper and added it to a yellow card.
Using an embossing folder I embossed white cardstock and matted it with yellow cardstock.
Assemble the pieces to create the base of my card.
The stamped image was matted with a larger die cut.

I added some limited color to the image then added it to the card with foam adhesives for dimension.


Thanks for stopping by.

Steph

4/10/24

Fairy Hugs Delightful Day

  Sharing a card using Fairy Hugs stamps available at Fairy Stamper.


Fairy Hugs Stamps: Sunflower Table, Delightful


Create a die cut card.
Cut pattern paper and cardstock to fit the left side of the card and wrap with ribbon.
Using the Bowdabra, create a bow and tie to the card.


Add the cottage and slip the Sunflower Table behind the cottage.
Add color and stickles.
Add the phrase to the right of the cottage.


Thanks for stopping by.

Steph

4/7/24

Bowdabra Rose Pouch

Having fun creating with the Bowdabra.  With the Bowdabra, you can create all sorts of bows using all types and sizes of ribbons.  


I pulled an assortment of ribbons and flowers from my stash, and using the Bowdabra, I created this beautiful bow.

Finding a canvas pouch, I tied the bow to the pouch.

Check out the full tutorial here.

Thanks for stopping by.

Steph

4/6/24

Fairy Hugs Happiness

 Sharing a card using Fairy Hugs stamps available at Fairy Stamper.


Fairy Hugs Stamps:  Oriental Dragon Set, Today & Always


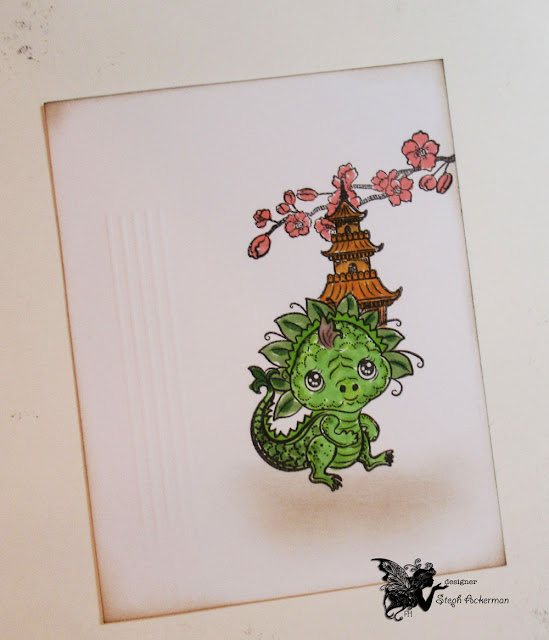
Score several lines along the left side of the panel.
Stamp the dragon and cover with a mask.
Next, stamp the temple overlapping the masked dragon.


Next mask the temple and stamp the cherry blossoms.


Use Copics to color the design.
Add some brown ink under the dragon to help ground it.


Stamp the phrase along the bottom.
Add to a black card.

Thanks for stopping by.

Steph

4/4/24

Fairy Hugs Travel Dragon

 Sharing a card using Fairy Hugs stamps available at Fairy Stamper.


Fairy Hugs Stamps: Oriental Dragon Set, Fairy Poem


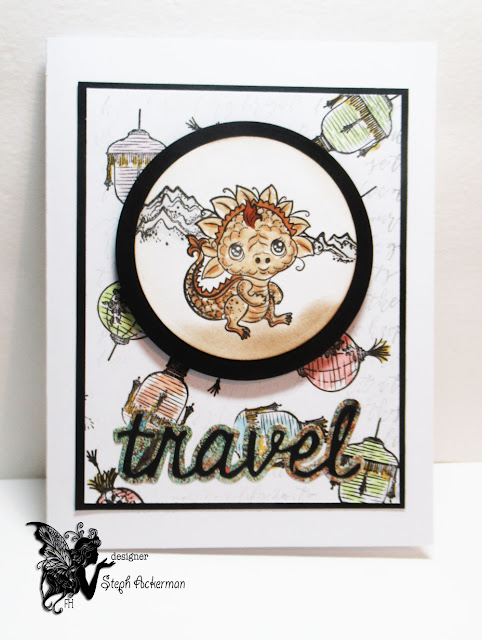
Create a background using the Japanese lanterns, stamping in black ink.


Color the lanterns with Copic Markers.


I wanted to "fill in" the background some more, so I stamped the Fairy Poem on top by first off-stamping it for a more subtle effect.


The dragon is sweet so I stamped her, masked her off and stamped the mountains in the background.  She was then colored with Copic Markers.
To ground here, I inked under her with brown ink.
The image was then die cut and matted with a larger die.
Travel was die cut and added to the card.


Thanks for stopping by.

Steph

4/3/24

BPM - Belated Happy Easter

  Hi everyone, I'm using some amazing stamps from I Brake for Stamps.


I Brake for Stamps: Easter Full Sheet, Happy Easter


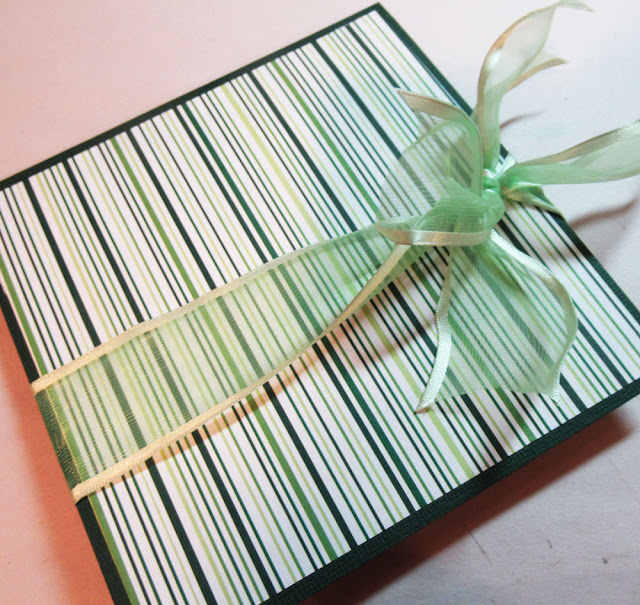
Create a card from green cardstock, add striped paper then wrap with ribbon.


Stamp the image and color with Copic Markers.
Cut to desired shape and mat with cardstock.


Since she appeared "lost" on the background, I added a doily for emphasis.


Inside, I added the same paper and doily.
I stamped Happy Easter and added it to the base.

Thanks for stopping by.

Steph


Looking for more Inspiration? Click the links below!
The Blank Page Muse Shop https://blankpagemuse.com/

Save 15% of your Blank Page Muse orders with discount code:  BPMSteph

4/1/24

Scor-Pal Diamond Card

 Hi everyone, it's time for a new Scor-Pal challenge.  Create anything as long as it has more than one scored line.


Supplies:  Scor-Pal
Prima Flowers
Stamp


Cut cardstock 4" x 12".
Score at 2", 4", 8" and 10".
Mark the 6" center at the top and bottom.
Starting at the top of the 2" scored panel, score to the 6" center mark.
Rotate the panel and score from the 6" center mark to the bottom of the 2" scored panel.
Repeat once more.


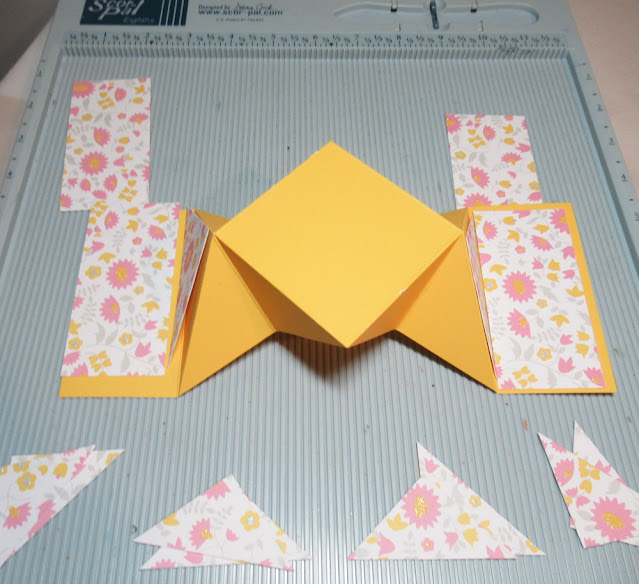
Start by gently folding the card as follows:
Fold the 2 end panels forward.
Fold the triangular sections individually.
Once everything has been gently folded, use a bone folder for good creases.


Cut pattern paper panels to finish the card:
2 pieces 1 3/4" x 3 3/4" for the outside panels
3 pieces 2 1/2" x 2 1/2" (cut 2 pieces in half; cut 1 piece in quarters)


Use Scor-Tape to adhere all the pieces to the card, leaving the diamond center free.


Die cut a scalloped yellow square to fit the diamond center.
Be sure it is a little larger than the diamond center as it will then cover any mistake you might have made.
Cut pattern paper to fit and adhere to card.
Stamp and mat the phrase.
Add flowers with a large brad.


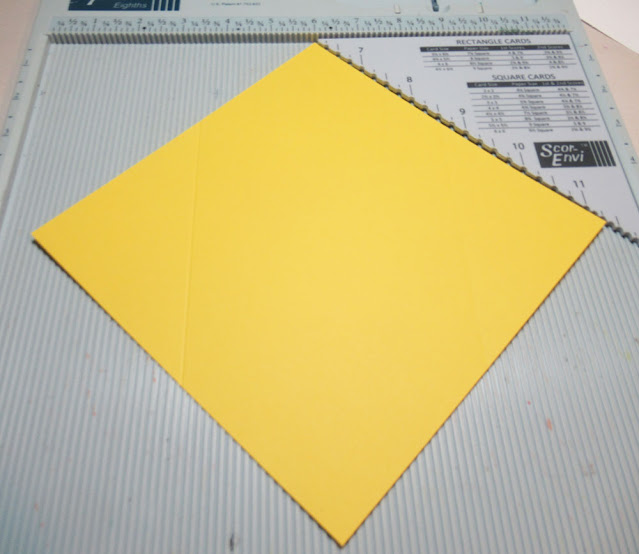
To create the envelope:
Cut cardstock 7 1/2" x 7 1/2".
Place the Scor-Envi in the upper corner and align the cardstock.
Per the directions, score at 3 1/2" and 8 1/2".
Rotate the panel and repeat.


Cut away the areas where the scored lines overlap.


Fold in the center panels.
Place Scor-Tape along the edges and seal the bottom layer.


Pretty, isn't it?

Thanks for stopping by.

Steph