Showing posts with label Halloween. Show all posts

10/26/24

Fairy Hugs Trick or Treat

 I am so happy to share that Fairy Hugs is back!!!!!  Check out the New Release - it is awesome!  

Today, however, I am using older Fairy Hugs stamps for sweet Halloween Treats. 


On 2" circles, stamp the pumpkin stack.


Mask the pumpkin stack and over stamp the web background.


Create the boxes and add the circles to the front panels.


Place some treats in each box.
Seal the boxes with twine.
Stamp Treat and adhere to each box.

Thanks for stopping by.

Steph

10/11/24

Trick or Treat with etchall

 Hi everyone, it's time to have some Halloween fun with etchallⓇ dip 'n etch.


It's almost time for the little ones to come knocking.  Create something fun for the kiddos to see on your doorstep this season.


Die cut the letters and adhere to the jars, then place each in etchallⓇ dip 'n etch.  Letting them sit for at least 15 minutes, remove, rinse and dry off.  Since dip 'n etch is reusable, pour it back into the original container so it can be used for other projects.


Fill each jar with green tulle and stack them together.


Add a sign in the top jar and turn it around when each group of kiddos shows up at your door!

Thanks for stopping by.

Steph

10/1/24

Halloween Treat Bags

  Hi everyone, it's time for a new Scor-Pal challenge.  Just create a project with more than one score.


I think these cute little treat bags would have everyone enjoying Halloween this year.


Cut cardstock 4 1/4" x 11".
Placing the long edge at the top of the Scor-Pal, score as follows:
Score at 3 1/2", 4 1/4", 5", 8 1/2", 9 1/4" and 10".


Rotate the panel and score at 3/4" to create the bottom.


Fold the panel in mountain and valley format.
Cut up to the score line on the side panels.
Place Scor-Tape along the right side and assemble to create the box.
Fold up the bottom edges and use Scor-Tape to assemble.
For additional support, I added another strip of black cardstock to the bottom.


Decorate as desired using assorted pattern papers and phrases.
To create the top flaps, cut cardstock 2" x 3 1/2" and score the panel in half.
Adhere to the back of the box and fold towards the front.


Finish by punching holes in the top flat.
Run twine through the holes and tie off.
Add stamped images.

Thanks for stopping by.

Steph

10/23/23

Happy Halloween Witch

 Hi everyone, sharing a sweet non traditionally colored Halloween card.


Supplies:  Magnolia Stamp
Joy Clair Stamp
Copic Markers
Lawn Fawn Dies


I love this Magnolia witch.  It's always been a favorite.
I chose to color her in shades of blue.
She was die cut with Lawn Fawn dies.
Happy Halloween is from Joy Clair.

Thanks for stopping by.

Steph

10/8/23

Etchall - Candy Corn Jars

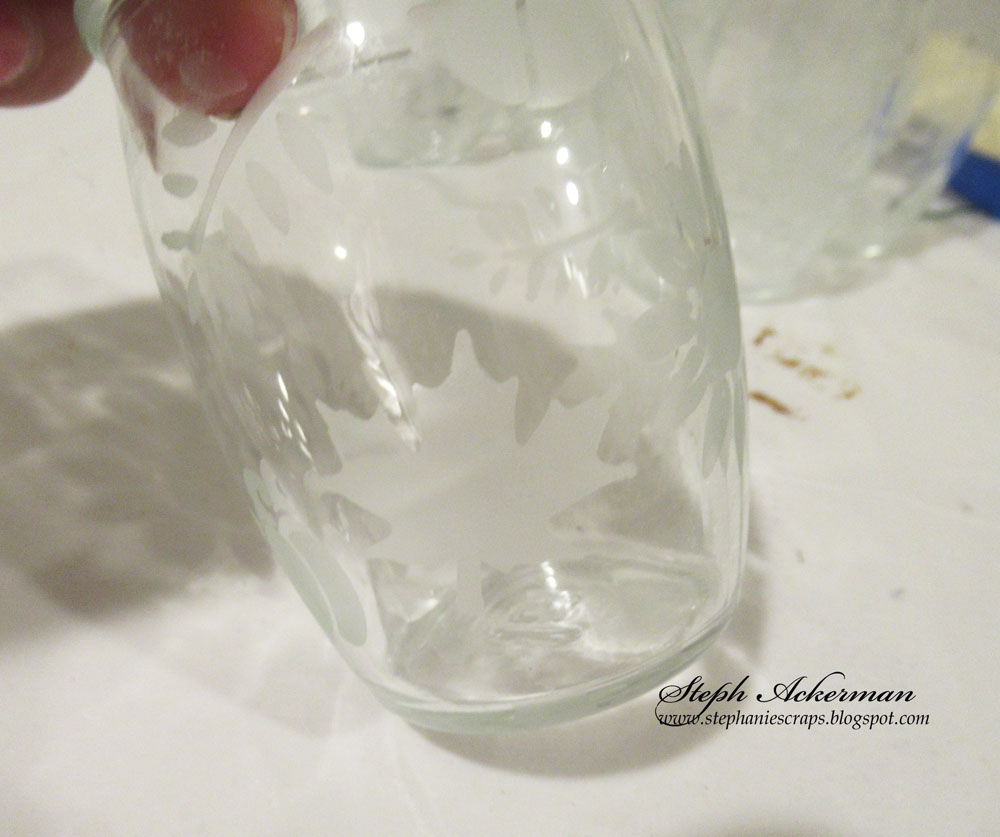
 Hi everyone, I've etched a bunch of mini jars using  EtchallⓇ etching creme.


I had some deserts that came in these cute little jars with lids, so I decided to etch them.


Using mini Halloween stencils, I cut them apart and adhered them around the jars.


Next, I added painter's tape around the images, masking off any areas I did not want etched.


Using a spoon, I added the etching creme around the jars.


Waiting 15 minutes, I removed the etching creme.
Since the etching creme is reusable, I scraped it off and put it back in its original container.


Next, I rinsed off the jars and removed the stencils and tape.
Using a baby wipe, I removed any lingering creme to reveal the design.


These are perfect little jars for creating spooky treats for Halloween.
I filled them with candy corn for family and friends.

Thanks for stopping by.

Steph

9/3/23

BPM - Trick or Treat Witch

 Hi everyone, I'm using some amazing stamps from Blank Page Muse.


Stamps: Endora Witch


Stamp image and emboss.
Color with Copic Markers.
Die cut the panel and mat with cardstock.


Using a premade card, fussy cut pattern paper and cardstock and adhere to card.
Mat strips of Halloween papers with cardstock.
Add to the card surrounding the witch.

Thanks for stopping by.

Steph


Looking for more Inspiration? Click the links below!
The Blank Page Muse Shop https://blankpagemuse.com/

Save 15% of your Blank Page Muse orders with discount code:  BPMSteph

10/24/22

Etchall - Happy Halloween Candles

Hi everyone, as we are heading towards Halloween, I thought Halloween candle jars would be a fun addition to Halloween decorations.  Use etchallⓇ products to etch the glass.

Place the candles around the pumpkins and light them up at night.


Place the jars in etchall dip 'n etchⓇ.
Weigh them down with mini rocks and let them sit for 15 minutes.


Remove the jars from the liquid, rinse off and dry.


Paint the jars with orange paint.
The dip 'n etch allows the paint to adhere to the glass.


Use a sponge to add brown paint around the jars, giving them a grungy effect.


Place candles in the jars.
Leave them unlit during the day, but light them up in the evening.

Thanks for stopping by.

Steph

10/21/22

Happy Halloween Treat Bags

 I'm on the Bowdabra blog with these sweet Halloween treat bags.


Supplies:

Mini Bowdabra
Bow Wire
Ribbon
TLC Designs Stamps and dies
Treat Bags

Start by placing the Bow Wire in the Bowdabra and place it underneath while creating the bow. 
Place a 12″ strip of both ribbons in the Bowdabra. 
Holding both ribbons together, leave a 4″ length and place the ribbons in the Bowdabra.

Continue holding both ribbons together and create the bow loops.
Use the bow wand to push the ribbon into the Bowdabra.


Pull up on the bow wire and tie off.


Create as many bows as needed and fluff out each one.


Decorate the front of each treat bag using digital stamps from TLC Designs Say Boo and Scary On.  Color each with Copic Markers and die cut using the TLC Designs Daisy Frame Die.


Punch holes in the tops of the treat bags and slip the bow wire through and tie off.  
Push the bow wire back through the holes to the front of the treat bags. 
Use a craft pick to twirl the bow wire.
Fill with treats and hand them out to family and friends.

Thanks for stopping by.

Steph

10/27/20

Something wicked this way comes.......

 Hi everyone, hope you have a witchy Halloween.


Using Joy Clair Halloween stamps  I stamped the phrase and spiders using VersaFine Clair Nocturne Ink on an orange panel. which had been die cut with Lawn Fawn dies.   I stamped the witch's hat  in Nocturne Ink on white cardstock, fussy cut it and added it to the panel between the spiders which I stamped on a slight angle.


I added a spider panel to the card, then placed the panel on top.


Hope you have a happy and spooky Halloween.

Thanks for stopping by.

Steph


10/21/20

Halloween Wood Decorations

Hi everyone, I'm on the Proxxon Tools blog today showing you how to create an assortment of Halloween Decorations.


I drew the designs on scraps of plywood.


Using the 2 Piece Scroll Saw I cut each piece.

Once I had all the pieces I wanted, I used the Delta Sander to sand each piece.

I used the Bench Drill Press to drill holes in each piece so I could hang them on a tree.


Next, I used Plaid Paints to add color to each piece.


I left the black cat and white ghost as is, but I decorated the Witch's shoe and the Candy Corn with assorted colors of Robin's Nest Dew Drops.


I tied twine to each piece and then hung them on a tree.  


I did use scraps to create these ornaments, but just think how fun they'd be in a variety of sizes, perhaps standing outside your door or fence.

Thanks for stopping by.

Steph