10/17/22

Fairy Stamper - New Release

It's time for a sneak peak of the new Fairy Hugs stamps debuting later this week.  The theme is Winter Wonderland.


I've used Fairy Hugs:  Ice Cave, Walrus Family, Iceberg


I started by stamping just the icicles across the top of the panel.  An iceberg was stamped at the bottom.


Next, I die cut an oval from white cardstock.
Leaving the die in place, I inked it with blue ink.
Then I stamped the full ice cave on the right side.
I stamped another iceberg in the center.
The white edge gives the image a bit of pizzazz, don't you think?


Then I stamped, embossed and fussy cut two walruses and placed them on the panel.
The panel was matted with white cardstock then added to a black card.

Thanks for stopping by.

Steph

10/15/22

Fairy Stamper - Tadrei the Dragon

 Hi everyone, I have another Fairy Stamper project to share.  


Stamping Tandrei in 2 colors, I then masked him then stamped Pandora's Archway on top.
Inking the background, I matted the panel with cardstock then placed it to a panel on which I stamped Ania's Tree.


Fairy Tale was added to the corner.

Thanks for stopping by.

Steph

10/10/22

TLC Designs - Happy Halloween Ensemble

 Hi everyone, I'm on the TLC Designs blog sharing a sweet Halloween ensemble.


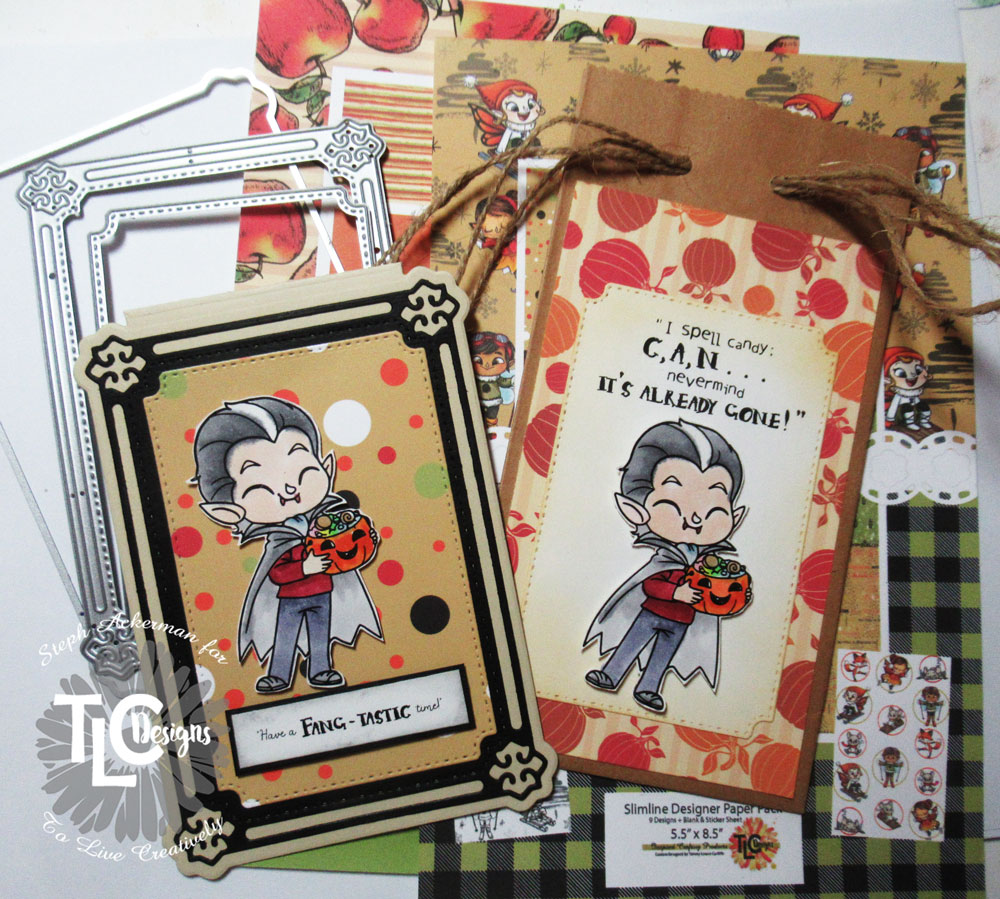
Using the largest die, create the card from kraft cardstock.


Create the 2nd layer with the middle die and black cardstock.
Create the 3rd layer with the smallest die and paper from the Chilly Fun Paper Pack.


Print the vampire and color with Copic Markers.
Fussy cut and add it to the card with foam adhesives, then add the sentiment under the image.


Create the treat bag by adding paper from the Delicious Paper Pack.
Print the sentiment and die cut with the smallest die and lightly ink it before adhering to the bag.
Print and color the vampire and adhere to the treat bag with foam adhesives for dimension.


What a sweet ensemble for Halloween!

Thanks for stopping by.

Steph

10/8/22

Fairy Stamper - Gourdwood Cottage

 Hi everyone, I have another Fairy Stamper project to share.  


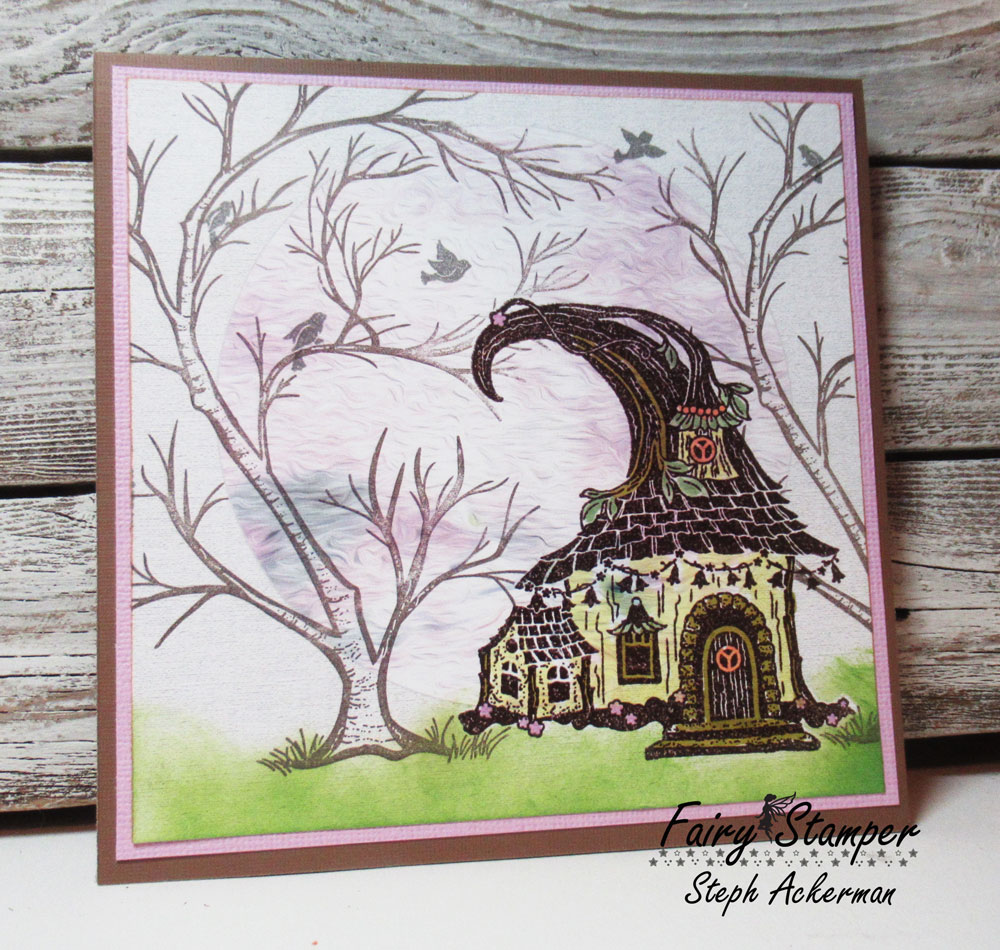
I am loving the new Fairy Hugs Gourdwood Cottage.  It really takes centerstage.


Using Fairy Hugs Tumbleshine paper as the background, I stamped the Gourwood Cottage off-center.


I surrounded the cottage with Fairy Hugs Ania's Tree.


I created grass using oxide inks, then stamped Fairy Hugs Woodland Flight about the tree branches.

I used Copic Markers to add some color to the cottage before matting the panel and adding the panel to a card.

Thanks for stopping by.

Steph

10/3/22

BPM - Happy Scarecrow

 Hi everyone, I'm using some amazing stamps from Blank Page Muse.


Stamps:  Fall Half Sheet


I stamped the scarecrow and colored with Copic Markers.
Fussy cutting around the image, I die cut the image.


Thanks for stopping by.

Steph


Looking for more Inspiration? Click the links below!
The Blank Page Muse Shop https://blankpagemuse.com/

Save 15% of your Blank Page Muse orders with discount code:  BPMSteph

10/1/22

Happy Fall with Scor Pal

Hi everyone, it's a new month and the challenge on the Scor-Pal blog is to create anything you want, just be sure it includes more than one score.

This month, I wanted to create a brick wall using my Scor-Pal. 


Create a grid-like panel randomly across the panel.
Flip the panel and rescore.


I inked over the scored lines with brown ink to give them dimension.
Then I inked around the panel with brown and blue inks.


I stamped Fairy Hugs' Ania's Tree on both sides of the brick wall.
Then I stamped and fussy cut 2 Fairy Hugs' Pumpkin Stacks, coloring them with distress inks.
Using TLC Designs Dies, I die cut grass and leaves and placed them around the pumpkins.


Creating a card from Kraft cardstock, I scored 1/4" around the front panel.


The panel was added to the card with foam adhesives for dimension.


The sentiment was added to the card.

Thanks for stopping by.

Steph

Fairy Stamper - Halloween Magic

  Hi everyone, I have another Fairy Stamper project to share.  


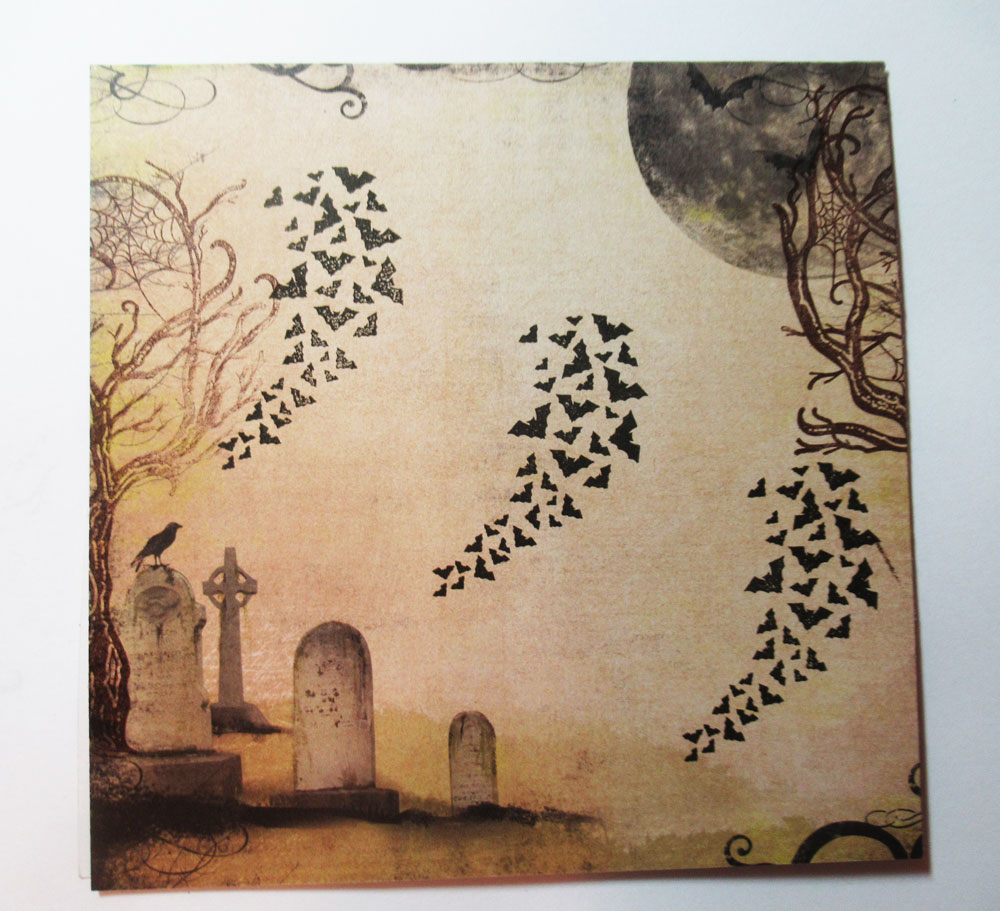
Using a Halloween background panel, stamp the bats randomly about the panel.


Stamp the Webby Tree on both sides of the panel, using parts of the tree.


Stamp the witch in brown ink.  I realized I wanted her more centered, so I overlapped the bats.


Stamp the witch again in black ink, emboss and fussy cut.
Place her atop the brown witch.
Stamp and emboss the pumpkins, color with Copic Markers and fussy cut.
Add the pumpkins to the card.

Assemble the card.

Thanks for stopping by.

Steph

9/26/22

TLC Designs - Hello Matchbook Cards

Hi everyone, I'm on the TLC Designs blog with a set of matchbook cards today.


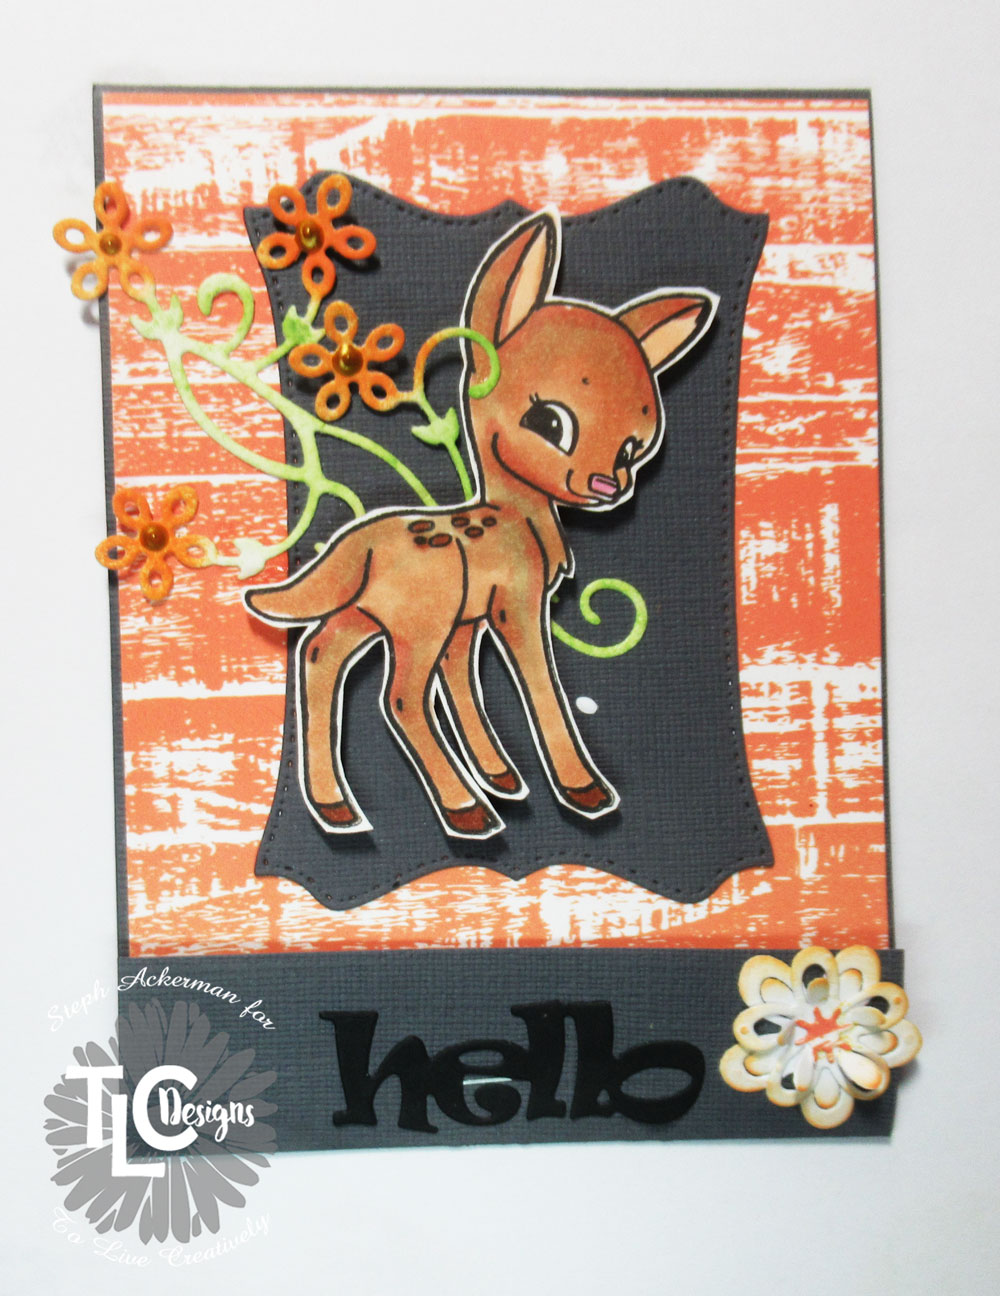
Creating the cards from gray cardstock, I cut pattern paper to fit the front, then die cut the smallest of the Daisy Frame Die for the center.
Die cutting white cardstock with the floral spray from the Tiny Vine Oval, I colored with distress inks and placed on the card.
Printing the deer, I colored it with Copic Markers and fussy cut, then added to the card with foam adhesives for dimension.


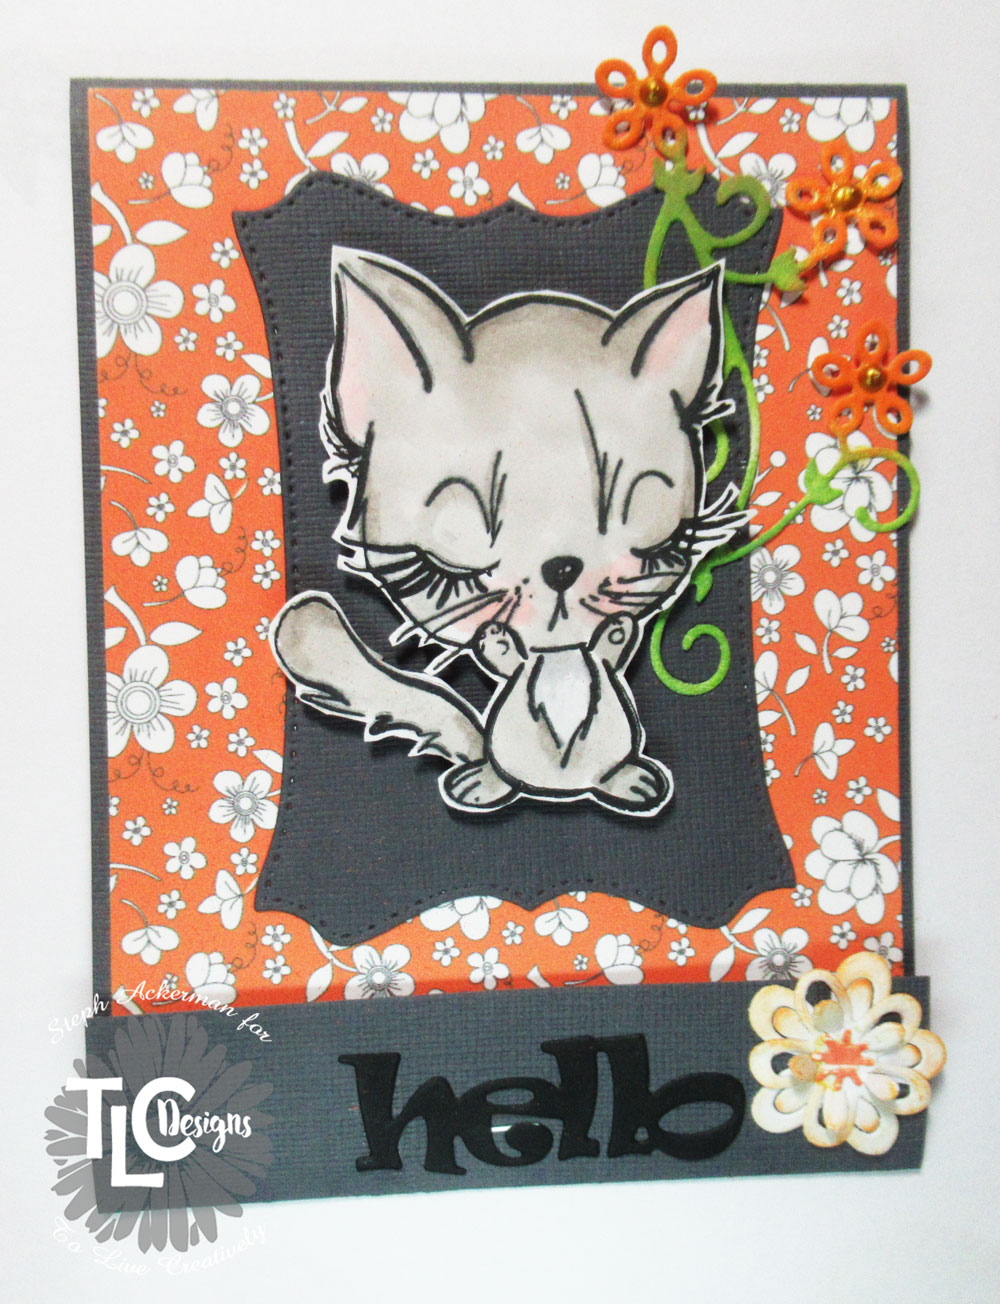
Creating a 2nd matchbook card, I added another pattern paper to the front cover.
Add a 2nd floral spray from the Tiny Vine Oval.
Using the Kittens Gem stamp set, I stamped and colored one of the cats with Copic Markers before fussy cutting.


Add white cardstock inside the cards.
Stamp flowers and sentiment from both stamp sets and color.
Add a portion of the stencil along the left side of the deer's panel.

Hello was die cut from the Rosie Sentiment Die.
The small flowers added to both cards were die cut from the Oval Lily Die.

Thanks for stopping by.

Steph

9/24/22

TLC Designs - Alicorn Happiness

 Hi everyone, I'm on the TLC blog sharing a slider card.


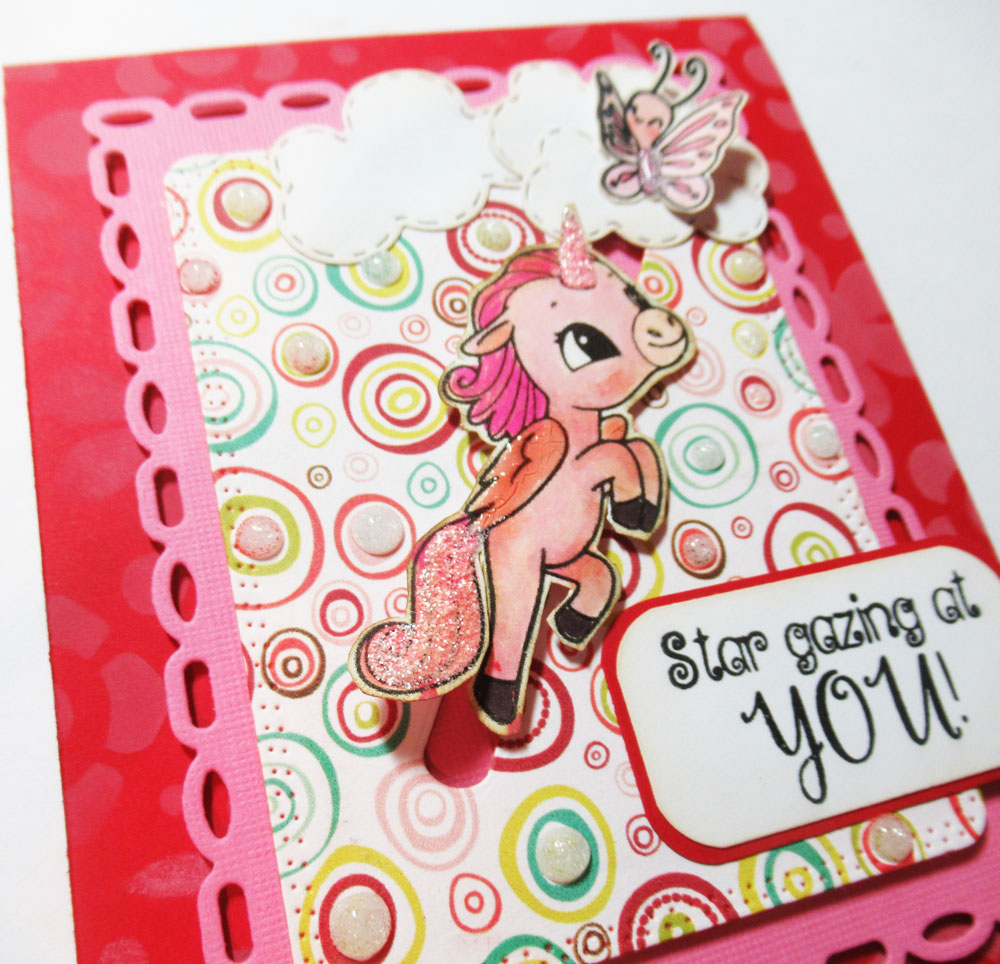
Create a card from red cardstock.
Use the stencil with pink ink to create the background directly on the card.


Die cut pattern paper with rectangle die.
Use one of the slider dies to create the channel across the panel.


Stamp and color the unicorn and butterfly in shades of pink.  Fussy cut each.
Add foam tape to the panel, place a penny in the slot and adhere to the pink panel.


Check out this quick video I created.


Add foam tape to the pink panel and place on the card.
Stamp and adhere the phrase to the corner.
Finish with stickles.

Thanks for stopping by.

Steph
Fairy Stamper - Daisy Hello

 Hi everyone, I have another Fairy Stamper project to share.  


Fairy Hugs Stamps: Zara's Daisy, Fairy Words


Stamp the daisies and color with Copic Markers.  
Die cut with the 2nd largest die.


Create the card from brown cardstock using the largest die.
Fold the cardstock and place the die slightly over the edge so the panel stays intact.
Die cut another panel and place on top to achieve the full effect of the die.


Add the stamped panel on top.
Stamp Hello and add to the card with foam adhesives for dimension.

Thanks for stopping by.

Steph
9/22/22

BPM - Oh Bountiful Season!

 Hi everyone, I'm using some amazing stamps from Blank Page Muse and I Brake for Stamps.


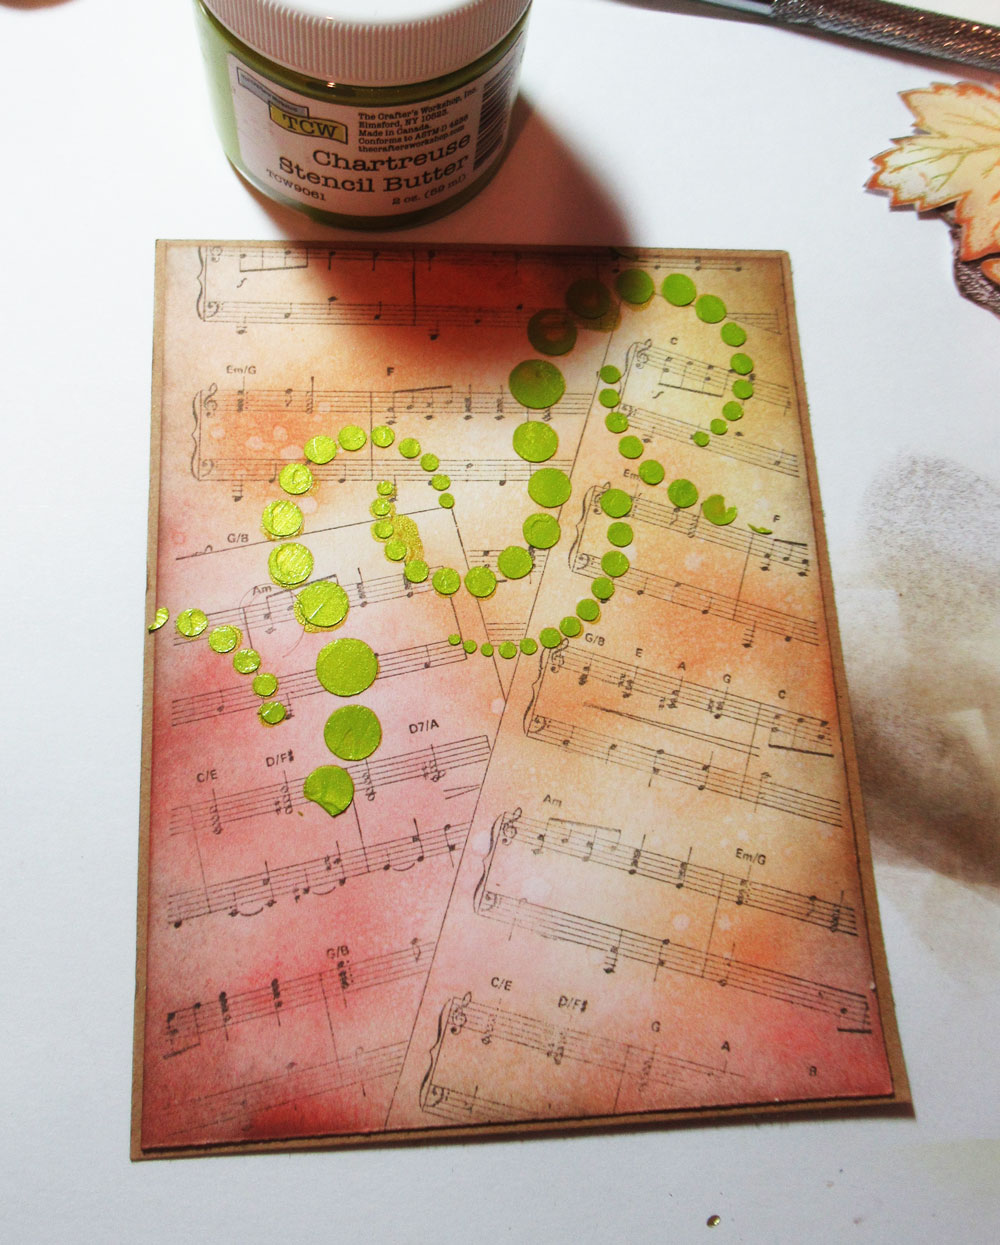
Stencil Butter: Lime Green


Stamp the Music Sheets Background in brown ink.  Color with a variety of inks.
Add drops of water around the panel and dry.
Place the stencil and use Stencil Butter to create dimension.


Stamp and fussy cut the leaves and acorns.  
Stamp phrase and die cut, adding ribbons to the ends.
Place acorns on top.


Thanks for stopping by.

Steph


Looking for more Inspiration? Click the links below!
The Blank Page Muse Shop https://blankpagemuse.com/

Save 15% of your Blank Page Muse orders with discount code:  BPMSteph

9/21/22

Happy Birthday Deer

 Hi everyone, we are celebrating Fairy Hugs' 2nd Anniversary.  


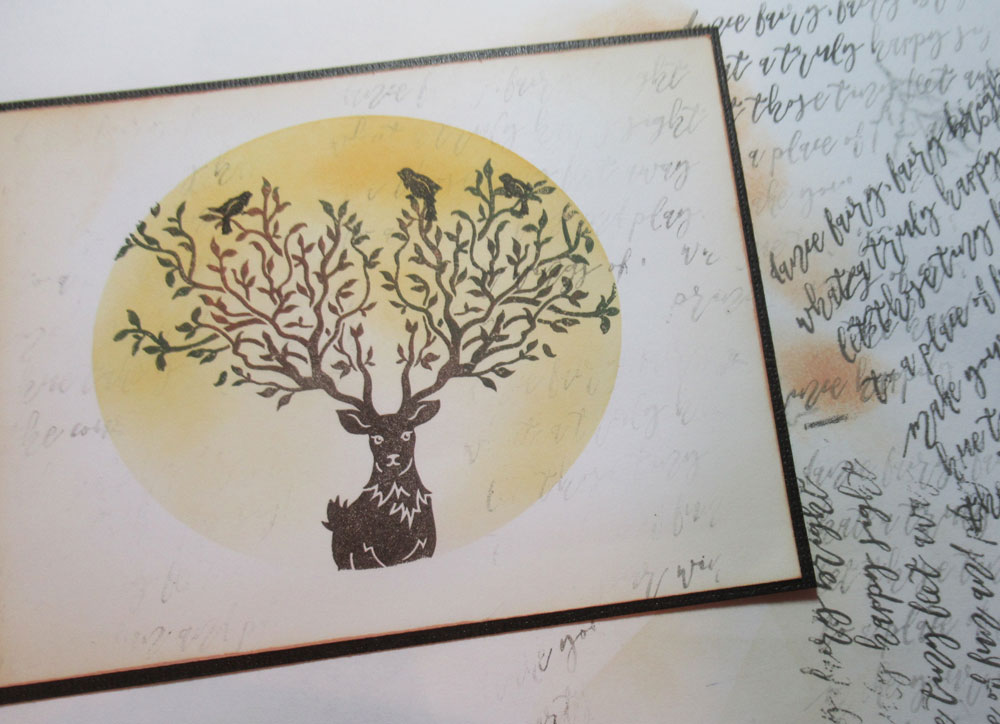
Supplies: Fairy Hugs Majestic Deer, Woodland Flight, Fairy Poem, Fairy Words


Die cut an oval from the center of one of the panels.
Tape the panels to the craft table.
Stamp the Deer in the center of the oval.  Add some birds.
Ink around the image with yellow ink. 


Remove the top panel and mat the panel with brown ink.
Lightly stamp the Fairy Poem randomly about the panel.


Add the panel to a yellow card.
Stamp Happy Birthday and add to the card with foam adhesives for dimension.

Thanks for stopping by.

Steph