10/29/24

Fairy Hugs Happy Moments

 I am so happy to share that Fairy Hugs is back!!!!!  Check out the New Release - it is awesome!  And don't forget you can pair the new stamps with the older Fairy Hugs stamps.


Fairy Hugs Stamps:


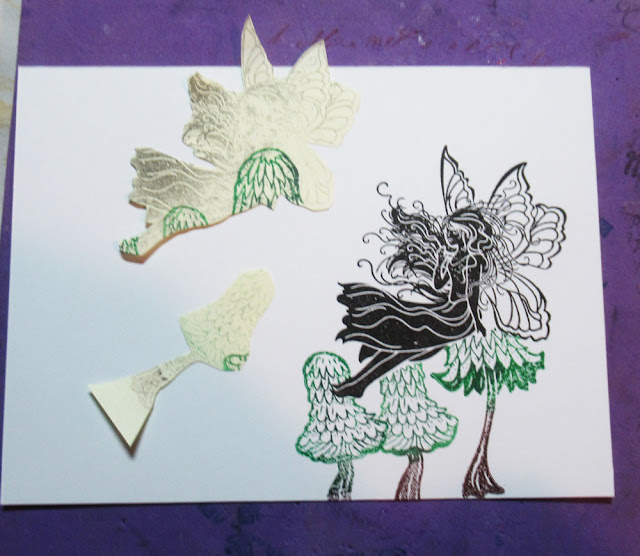
Stamp Tindra and cover her with a mask.


With the mask in place, stamp several mushrooms in green and brown ink, adding a mask where necessary.


Ink the background with yellow and pink inks.
Lightly ink with a Fairy Hugs stencil.


Stamp the flowers from the Floral Garden stamp along the bottom in purple ink.
Add color with Copic Markers
Stamp the phrase in purple ink.
Mat both panels with dark purple cardstock.
Adhere to a lavender card.

Thanks for stopping by.

Steph

10/26/24

Fairy Hugs Trick or Treat

 I am so happy to share that Fairy Hugs is back!!!!!  Check out the New Release - it is awesome!  

Today, however, I am using older Fairy Hugs stamps for sweet Halloween Treats. 


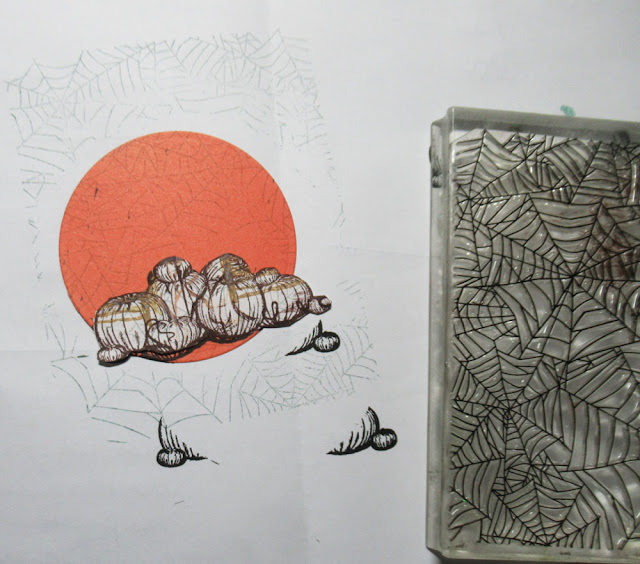
On 2" circles, stamp the pumpkin stack.


Mask the pumpkin stack and over stamp the web background.


Create the boxes and add the circles to the front panels.


Place some treats in each box.
Seal the boxes with twine.
Stamp Treat and adhere to each box.

Thanks for stopping by.

Steph

10/24/24

Welcome Fall Leaf

Hi everyone, let's welcome Fall.


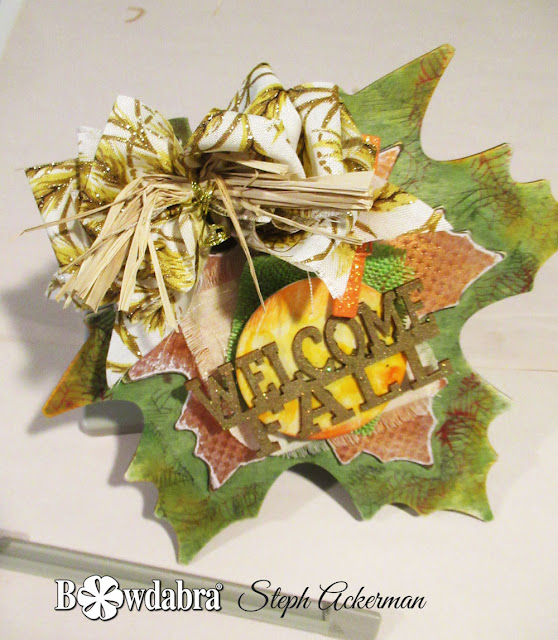
The wood leaf is a Dollar Tree find.
I painted it with Folk Art paints before adding a layer of Rinea Foil on the smaller leaf.


Create a bow using the Bowdabra.
Tie the bow to the leaf.


Thanks for stopping by.

Steph

10/23/24

Fairy Hugs Sunny

 I am so happy to share that Fairy Hugs is back!!!!!  Check out the New Release - it is awesome!  And don't forget you can pair the new stamps with the older Fairy Hugs stamps.


Fairy Hugs Stamps:  Sunny, Floral Garden, Just Hugs


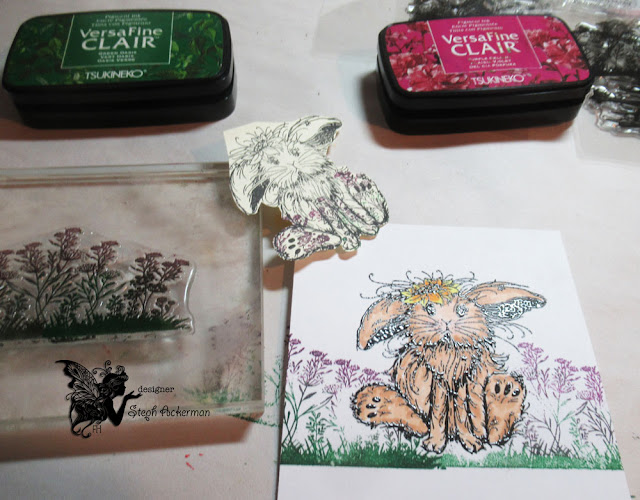
Stamp and emboss Sunny then color with Copic Markers.
Using a masking technique, add the Floral Garden.


Ink the stamp with several colors of ink and repeatedly stamp until the Floral Garden is stamped the length of the panel.


Assemble the card.
Stamp and emboss Just Hugs.
Mat with add to the corner with foam adhesives for dimension.

Thanks for stopping by.

Steph

10/22/24

BPM - Nature

 Hi everyone, I'm using some amazing products from Blank Page Muse and I Brake for Stamps.


Blank Page Muse Paper:  Cyan Consortium
I Brake for Stamps: Nature


Make the phrase the focal point on your cards using die cuts.


Stamp the phrase on the paper, then die cut and mat with a larger panel.
Use the paper for the card.

Full blog post can be found here.


Thanks for stopping by.

Steph


Looking for more Inspiration? Click the links below!
The Blank Page Muse Shop https://blankpagemuse.com/

Save 15% of your Blank Page Muse orders with discount code:  BPMSteph

10/12/24

Fairy Hugs Trick or Treat

I am so happy to share that Fairy Hugs is back!!!!!  Check out the New Release - it is awesome!  And don't forget you can pair the new stamps with the older Fairy Hugs stamps.


Today I've used  Fairy Hugs Gus and paired him with Fairy Hugs Trick or Treat.


Using a background die, I die cut a left over gel printed panel, then placed it over a Halloween print.

Gus was stamped, embossed and fussy cut.  
Then I picked up some of the background colors and colored Gus with Copic Markers.
He was popped on the card and Trick or Treat was added.

Be sure to stop by the Fairy Hugs Store to check out the new stamps.

Thanks for stopping by.

Steph

10/11/24

Trick or Treat with etchall

 Hi everyone, it's time to have some Halloween fun with etchallⓇ dip 'n etch.


It's almost time for the little ones to come knocking.  Create something fun for the kiddos to see on your doorstep this season.


Die cut the letters and adhere to the jars, then place each in etchallⓇ dip 'n etch.  Letting them sit for at least 15 minutes, remove, rinse and dry off.  Since dip 'n etch is reusable, pour it back into the original container so it can be used for other projects.


Fill each jar with green tulle and stack them together.


Add a sign in the top jar and turn it around when each group of kiddos shows up at your door!

Thanks for stopping by.

Steph

10/3/24

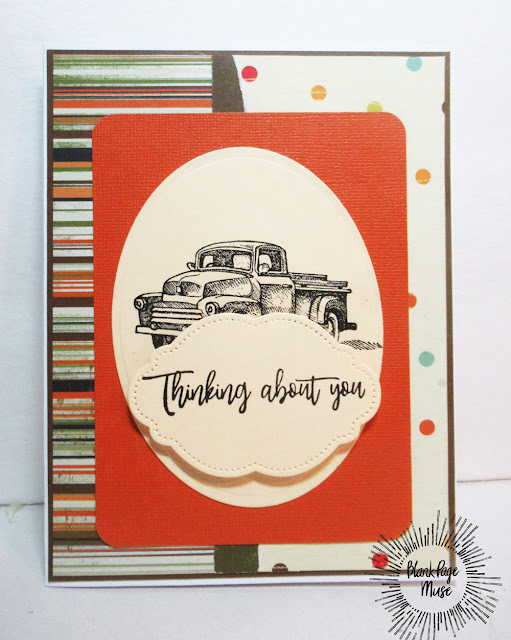
BPM Thinking About You

 Hi everyone, I'm using some amazing products from Blank Page Muse.


Using scraps from my stash, I created the background.
Next, I cut an orange panel to fit the center of the card.  

Full details can be found on this post.

Thanks for stopping by.

Steph

Looking for more Inspiration? Click the links below!
The Blank Page Muse Shop https://blankpagemuse.com/

Save 15% of your Blank Page Muse orders with discount code:  BPMSteph


10/1/24

Halloween Treat Bags

  Hi everyone, it's time for a new Scor-Pal challenge.  Just create a project with more than one score.


I think these cute little treat bags would have everyone enjoying Halloween this year.


Cut cardstock 4 1/4" x 11".
Placing the long edge at the top of the Scor-Pal, score as follows:
Score at 3 1/2", 4 1/4", 5", 8 1/2", 9 1/4" and 10".


Rotate the panel and score at 3/4" to create the bottom.


Fold the panel in mountain and valley format.
Cut up to the score line on the side panels.
Place Scor-Tape along the right side and assemble to create the box.
Fold up the bottom edges and use Scor-Tape to assemble.
For additional support, I added another strip of black cardstock to the bottom.


Decorate as desired using assorted pattern papers and phrases.
To create the top flaps, cut cardstock 2" x 3 1/2" and score the panel in half.
Adhere to the back of the box and fold towards the front.


Finish by punching holes in the top flat.
Run twine through the holes and tie off.
Add stamped images.

Thanks for stopping by.

Steph