
Showing posts with label glass. Show all posts

2/15/25

Pretty Little Jars

Hi everyone, who doesn't love pretty little jars?  I love collecting them from thrift stores and even my local dollar store.  They are fun to etch with etchallⓇ dip 'n etch, then decorate and give as gifts.  Or even place them on a shelf to enjoy!


These sweet little jars have great designs as well as dimension.
Using etchallⓇ dip 'n etch liquid helps the designs stand out on the jars.


Start by placing the jars in the dip 'n etch.
I placed them just up to the top of the design as I wanted some non etched glass.
Then I let them sit for approximately 15 minutes.


Remove the jars and rinse off.
Since dip 'n etch is reusable, pour the dip 'n etch back in its original container.


Adhere several different ribbons around the jars.
I found the black ribbon helped the pink and white ribbon stand out.


Thanks for stopping by.

Steph

7/26/24

Dip 'n Etch Vinegar Jars

Hi everyone, picking up different shaped bottles to etch can be so much fun.


I found these vinegar shaped bottles at my local Dollar Tree and thought they'd make a great gift once they were etched and decorated.


Fill the jar with water and place it in a plastic container.
Pour in the etchall dip 'n etch.
Let the jar sit for 15 minutes, then remove, rinse and dry off.


Since dip 'n etch is reusable, pour it back into the original container.
It's perfectly usable for new projects.


Decorate as desired.
I wanted them to be simple, so I added some pretty lace to make the bottles more attractive.

Thanks for stopping by.

Steph

11/19/23

Etchall Thankful Jar

 Hi everyone, I've etched a bottle using  EtchallⓇ Eching Creme and Stencil Spray.


Spray the stencil with Etchall Stencil Spray.


Adhere the stencil around the jar.
Be sure to use the Squeegee to help aid the stencil to adhere to the jar.


I added painter's tape to the areas I did not want to etch.
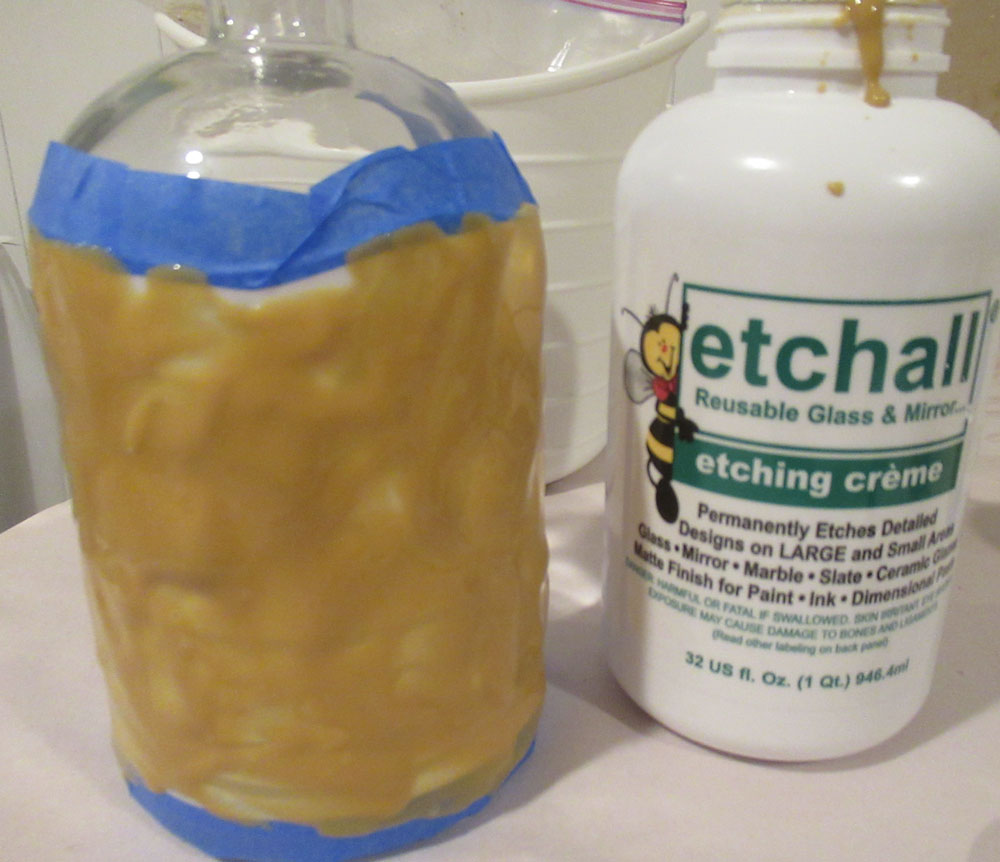
Using a spoon, put etching creme around the jar.


Allow to sit 15 minutes, then remove the etching creme and place it back in the original container.
Since it's reusable, the etching creme can be used on other projects.
Rinse the jar under running water and dry off.


Thanks for stopping by.

Steph

9/24/23

Etchall - Designer Holiday Plate

  Hi everyone, today I've etched a glass plate using  EtchallⓇ etching creme. 


Glass Plate
Stencil


Start by cutting apart the stencil then spraying with the stencil spray.


Once the stencils are tacky (and no longer wet), place them about the plate in a pleasing manner.
Place painter's paint around the stencils to ensure the etching creme stays on the stencils and not the surrounding glass edges.


Using a spoon, spoon the etching creme on the stencil.
Allow to sit for approximately 15 minutes.
Then scrap the etching creme back into the original container.
Be sure to scrape away from the untaped areas.

Remember, Etchall is reusable and can be used for other projects.


Rinse off the excess etching creme.
Remove the stencils and tape.
Wipe over the enter plate with a baby wipe.

Doesn't it look lovely?
Perfect for holiday decorating

Thanks for stopping by.

Steph
8/6/23

Altered Jars with Tissue Paper

 Hi everyone, I'm sharing a mixed media project today.


Begin by scrunching tissue paper.
Then use Mod Podge to adhere tissue paper to the jars.
Be sure to allow lots of creases and to show.


Allow the tissue paper to dry complete before proceeding further.
Trim away the excess tissue paper.


Once the jars are dry, the tissue paper has hardened and then use paints to add an amazing affect.
Using assorted paints, dab the paint on rather than painting the jars.


If you don't like any color you used, or want to change a color, dab on some Gesso.
You can also use Gesso to add a subtle effect on the jars.


Wrap and glue some twine around the top of the jars.


Fill with flowers and use as a centerpiece or place in the window.

Thanks for stopping by.

Steph

11/6/16

Glass jars for Fall

Hi everyone, I've got a great fall project on the Makin's Clay blog.


Take some glass jars, wrap each with burlap and add clay elements using an assortment of clay colors and dies.  Clay cuts easily with die cut equipment, punches and clay cutters.

See the full project on the Makin's Clay blog.

Thanks for stopping by today.

Steph