Showing posts with label graphic 45. Show all posts

11/1/25

ScorPal November Be Thankful

 Hi everyone, it's time for a new Scor-Pal challenge.  Just create a project with more than one score.

Today, I'm sharing a tag using a scored panel for the background.


Cut pattern paper to fit the chipboard tag - approx. 4" x 7".


Score along every 1/2" across the panel.
Rotate and score every 1/2" again creating squares.


Ink over the scored lines with brown ink for definition.


Adhere the scored panel to the tag.
Cut off any excess and ink the edges with brown ink.
Add a burlap panel and assorted elements on top.


Finish by adding die cut mushrooms and flourishes to the tag.
Rather than adding twine to the tag hole, I placed a large brad and a flourish.
Then I added a twine bow.

This is a fun project to create with whatever left over elements you have available.

Thanks for stopping by.

Steph

5/12/24

Happy Mothers Day 2024

Happy Mother's Day with Penny Black Stamps.


I found this sweet stamp from Penny Blak and paired it with some Graphic 45 papers.


Stamp and emboss the image and color with Copic Markers.
Die cut the image and mat with a larger die.


Using a butterfly background, cut the panel to size.
Adhere the stamped image to the center.
Cut out Happy Mother's Day and add to card.


Adhere to a black card.

Thanks for stopping by.

Steph

9/3/23

BPM - Trick or Treat Witch

 Hi everyone, I'm using some amazing stamps from Blank Page Muse.


Stamps: Endora Witch


Stamp image and emboss.
Color with Copic Markers.
Die cut the panel and mat with cardstock.


Using a premade card, fussy cut pattern paper and cardstock and adhere to card.
Mat strips of Halloween papers with cardstock.
Add to the card surrounding the witch.

Thanks for stopping by.

Steph


Looking for more Inspiration? Click the links below!
The Blank Page Muse Shop https://blankpagemuse.com/

Save 15% of your Blank Page Muse orders with discount code:  BPMSteph

4/6/23

Graphic 45 Beach Banner

I have had this Graphic 45 collection for quite some time.  I've been holding it for "just the right" project.  When I came across chipboard banner pieces, I knew these papers would be perfect.


Supplies:
Pattern paper:  Graphic 45
Cardstock:  Bazzill
Dies:  TLC Designs, Quickutz


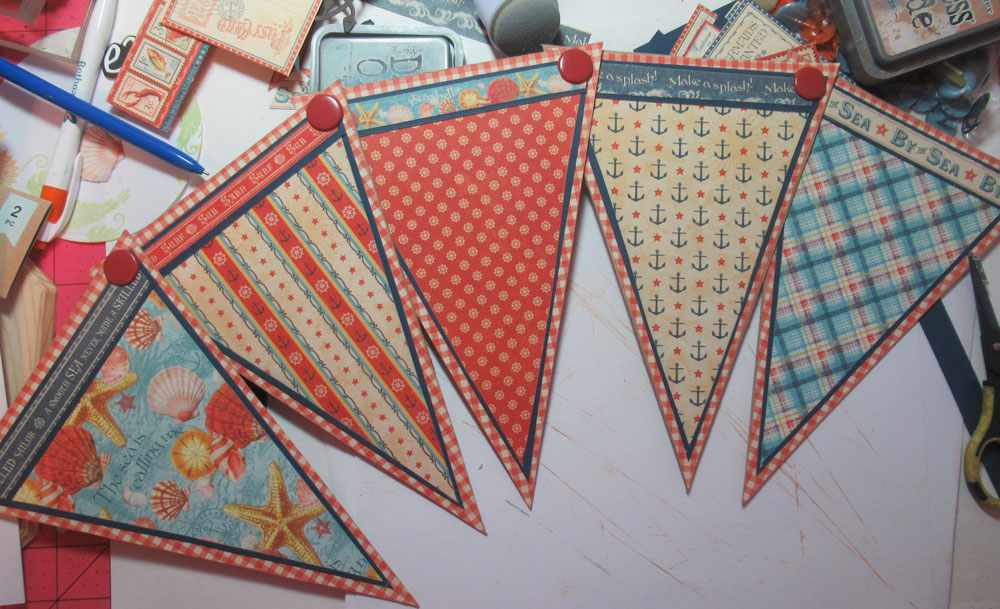
Using the chipboard panels as a template, cut the checkered pattern paper to fit each piece.
Use a different pattern for the top layer of each banner.
Since the entire collection works so well together, it was easy to mix and match.
Add a cardstock layer between the panels.  


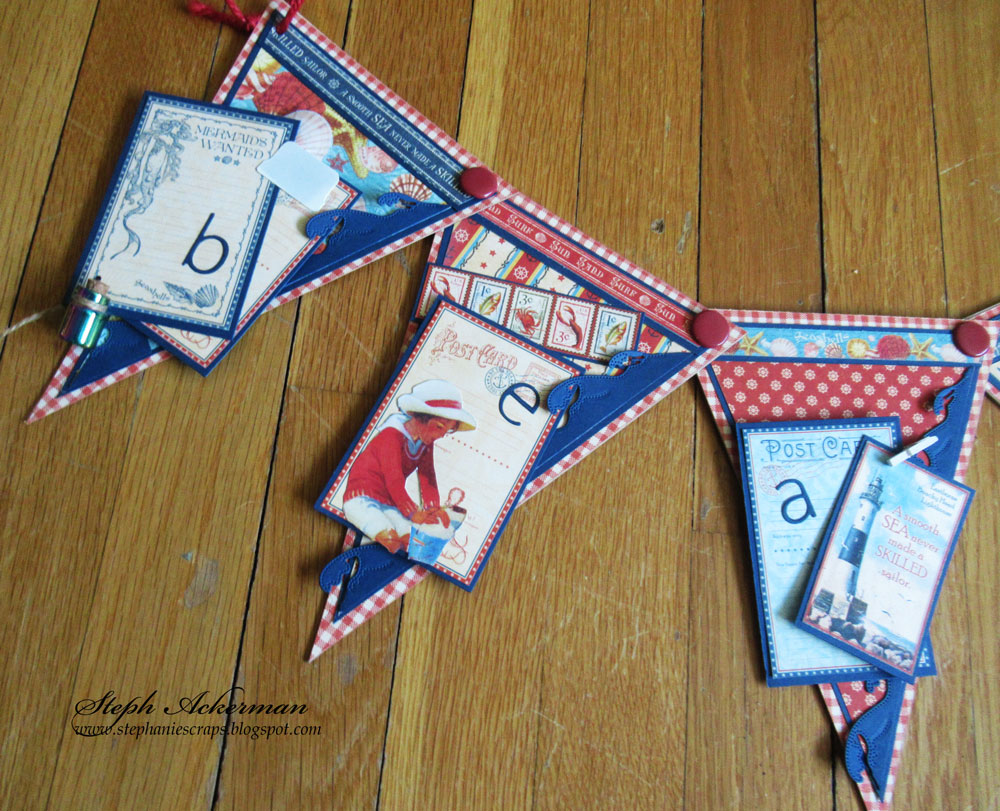
Die cut the TLC Seas Die and add each along the right side of each banner.
Using assorted papers, decorate each panel.


Finish the banners by adding dies cut, clips and letters spelling beach.


Use large brads to assemble the panels, adding twine to both ends.

Thanks for stopping by.

Steph

12/3/22

BPM - Believe in the Magic of Christmas

 Hi everyone, I'm using some amazing stamps from Blank Page Muse and I Brake for Stamps.

With Christmas on the horizon, it's time to start thinking of creating Christmas cards.


I've Used Pretty Winter Friends, which is a delightful image, perfect for holiday creations.


I stamped and embossed her then colored her with Copic Markers.  Because I wanted her to be prominent, I fussy cut her.


Selecting Christmas papers, I created the card, then slipped a sentiment from the Country Vintage Chrismas Stamp Sheet behind her.


Thanks for stopping by.

Steph


Looking for more Inspiration? Click the links below!
The Blank Page Muse Shop https://blankpagemuse.com/

Save 15% of your Blank Page Muse orders with discount code:  BPMSteph

12/25/21

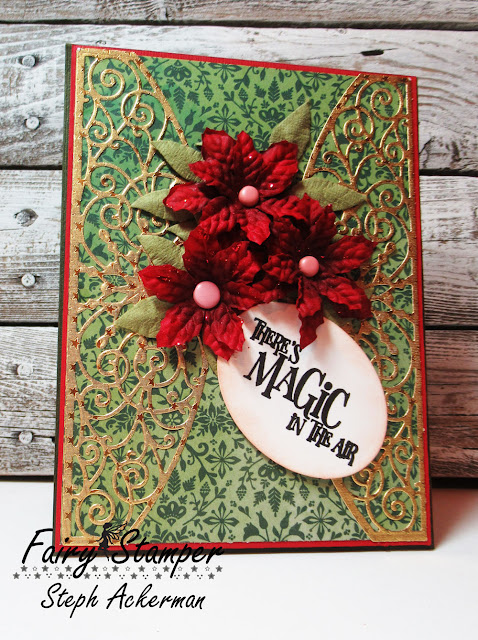
Fairy Stamper Merry Christmas

Hi everyone, I have another Fairy Stamper project to share.   Merry Christmas.


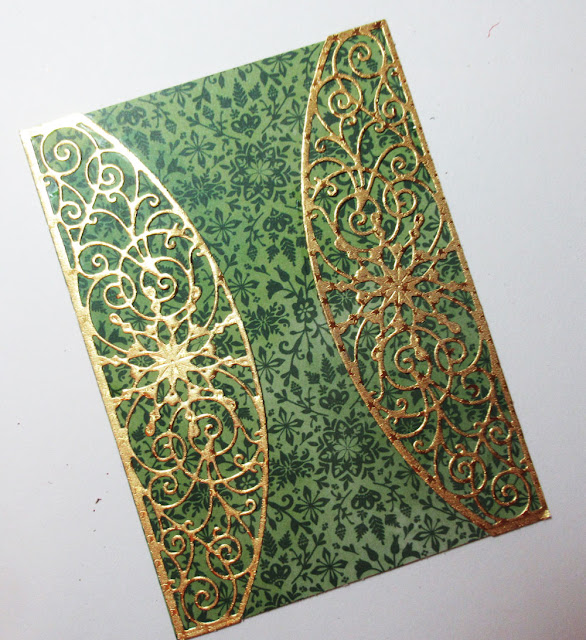
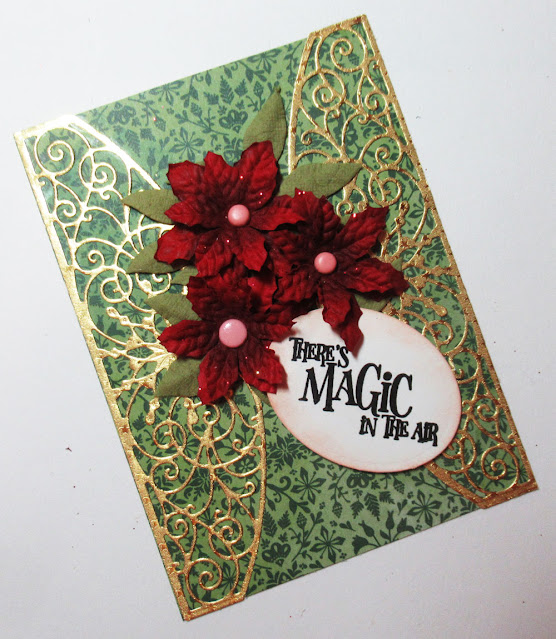
Using a Spellbinders die with Rinea Foiled Paper - Gold Starstruck, I created 2 arches for the card which I adhered to a panel of Christmas paper.


Poinsettias were clustered in the center and the FH Magic in the Air was stamped and die cut and slipped under the pointsettias.


Thanks for stopping by.


12/24/21

Quick and Easy Christmas Gift Ideas - Day 10

Hi everyone.  Christmas will be here before we know it.  The last seven years I've blogged about last minute Christmas ideas you could make in under 60 minutes.  Well, it's that time again and I've got some new projects to share.

Today is a Gift Card Holder


I dislike giving gift cards, but I find if I dress them up, they become a fabulous gift!


Directions can be found here - gift card holders.

Remember if you use double sided pattern paper, you can create an assortment of gift card holders in a short period of time.

Thanks for stopping by.

Steph

If you missed my previous posts, you can find them here:

Day 1:  Christmas  place cards/candy treats

Day 2:  Rustic Wreath

Day 3:  Sled

Day 4: Decorative Gift Bag

Day 5: Christmas Tree

Day 6: Foiled Gift Bag

Day 7: Home Decor

Day 8: Ornaments

Day 9: Angelic Gift Tags


9/9/21

Graphic 45 Tags

Hi everyone, I've got a set of tags using some beautiful papers from Graphic 45.


I started by inking chipboard tags in a variety of colors.


Using office tags, I cut Graphic 45 papers to fit and used Taperunner to adhere the layers.


I added ribbon to the tags and adhered additional tags to the tags to complete them.


Thanks for stopping by.

Steph

7/5/21

Graphic 45 Card

 I've got a triangular shaped card with some pretty Graphic 45 papers.


The card was 6" x 10" and scored at 5" and 7 1/2".   Cutting from the 5" scored line to 3" from the bottom edge provides a nice straight line.  All papers were cut to the angles.


All the papers were adhered with Taperunner.


Once the card was complete,  added a tag inside the card and aligned the top tag so that it covered the inside tag.  The tag is only visible when you open the card - a nice surprise.


Thanks for stopping by.

Steph
12/22/20

Quick and Easy Christmas Projects - Day 8

Hi everyone.  Christmas will be here before we know it.  The last six years I've blogged about last minute Christmas ideas you could make in under 60 minutes.  Well, it's that time again and I've got some new projects to share.

Using dies from TLC Designs, I created an assortment of Christmas tags.


Using the See You In the Center Dies, die cut red cardstock using the largest die.  Use both dies to die cut Christmas papers.    


Assemble the layers by placing the smaller die in the center of the tag. Place the frame on top with foam adhesives for dimension.


Punch holes in the top of each tag and add twine.  

Die cutting an extra base in red cardstock, tear it in half and adhere it to the back of the tags creating pockets.  Slip in a gift card.


Thanks for stopping by today and don't forget to stop by daily as I show you more quick and easy Christmas projects.

If you missed my previous posts, you can find them here:


Steph


12/17/20

Quick and Easy Christmas Projects Day 3

Hi everyone.  Christmas will be here before we know it.  The last six years I've blogged about last minute Christmas ideas you could make in under 60 minutes.  Well, it's that time again and I've got some new projects to share.

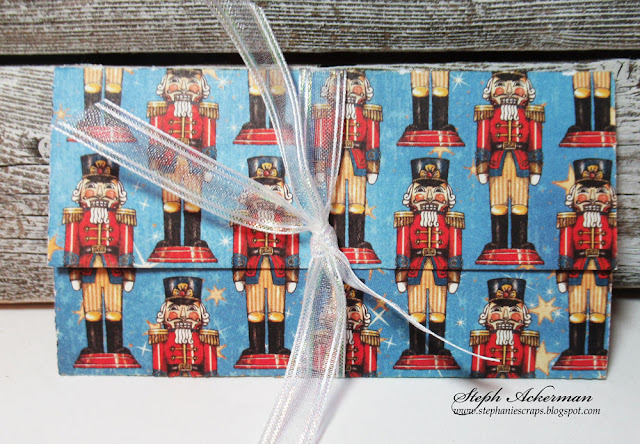
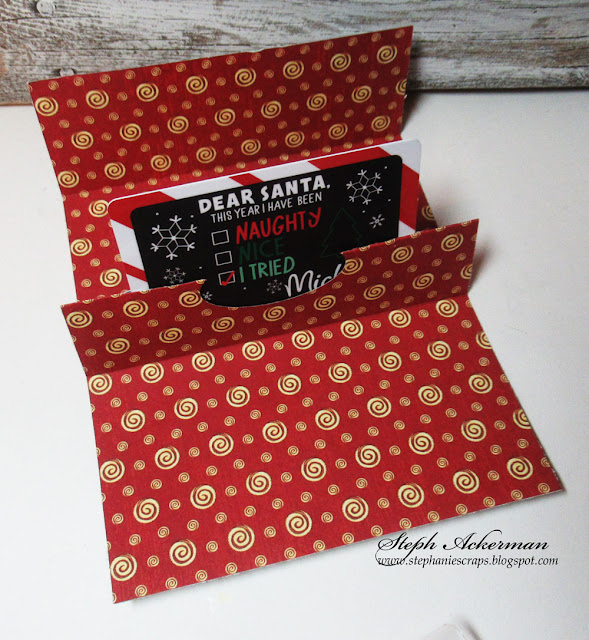
Today, I'm sharing some really quick and easy gift card holders.  These are really easy to create, and if you use a sturdy double sided cardstock, it's already decorated!  I used Graphic 45's Joy to the World Collection.

Start by cutting pattern paper 5" x 9 3/4".
With the long side at the top edge of the Scor-Pal, score at 1 3/4", 4 1/2", 5 3/4" and 7".
You can get 2 gift card holders from one sheet of 12" x 12" of paper.


Fold on the first and last score lines, then create the mountain fold with the middle scored lines.  Use the Scor-tool to burnish the fold lines.


Turn the piece over and add Scor-Tape along the middle section, being sure to add Scor-Tape to what will be the bottom of the holder.  The Stacker is perfect for this as it holds your tape while you  have both hands free to place the tape.


Once the middle section is adhered together along the bottom edge, use an oval punch or die to create the opening.  If necessary, carefully cut along the fold so your gift card will fit. 


Wrap the gift card holders with ribbon, and add a phrase.

Thanks for stopping by today and don't forget to stop by daily as I showy you more quick and easy Christmas projects.


If you missed my previous posts, you can find them here:


Thanks for stopping by.

Steph


12/16/20

Quick and Easy Christmas Projects Day 2

Hi everyone.  Christmas will be here before we know it.  The last six years I've blogged about last minute Christmas ideas you could make in under 60 minutes.  Well, it's that time again and I've got some new projects to share.


These cute candy pouches are perfect to hang on the tree or leave on the dining room table.  Be sure to use a pretty double sided pattern paper.  I used an older Graphic 45 paper collection.


Cut cardstock 5 1/4" x 2 3/4".
Cut pattern paper 5" x 2 1/2"
Glue the 2 pieces together then score at 1", 2", 3 1/2" and 3 3/4".
Fold on all score lines.


Using The Stacker pull the 1/8" Scor-Tape and place it between the 3 1/2" and 3 3/4" scored lines.  Cut ribbon about 12" long and center it on the tape.
Tie the ends together to use as a hanger.


Place the 3/8" Scor-Tape in the 2nd box as this will hold the candy in place.
Place the candy on the tape, fold the first panel up and the other panels over. the candy.
Cut ribbon about 8" long and wrap around the container and tie a knot.

Don't they look pretty hanging on the tree?


Thanks for stopping by today and don't forget to stop by daily as I show you more quick and easy Christmas projects.

If you missed my previous posts, you can find them here:

Day 1

Thanks for stopping by.

Steph

12/14/20

Graphic 45 Christmas Cards

Hi everyone, it's crunch time.  How are you doing with your Christmas cards?


I've used an older Graphic 45 paper collection for these cards.  


I also fussy cut the angel image and matted it with cardstock before adding it to my card.


The 12 days of Christmas phrase was sized perfectly to fit within an oval die.


Thanks for stopping by.

Steph